
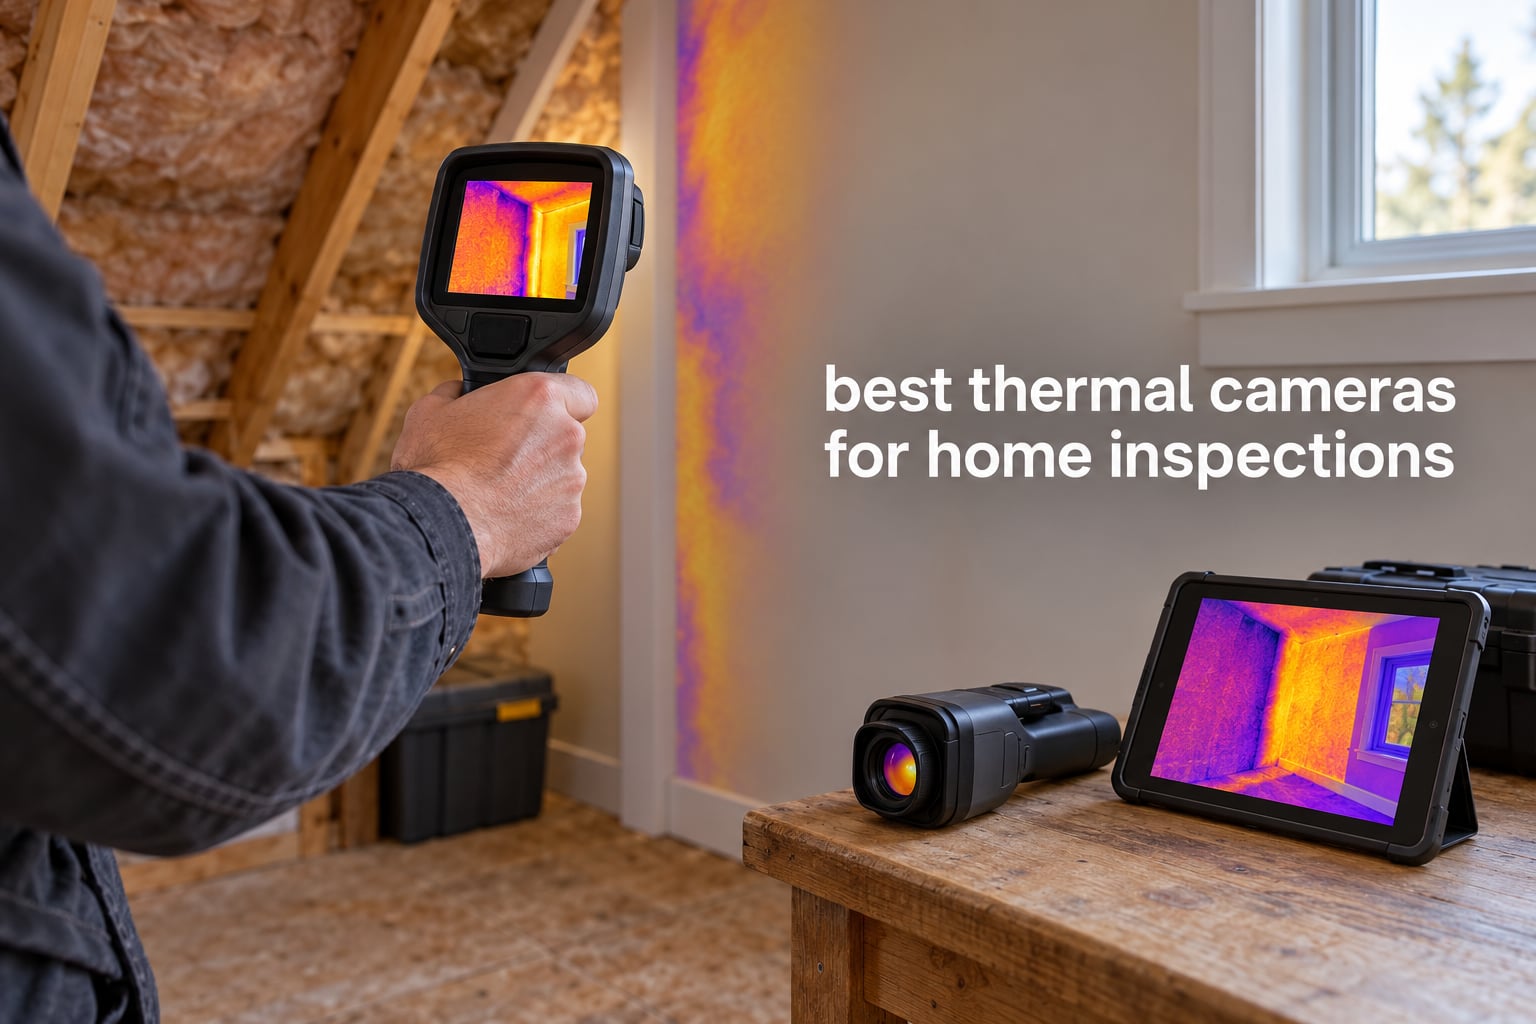
If you want the short answer: the FLIR ONE Pro is the best thermal camera for home inspections you can buy today because it pairs the FLIR MSX fusion overlay with the widest report workflow of any unit in this lineup, and more than a thousand buyers have already logged their experience with it. The TOPDON TC004 Mini is the best value pick for anyone who wants a standalone camera that survives a full day of scanning, and the Thermal Master Thor002 delivers the sharpest thermal detail here for professionals who need images that hold up in a written report.
That answer assumes you are asking the question most buyers actually have, which is not really about megapixels. It is about which camera will produce an image you can put in a report, in the conditions you actually scan in, without a client arguing that the bright blue stripe on the ceiling means something it does not.
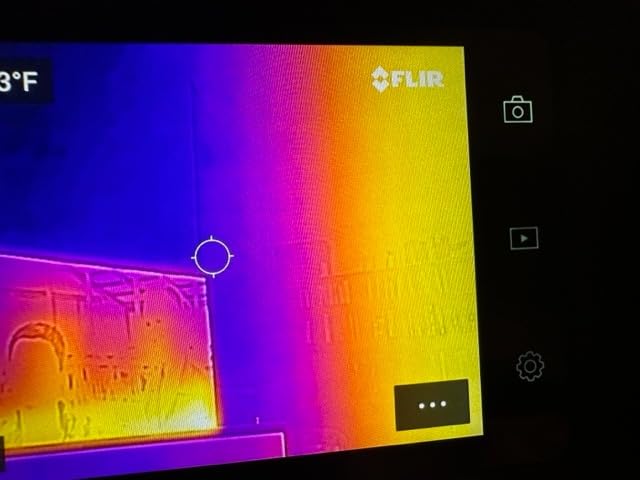
Thermal imaging for home inspection works by measuring surface temperature differences and rendering them as false colour. The camera’s uncooled microbolometer sensor picks up long-wave infrared radiation, converts it to a temperature estimate, and maps that across a colour palette. That is all it does. What matters for your purchase is whether the camera resolves small temperature anomalies at a distance, holds a stable enough measurement to be trusted, and gives you a picture a client will understand.
On the InterNACHI forum, certified inspectors consistently raise the same warning before the specs even come up. Mike Senty, a certified professional inspector and energy auditor, put it plainly: there is too much client misunderstanding of what an infrared imager can do, and a real liability in putting IR findings into a written report without understanding the limits. That single thread shaped how we ranked every camera below.
Are you a full-time inspector who needs report-grade imagery and cloud deliverables, or a buyer doing a pre-purchase screening before you make an offer? The answer changes the shortlist significantly, and we flag which side of that line each pick sits on.
Before the individual reviews, here is where our full lineup sits on the specs that actually matter. If you want the wider category covered, our guides to thermal imaging cameras for inspectors and to thermal drones for inspections cover adjacent gear for larger property work.
Table of Contents
Top 3 Picks for Home Inspection Work in October 2026
These three cover the widest range of real inspection use, from phone-based scanning on a rental to report imagery on a commercial purchase.
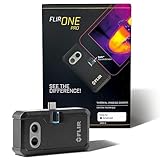
FLIR ONE Pro USB-C
- 480x360 Vivid IR upscaling
- MSX fusion overlay
- +/-3C accuracy
- step-by-step inspection guides in app

TOPDON TC004 Mini
- 240x240 TISR from 128x128
- 15 hour battery
- smart auto-capture alerts
- IP54 and 2m drop

Thermal Master Thor002
- 512x384 X3 resolution
- 40mK sensitivity
- 3.5 inch IPS display
- 10.5 hour battery
The FLIR ONE Pro earns the editor’s choice on ecosystem and evidence rather than raw pixels. Its native 160×120 detector is upscaled to 480×360, which would be unimpressive on paper if the MSX overlay were not so good at putting thermal detail back onto a recognisable image of the room.
The TOPDON TC004 Mini is the one to buy if you are done charging a phone mid-inspection. Fifteen hours of runtime and automatic photo capture when a temperature threshold trips means you can put the camera in a pocket and forget about it.
The Thermal Master Thor002 is the spec leader here. Its 512×384 X3-enhanced output, 40 mK sensitivity and six simultaneous measurement points are what you want when the thermal image is going into a report that a client and a lawyer may both read.
Best Thermal Cameras for Home Inspections at a Glance for October 2026
Every camera in the list below, with the features that separate it from the others. Full reviews, including who each one is not for, follow.
| Product | Specifications | Action |
|---|---|---|
| Flir One Pro USB-C |
|
Check Latest Price |
 Flir C5 Compact Flir C5 Compact |
|
Check Latest Price |
| TOPDON TC004 Mini |
|
Check Latest Price |
 Klein Tools TI250 Klein Tools TI250 |
|
Check Latest Price |
 Flir TG165-X Flir TG165-X |
|
Check Latest Price |
 HSFTOOLS HP96 Touchscreen HSFTOOLS HP96 Touchscreen |
|
Check Latest Price |
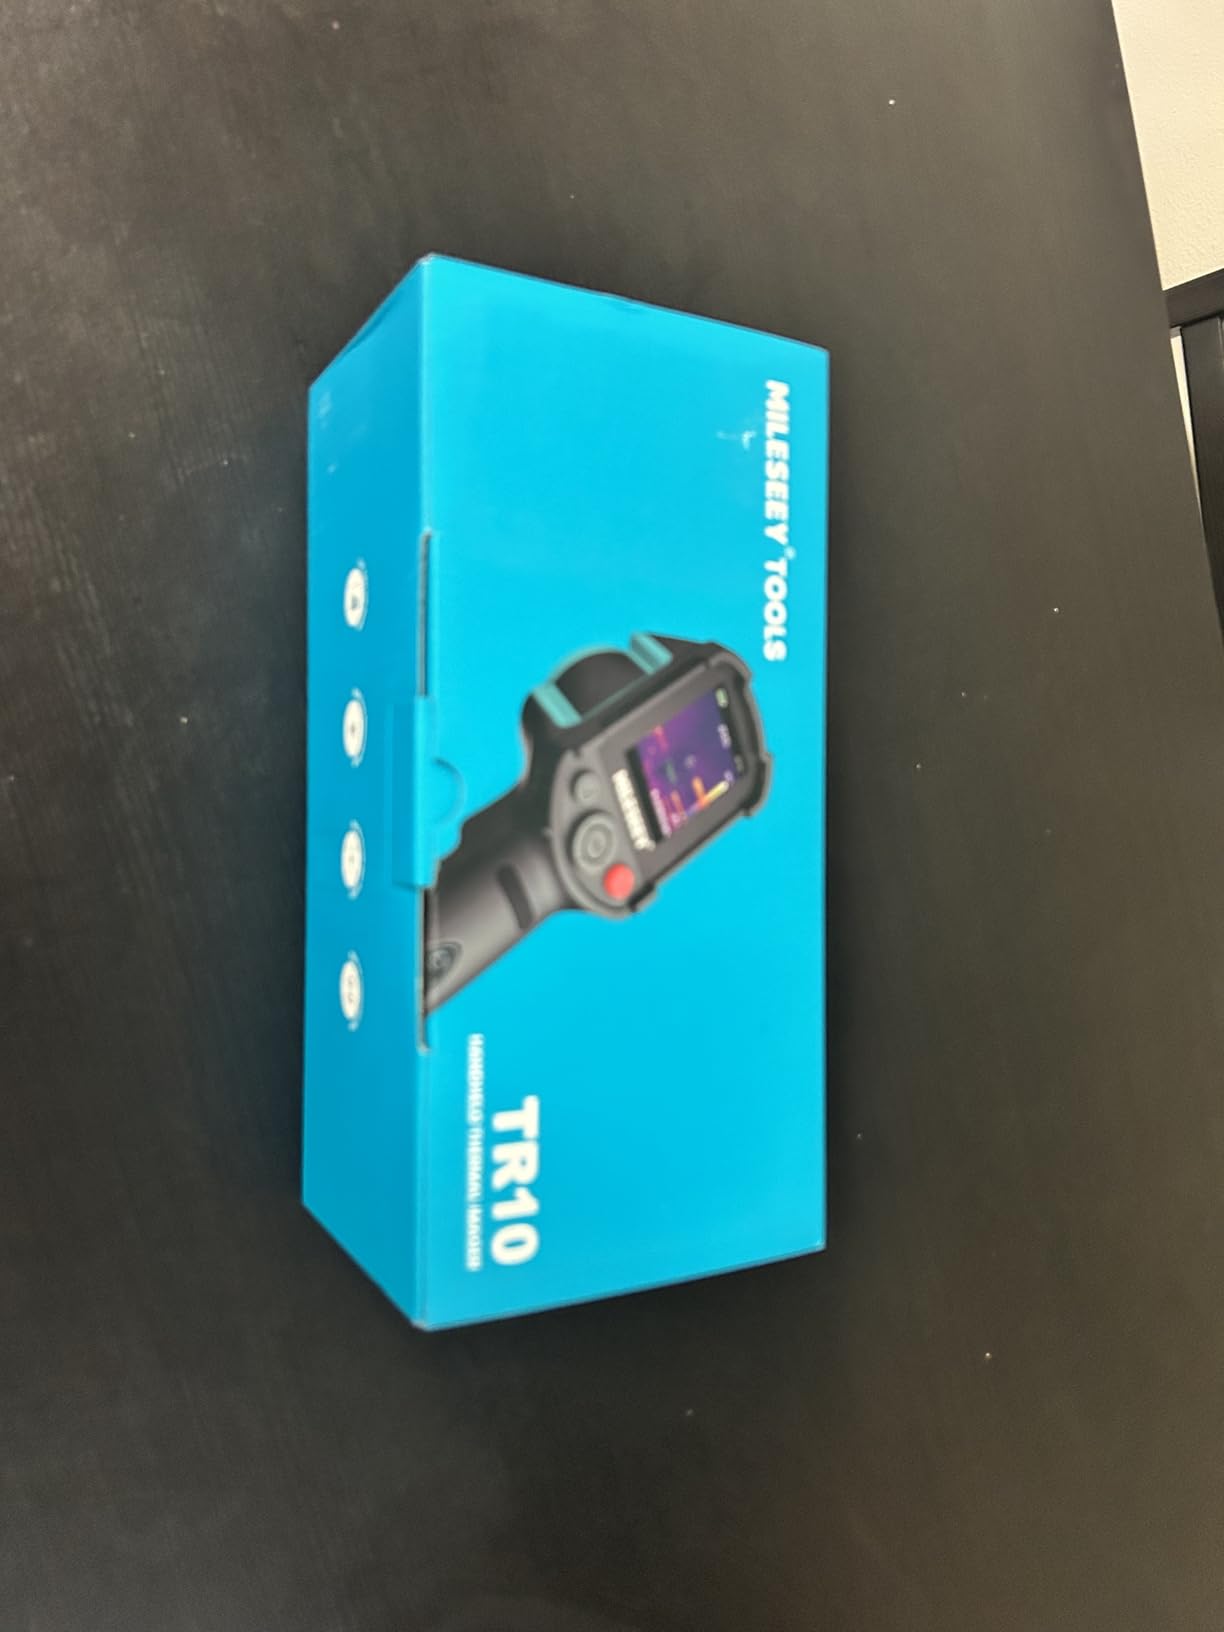
 MiLESEEY TR10 MiLESEEY TR10 |
|
Check Latest Price |
 Flir Edge Pro Wireless Flir Edge Pro Wireless |
|
Check Latest Price |
 Flagfront 240×240 Flagfront 240×240 |
|
Check Latest Price |
| Thermal Master Thor002 |
|
Check Latest Price |
 FOXWELL RT280 FOXWELL RT280 |
|
Check Latest Price |
 HSFTOOLS HF96V HSFTOOLS HF96V |
|
Check Latest Price |
Minimum Specs Professional Inspectors Actually Need
Before reading the reviews, here is the benchmark the professional community actually argues about. An inspector on the Clark Howard community thread laid out the minimums: 256×192 thermal resolution, NETD at or under 50 mK, a visual-light camera with image fusion, report generation software, and a temperature range appropriate to the work.
Robert Young, a certified master inspector posting on the InterNACHI forum, added the practical note: 320×240 or better is the ideal standard if you intend to include imagery in a written report. He pointed out that these sensors now sit far below the cost of the professional-resolution units that early adopters paid, when a Fluke Ti300 at 240×180 was a five-figure purchase.
Here is how that maps onto this lineup. Only the Thermal Master Thor002 reaches 320×384-class output. The MiLESEEY TR10 comes closest on native sensor pixels at 192×192. Everything else relies on upscaling or enhancement from a smaller detector, which is fine for scanning whole rooms and weak for pinning down a specific defect at fifteen feet.
Two units meet the sensitivity benchmark of 50 mK or better on published figures: the MiLESEEY TR10 at under 50 mK and the Thermal Master Thor002 at 40 mK. Several others publish no NETD figure at all, which is itself a signal about how much weight to put on the marketing.
1. FLIR ONE Pro USB-C – Best Overall for Inspectors Who Want Report-Ready Images
Flir One Pro Thermal Imaging Camera for Android USB-C, 480×360
Resolution: 160x120 upscaled to 480x360
Temperature range: -20C to 400C class
Accuracy: +/-3C or +/-5%
Drop rated: 1.5m
Pros
- Step-by-step home inspection guide built into the app
- MSX blending makes patterns easy to read
- saved JPGs keep full radiometric data for later PC analysis
- plugs straight into a USB-C Android charging port
- 1.5m drop rated
Cons
- Battery life is only about 20 to 30 minutes of continuous use
- roughly 20 second warm-up before it responds
- leaving the app can shut the unit down
- the extendable USB-C connector is fragile
The FLIR ONE Pro has been the reference phone-attached imager for years, and after spending time with it the reason is not the sensor. It is the software around the sensor. Owners on r/homeinspectors mention running it alongside FLIR handhelds, and the recurring theme in that thread is that the HIKMICRO bodies get recommended constantly as the cheaper alternative. None of the HIKMICRO models cleared our lineup here, which is worth knowing before you decide the FLIR is overpriced.
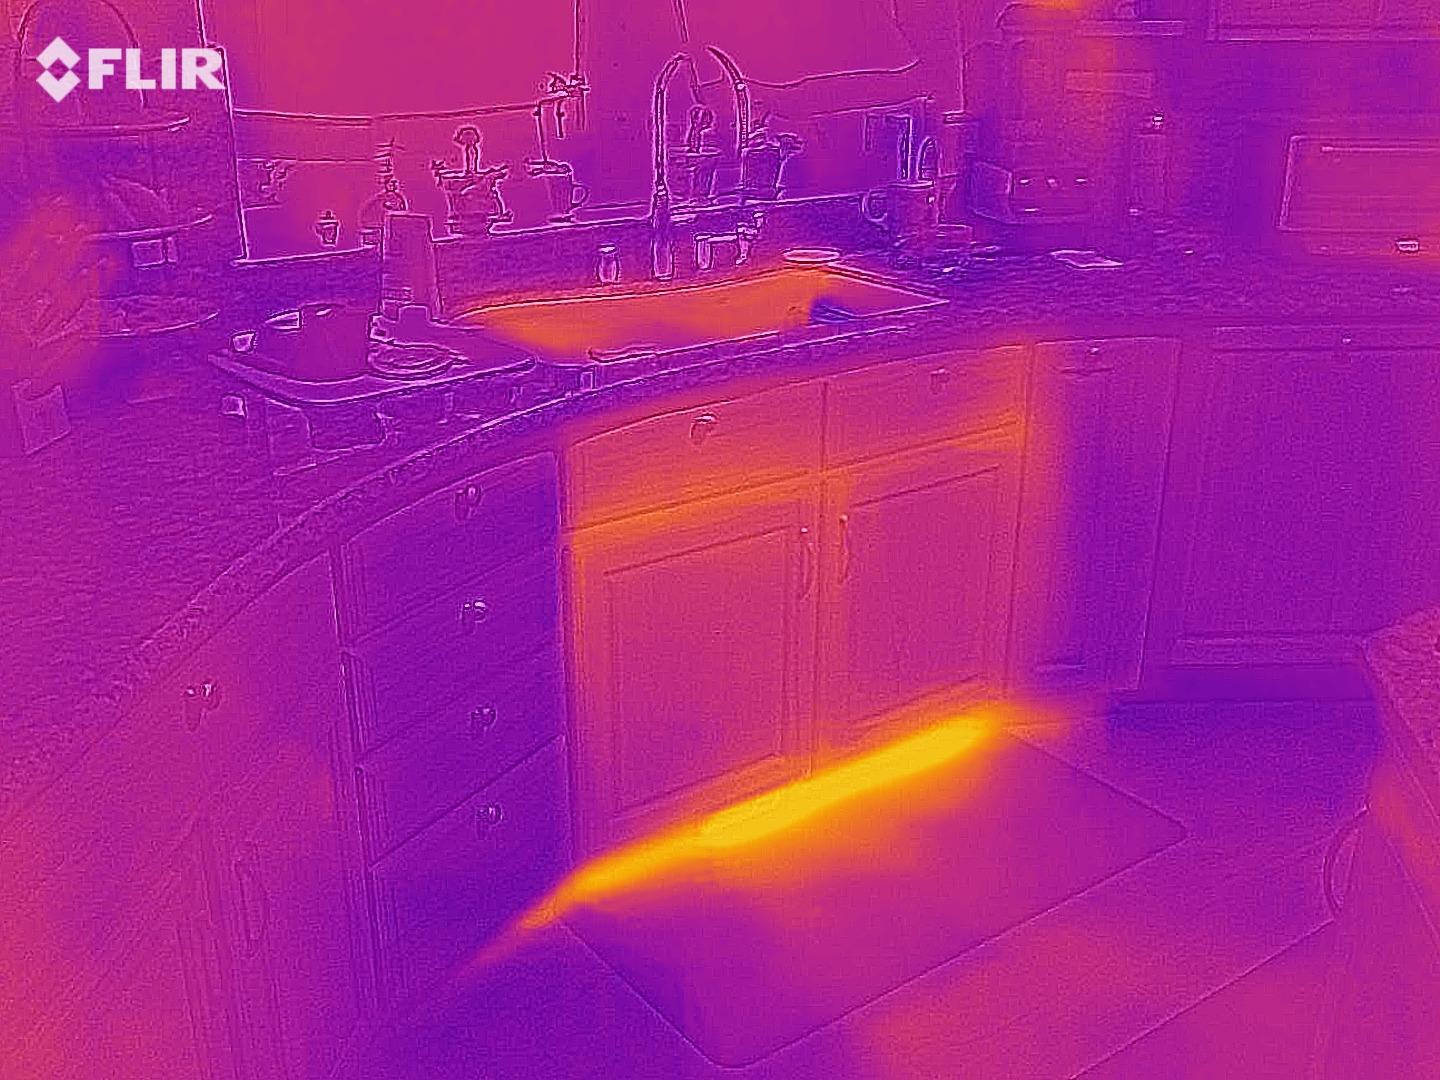
What you get is a 160×120 detector pushed to 480×360 through Vivid IR upscaling, with FLIR MSX merging the thermal signal onto the visible image in real time. In practice that overlay does more for a client than raw pixel count does. A cold band along an exterior wall is abstract until you can see the wall stud behind it.
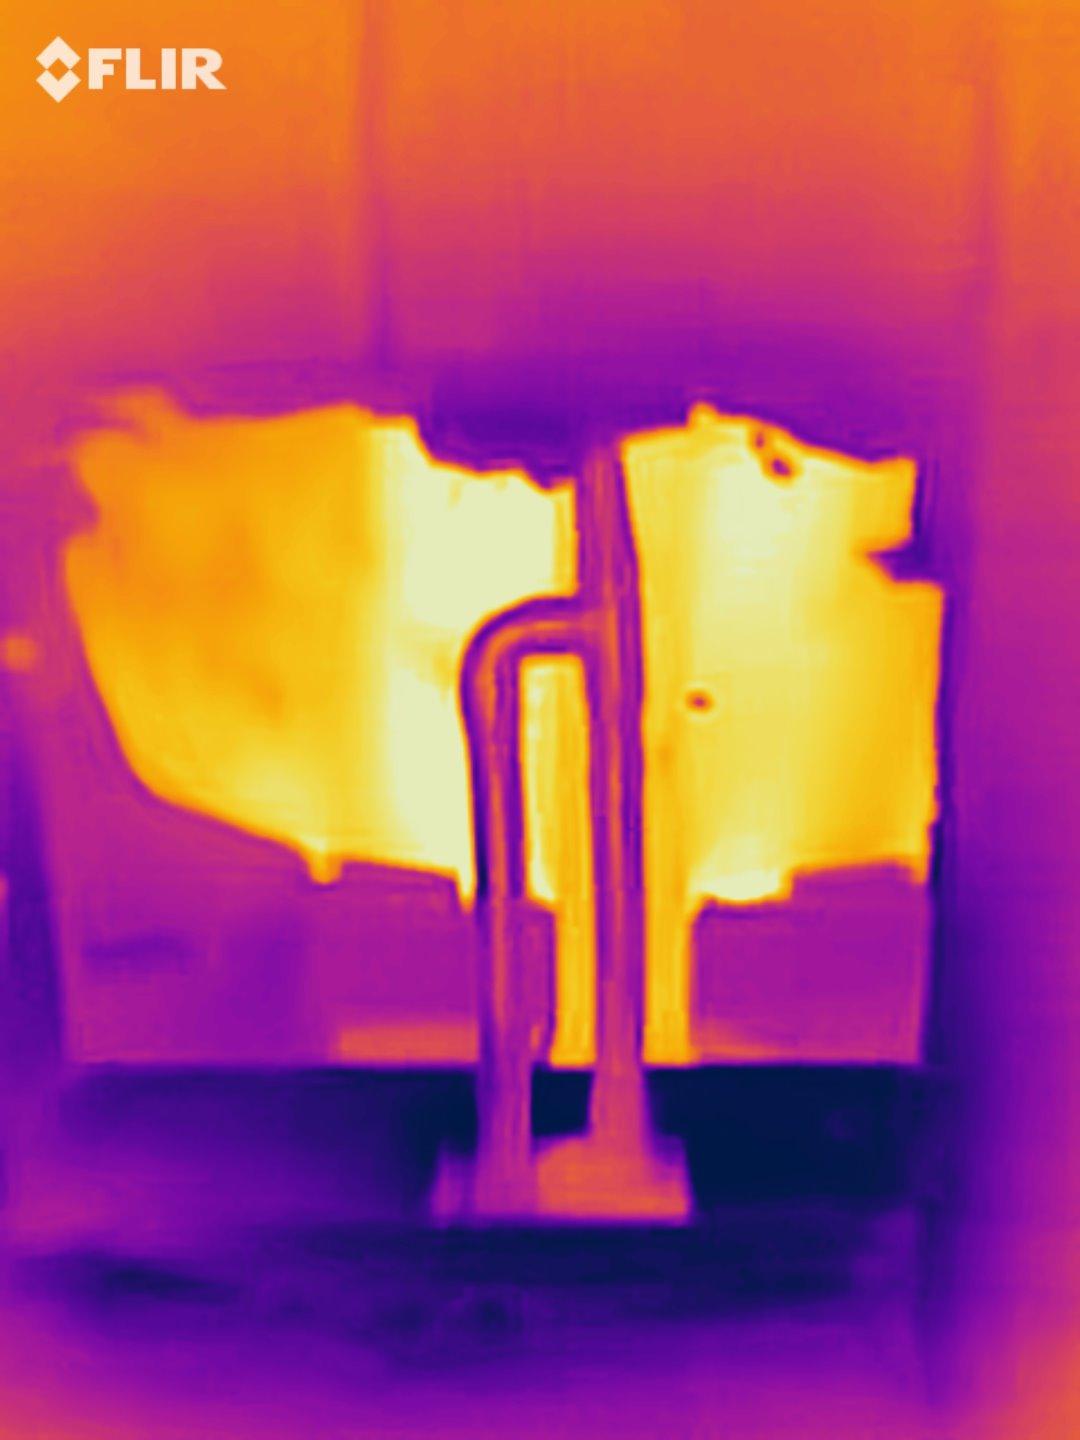
Accuracy is specified at plus or minus 3C or 5 percent of reading, which is more than adequate for finding a thermal anomaly and not enough to certify a temperature. The app itself includes a step-by-step home inspection guide, which sounds basic until you realise how many people buy one of these with no plan for how to use it. Images export as JPGs that retain full radiometric data, so a single photograph can be re-analysed later in FLIR Tools on a computer.
The friction points are real and they are all in the phone connection. Reviewers report a warm-up of around 20 seconds before the unit responds, battery life in the 20 to 30 minute range, and a tendency to power down if you leave the app. On older Android versions compatibility degrades. The extendable USB-C plug is convenient for thick cases but the connector itself is fragile and does not always seat cleanly.
Who this camera suits
Inspectors who already carry a phone and want the flir cloud reporting workflow without carrying a second device. The MSX overlay, the inspection guides and the radiometric JPG exports are genuinely valuable when your deliverable is a report rather than a hunch.
Who this camera is wrong for
Anyone with an iPhone, since this model is the USB-C Android version and the connector is physically incompatible. Also wrong for long crawlspace and attic scans where a twenty-minute battery means carrying a power bank as a second piece of equipment.
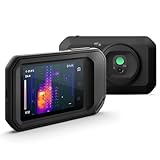
2. FLIR C5 Compact – Best for Cloud Reporting on the Road
Flir C5 Compact Thermal Imaging Camera, WiFi, 160×120 MSX, Ignite
Resolution: 160x120 native, 19,200 pixels
Temperature range: -20C to 400C
Connectivity: Wi-Fi with FLIR Ignite
Warranty: 2 years parts, 10 years detector
Pros
- Pocketable handheld form factor suits whole-home walkthroughs
- MSX embossing sharpens thermal detail
- FLIR Ignite cloud lets you email reports to clients
- wide -20C to 400C range covers building and HVAC issues
- 10-year detector warranty
Cons
- 160x120 native resolution is low for pinpointing small anomalies
- fixed focus limits very close-up work
- costs more than smartphone-connected alternatives
The C5 is the smallest FLIR handheld that still does cloud reporting, and for a working inspector that combination is the whole argument. It weighs 190 grams, has a 3.5 inch screen, and connects over Wi-Fi to FLIR Ignite, where you organise images and share a report straight to a client email address.
The specification is 160×120 native thermal, which works out to 19,200 pixels. That is the honest weakness here. It is perfectly adequate for scanning an entire ceiling and spotting that one strip that is behaving differently from its neighbours. It is not adequate for resolving a small anomaly at the far end of a long room, and owners say so directly in reviews.
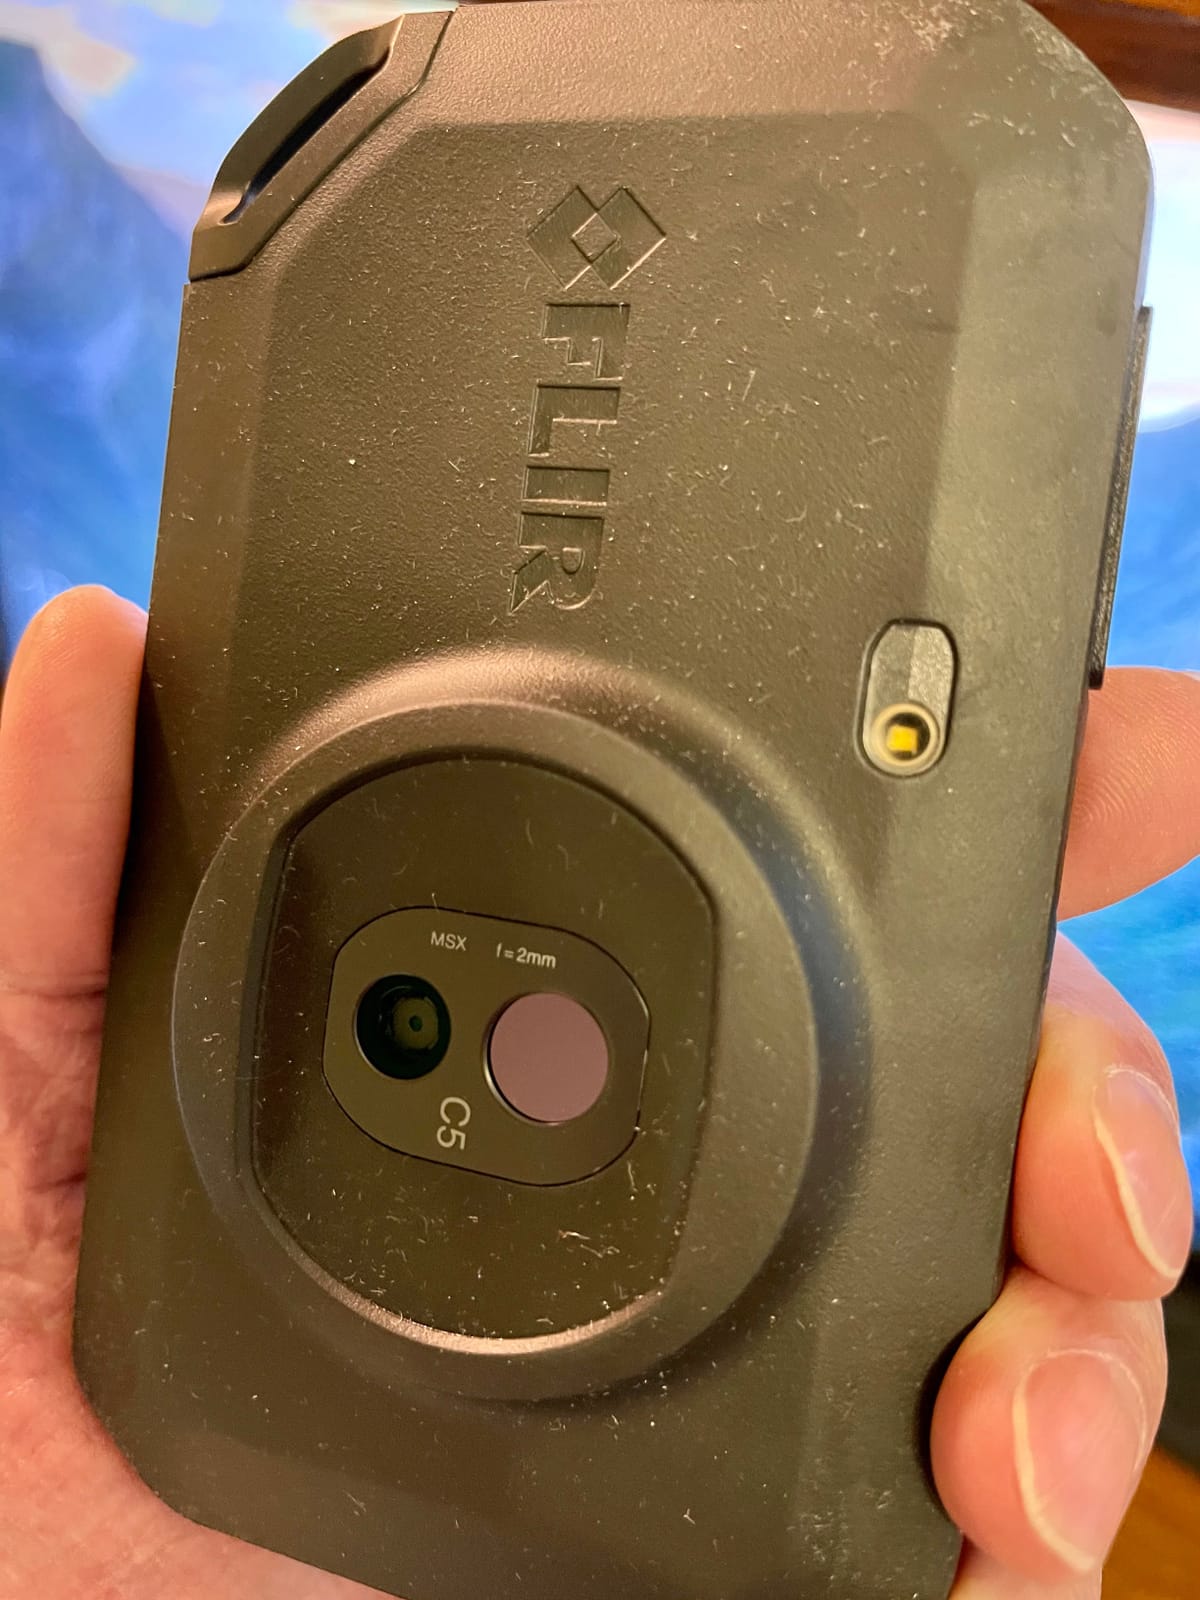
Fixed focus is the other limitation worth weighing. For envelope scanning from a few feet back that is fine. For tracing a specific line through a wall cavity or examining a junction box from close up, you will want to be able to focus, and you cannot.
On the plus side, the measurement range of -20C to 400C covers both building science work and HVAC diagnostics without switching cameras. The warranty runs two years on parts and labour with ten years on the detector, which is a meaningful number when you are buying a tool you expect to keep for a decade.
Check before you buy
Decide whether your deliverable is a client-facing report or a private working note. If a client ever sees the image, the low pixel count can generate follow-up questions you cannot answer, and that is when a higher-resolution body earns its money.
Where the money goes
Buyers consistently point at the Ignite cloud workflow and the MSX embossing as the value. As one reviewer framed it, a good imager also has a good lens, and that is a real part of what you are paying for in a FLIR body.
3. TOPDON TC004 Mini – Best Value Standalone Handheld
TOPDON TC004 Mini Thermal Imaging Camera, 240 x 240 TISR Resolution
Resolution: 128x128 native, 240x240 TISR
Temperature range: -20C to 450C
Accuracy: within +/-3.6F or 2%
Field of view: 40x30 degrees at 25Hz
Pros
- Fifteen hour battery covers multi-property inspection days
- smart alerts capture a photo automatically when thresholds are exceeded
- pocketable and light
- IP54 rated and survives 2m drops
- five colour palettes with auto spot readouts
Cons
- Entry-level 128x128 native resolution limits fine detail
- no charging head included
- no paper manual so you must scan a QR code
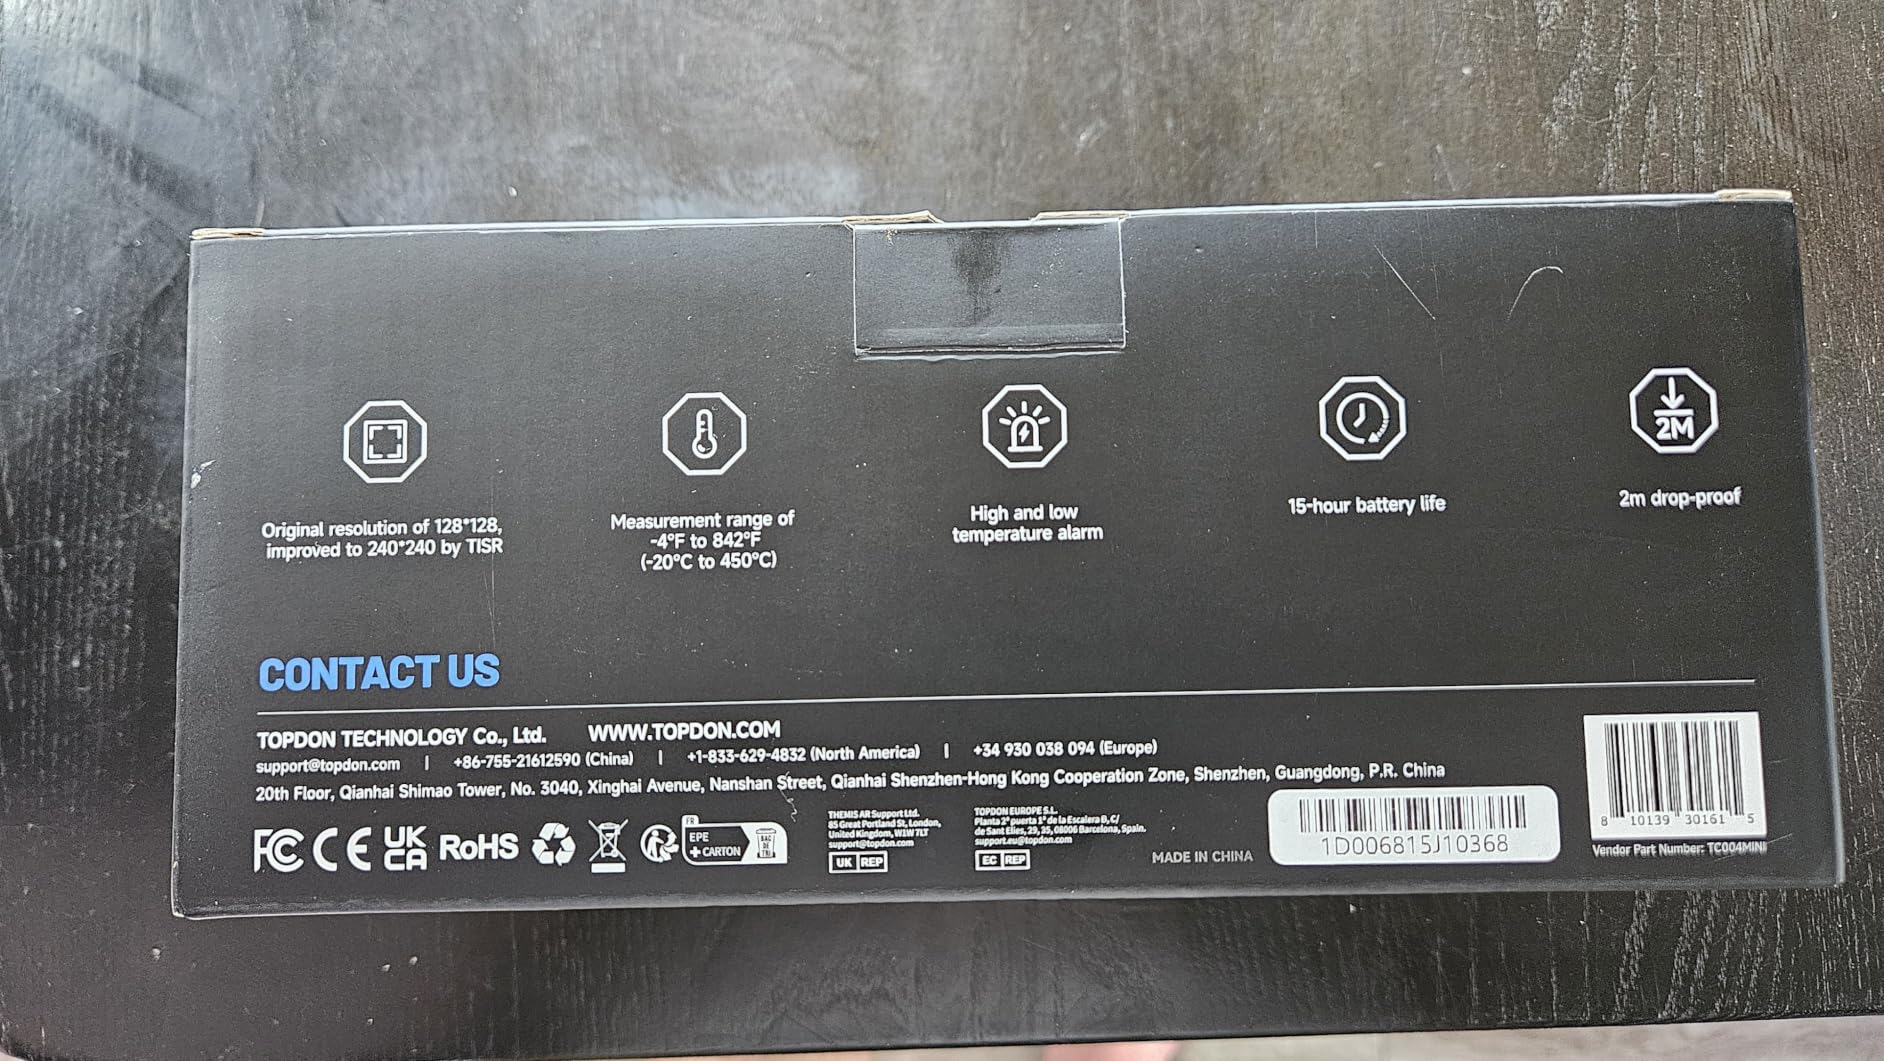
The TC004 Mini solves the problem that pushes most inspectors toward a phone attachment in the first place: you do not want your imaging tool to depend on your phone battery. Fifteen hours of runtime means a full day of inspections with a spare, and the smart alert system will capture a photograph automatically when a temperature crosses a threshold you set.
That automatic capture feature matters more than it sounds. During a whole-home walkthrough you are moving, framing and walking. Stopping to take a photo of an anomaly takes ten seconds and breaks your flow. Letting the camera trigger itself means you review the shots over lunch instead of rewinding your own route.
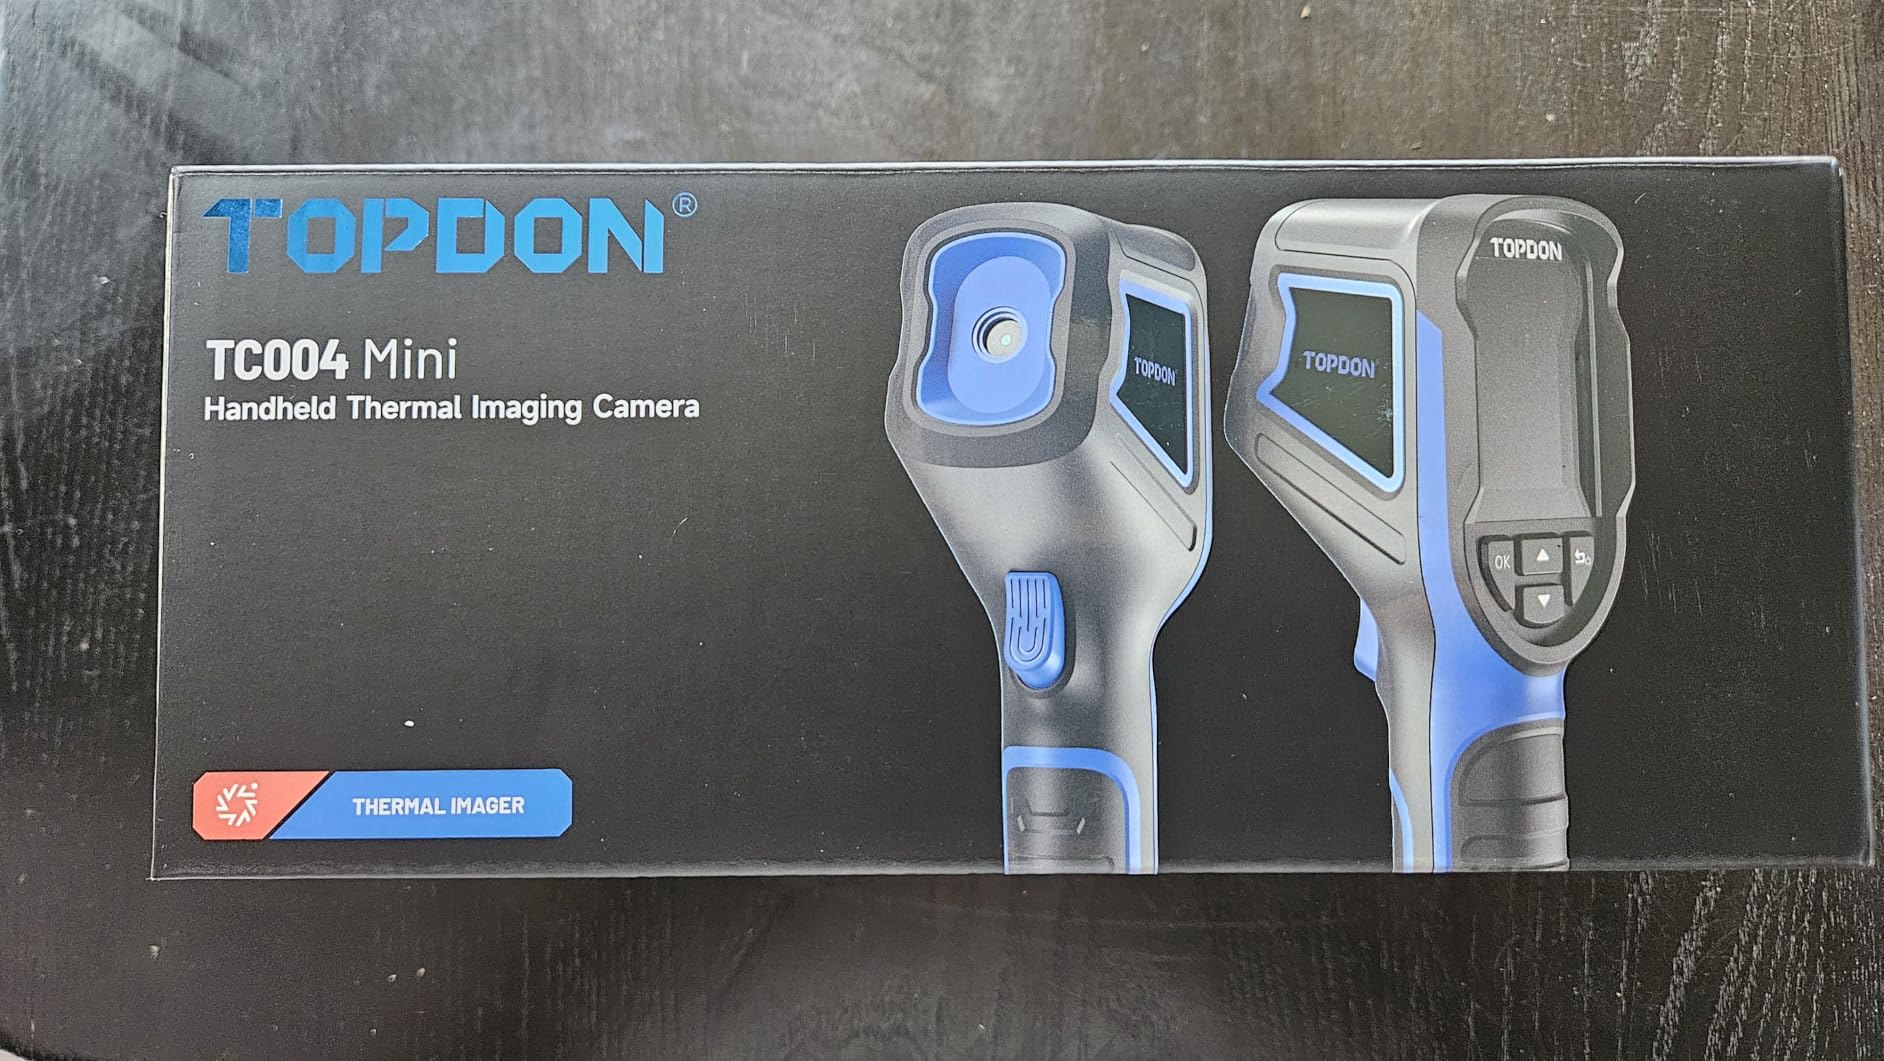
The detector is 128×128 natively, enhanced to 240×240 by TISR processing. Read that carefully: the enhanced figure looks like a mid-range resolution and is not. You are getting more pixels than a 160×120 phone module, which helps you frame a scan, but the underlying sensor is small. In a large room with a big temperature swing, the result is good. At a distance, on a small defect, it will not hold up.
Everything else about the specification sheet is well judged for the job. The 40×30 degree field of view at 25Hz refresh is smooth enough to pan across a wall without stutter. The range runs -20C to 450C with accuracy within 3.6F or 2 percent. Storage is 512MB of eMMC holding up to 8,000 photographs. It is IP54 rated and rated for 2m drops, which is roughly what a toolbag does to a camera over five years.
Why inspectors like it
The combination of runtime, alerting and pocketability. It ranks first in its category on Amazon with more than a thousand ratings, and the reviews keep landing on the same point: it finishes the day. Owners also like that it needs no phone and no app permissions.
What to watch for
Charge the camera before a property, not during. The cable is included but the charging head is not, and there is no paper manual, so the only documentation is a QR code to an electronic download. Both are small annoyances rather than dealbreakers.
4. Klein Tools TI250 – Best for Emissivity Control on Reflective Surfaces
Klein Tools TI250 Rechargeable Thermal Imaging Camera, Camera Displays Over 19,200 Pixels with 3 Color Palettes, High/Low Temperature Points
Resolution: over 19,200 pixels
Temperature range: -20C to 400C
Emissivity: adjustable 0.01 to 0.99
Weight: 8.6 ounces
Pros
- Adjustable emissivity from 0.01 to 0.99 improves accuracy across materials
- high and low alarms plus crosshair pinpointing
- trusted Klein Tools jobsite build
- complete package with charging cable and case
- light at 8.6 ounces
Cons
- Only three colour palettes compared with newer rivals
- non-removable built-in battery
- storage relies on USB-C transfers
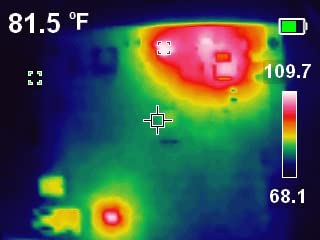
Most thermal cameras in this price range give you a fixed emissivity setting or a very coarse one. The Klein TI250 lets you dial emissivity across a 0.01 to 0.99 range, and for anyone scanning more than painted drywall, that is the feature that decides whether your numbers mean anything.
Emissivity describes how efficiently a surface emits infrared radiation. Painted plaster sits near 0.95. Brick, tile, wood, weathered metal and window glass each read differently, and if the camera assumes the wrong value it will report a temperature that looks plausible and is wrong. Being able to correct for it manually is the difference between a measurement and an impression.
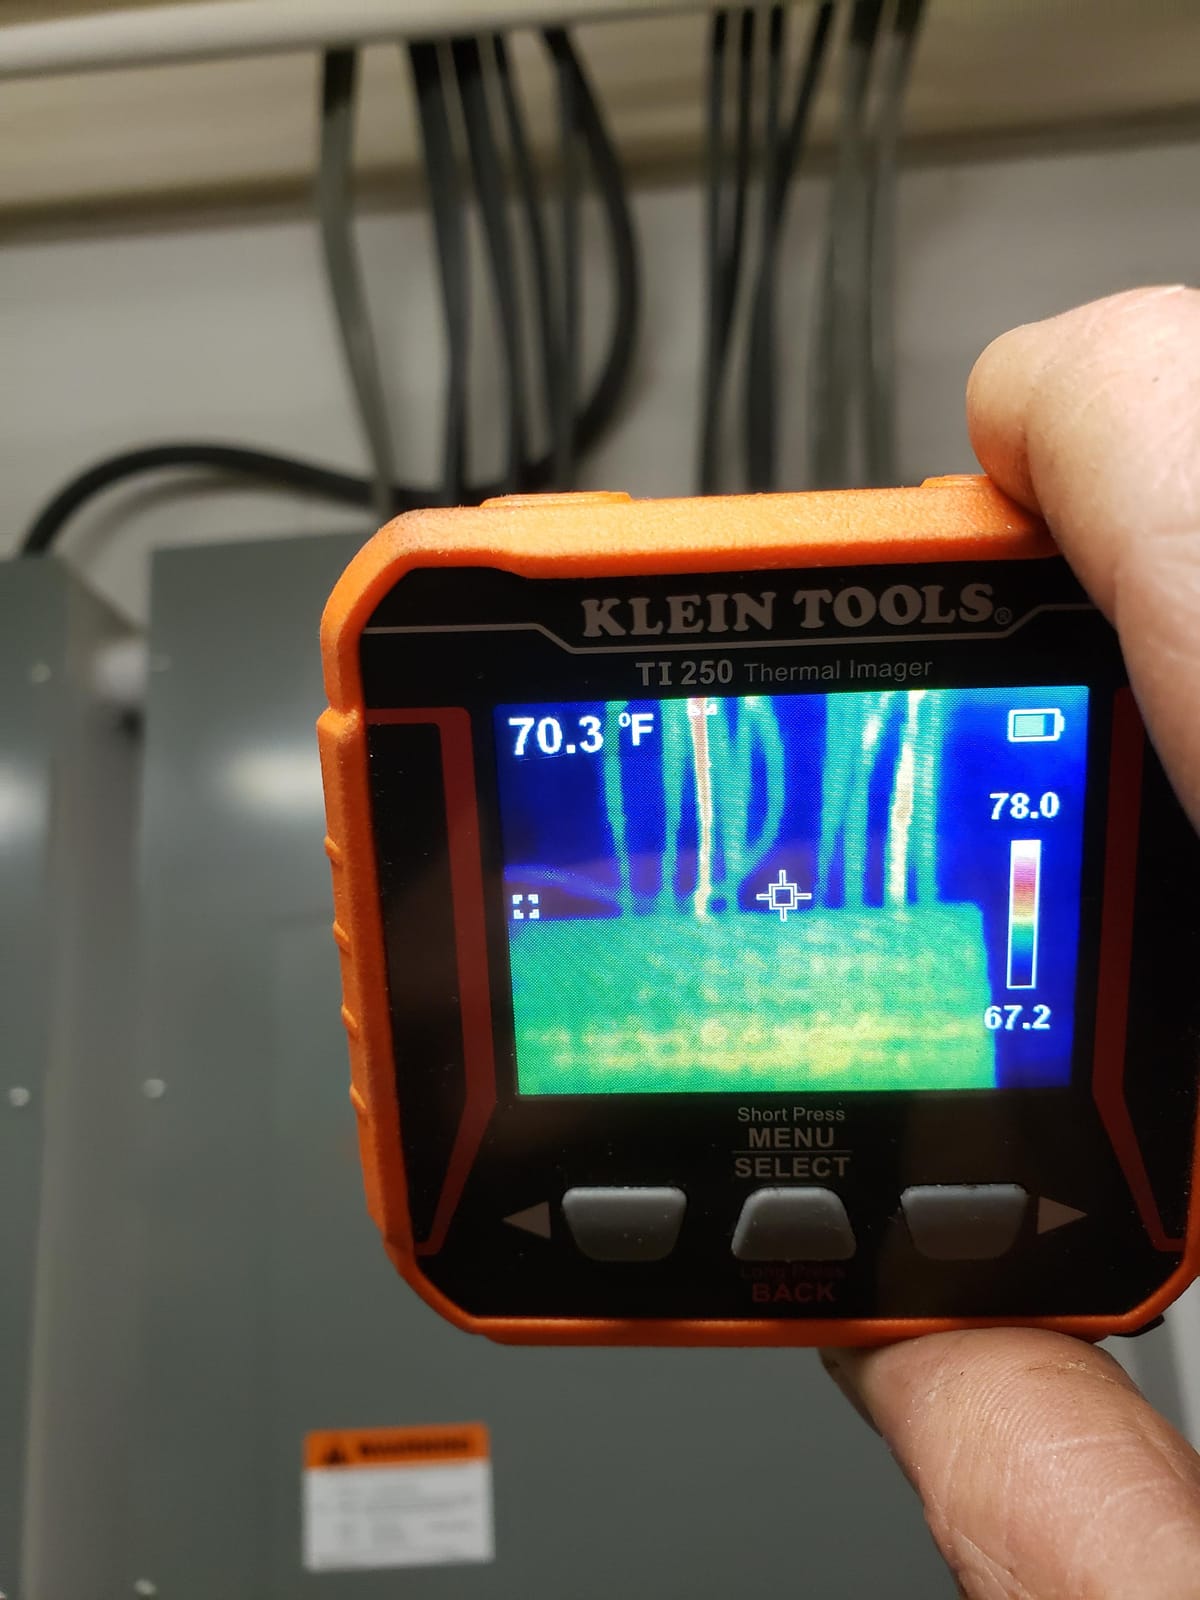
The specification is over 19,200 pixels, essentially the same class as a 160×120 detector, with user-selectable high and low temperature alarms across -20C to 400C. Crosshairs let you pinpoint the spot being measured, and three colour palettes are available. Storage is via USB-C transfer rather than removable media.
At 8.6 ounces it is light enough to scan a full property without wrist fatigue. The battery is built in and not removable, which is a real limitation if you work twelve-hour days, though reviewers mostly treat it as a non-issue given the charge time.
Where it fits
Klein Tools has an existing reputation with electricians and HVAC technicians, and this camera is built for that buyer. The alarm functions and crosshair precision suit panel inspections and service diagnostics where you need to point at a specific reading.
Where it falls short
Three palettes is a dated spec sheet. Colour options do not change what you detect, but a wider palette selection helps you separate subtle gradients from real anomalies, and the newest bodies offer noticeably more.
5. FLIR TG165-X – Best for Quick Electrical Spot Checks
Flir TG165-X Thermal Imaging Camera with Bullseye Laser, Spot IR
Resolution: 4,800 pixels
Temperature range: -25C to 300C
Response time: 3 seconds
Enclosure: IP54 drop-tested
Pros
- Bullseye laser pointer shows exactly where the measurement spot sits
- MSX embossing makes thermal detail easier to read
- IP54 body survives dust and oil and drops
- standalone unit with no phone required
- 2-10 year warranty including detector coverage
Cons
- 4800 pixel resolution is entry level for the price
- no Wi-Fi cloud connectivity
- fixed focus
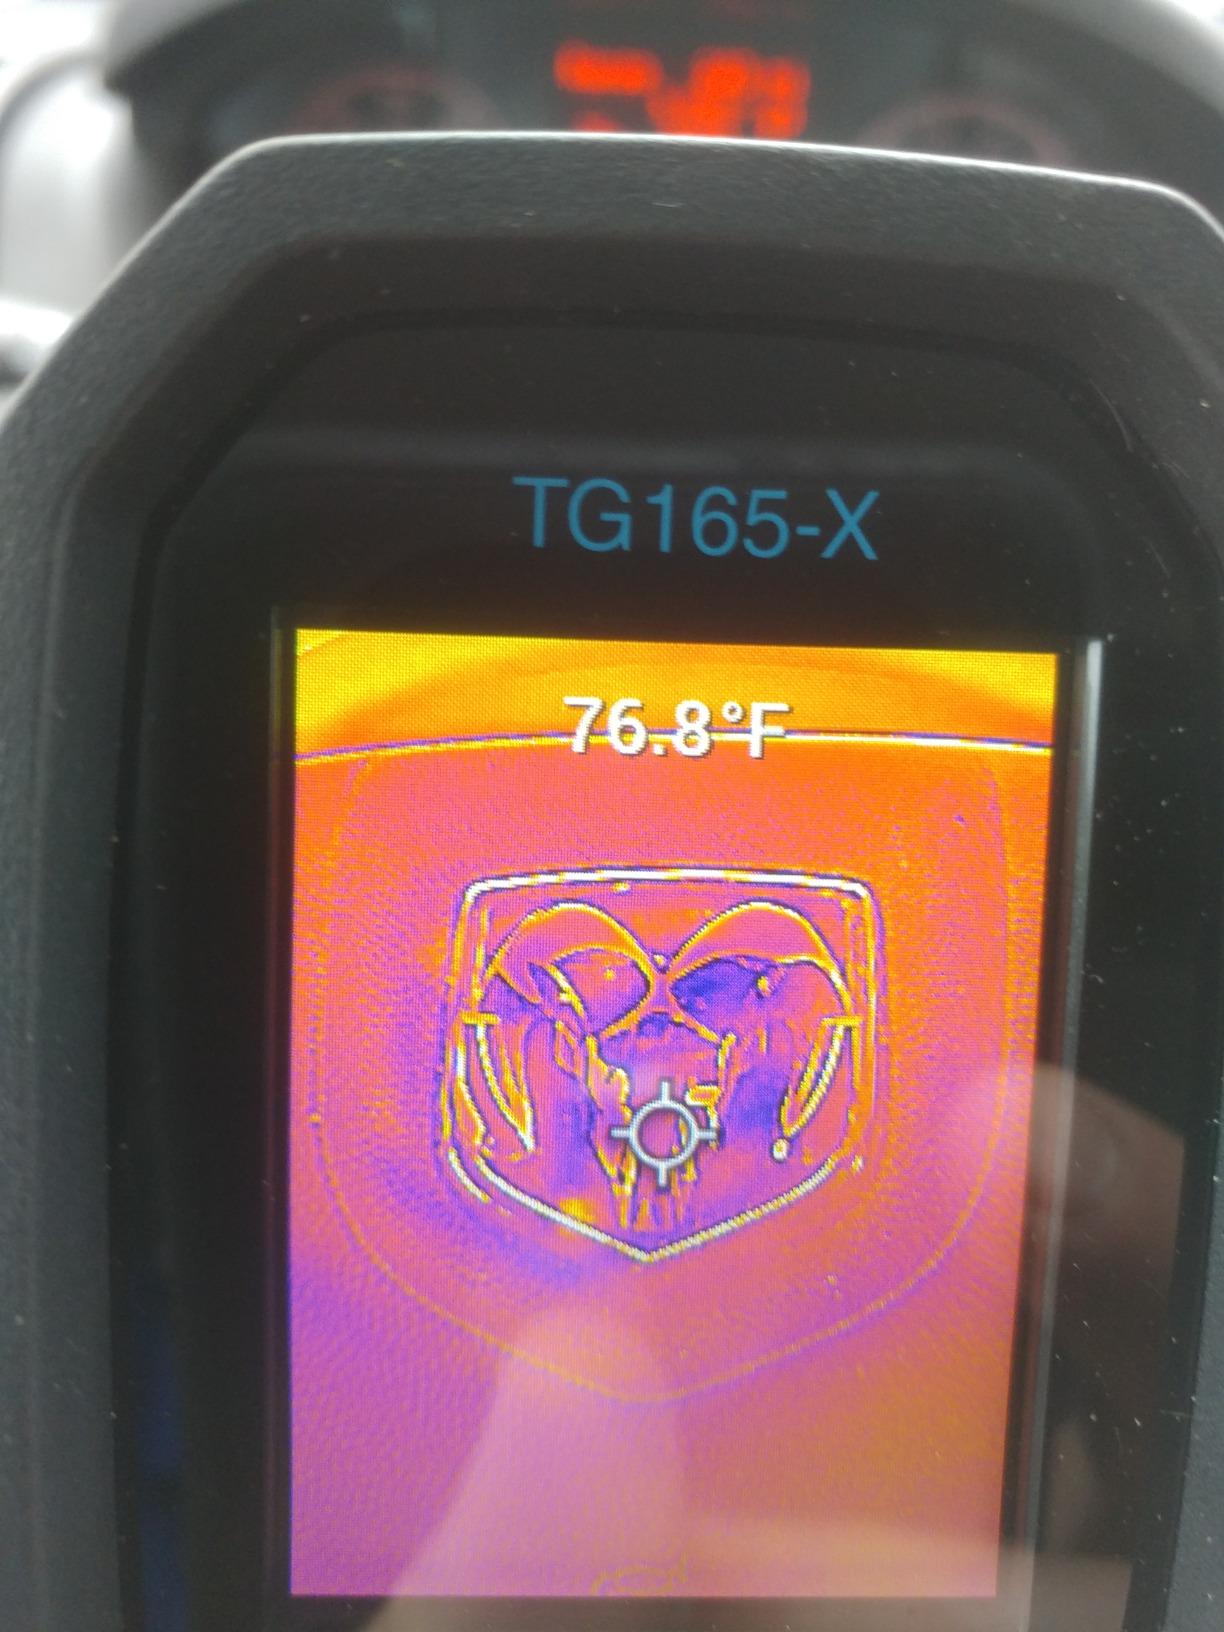
The TG165-X is built around one idea: putting a laser pointer on the thing you are about to measure. The bullseye laser projects circles that show the size of the measurement area at your working distance, which removes the most common error in panel inspection, aiming at a spot that is bigger than the junction you care about.
That single feature makes it the pick here for electrical work. When you are checking a panel or a motor, the question is whether one connection is running hotter than its neighbours. A pointer lets you line up identical measurement geometry on each, and identical geometry is what makes the comparison valid.
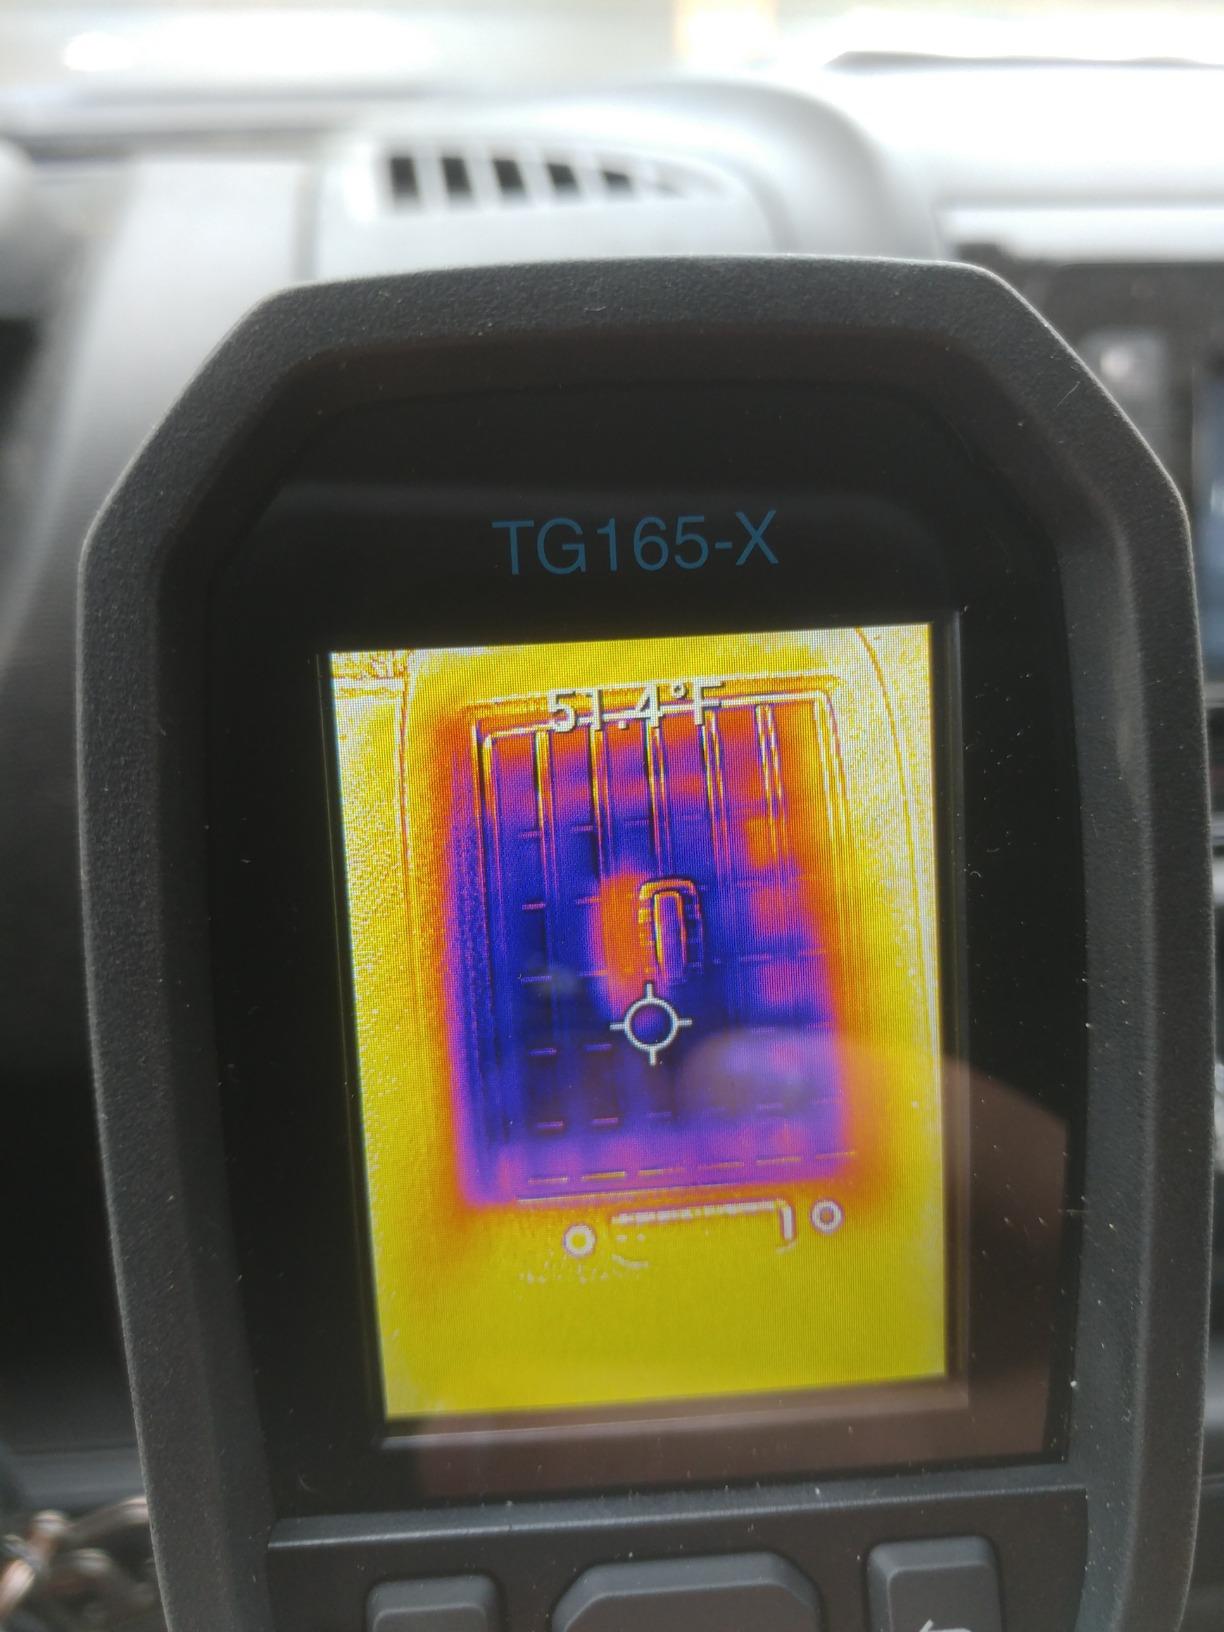
Behind the laser, the specification is modest. The detector is 4,800 pixels, roughly 80×60, which is the entry level of the market, and the range runs -25C to 300C. MSX embossing is present and does help readability. Response time is quoted at three seconds, which is quick enough that you are not waiting on the unit while someone holds a panel cover open.
Build quality is the quiet strength. The IP54 enclosure survives dust, oil and drops, and the warranty runs two years with ten years on the detector. It works as a fully standalone unit with no phone in the loop, which matters in a crawlspace or a garage where signal is poor.
Check before you buy
Ask whether your electrical scanning is a quick comparative check or a documented part of a report. For the first job this camera is well suited. For the second, 4,800 pixels will not produce an image a client will find persuasive.
Watch for
There is no Wi-Fi and no cloud connectivity, so every image comes off over USB and needs manual handling. Combined with fixed focus, that rules it out for close-up work inside equipment.
6. HSFTOOLS HP96 – Best Touchscreen Camera for New Inspectors
HP96 Thermal Imaging Camera,3.5″ Touch Screen, Intelligent Scene Detection
Screen: 3.5 inch touch display
Resolution: 96x96 IR enhanced to 240x240
Visible camera: 640x480
Accuracy: +/-2% with VOx detector
Pros
- Large 3.5 inch touchscreen is unusually readable for the class
- live super resolution to 240x240 makes small features visible
- five imaging modes including Fusion and Picture-in-Picture
- IntellFault scene detection flags insulation gaps automatically
- built-in mic and flash storage for photo video and audio
Cons
- No battery strength indicator on screen
- roughly four hours of runtime is short for full inspection days
- some early units had battery failures
- no moisture readings despite leak-oriented detection
The HP96 is the camera you buy if you have never used a thermal imager before and you are intimidated by menu-driven buttons. A 3.5 inch touchscreen with a phone-style interface removes almost the entire learning curve, and the five imaging modes are laid out the way you would expect on a consumer device rather than an industrial instrument.
Technically it is a 96×96 IR sensor enhanced on the fly to 240×240, with a 640×480 visible light camera alongside it. That gives you Fusion and Blending modes where the thermal signal sits on top of the room image, plus Picture-in-Picture for comparing both at once. For a new user, seeing the wall in the visible frame while the thermal gradient highlights the anomaly makes the whole concept click faster than any amount of explanation.
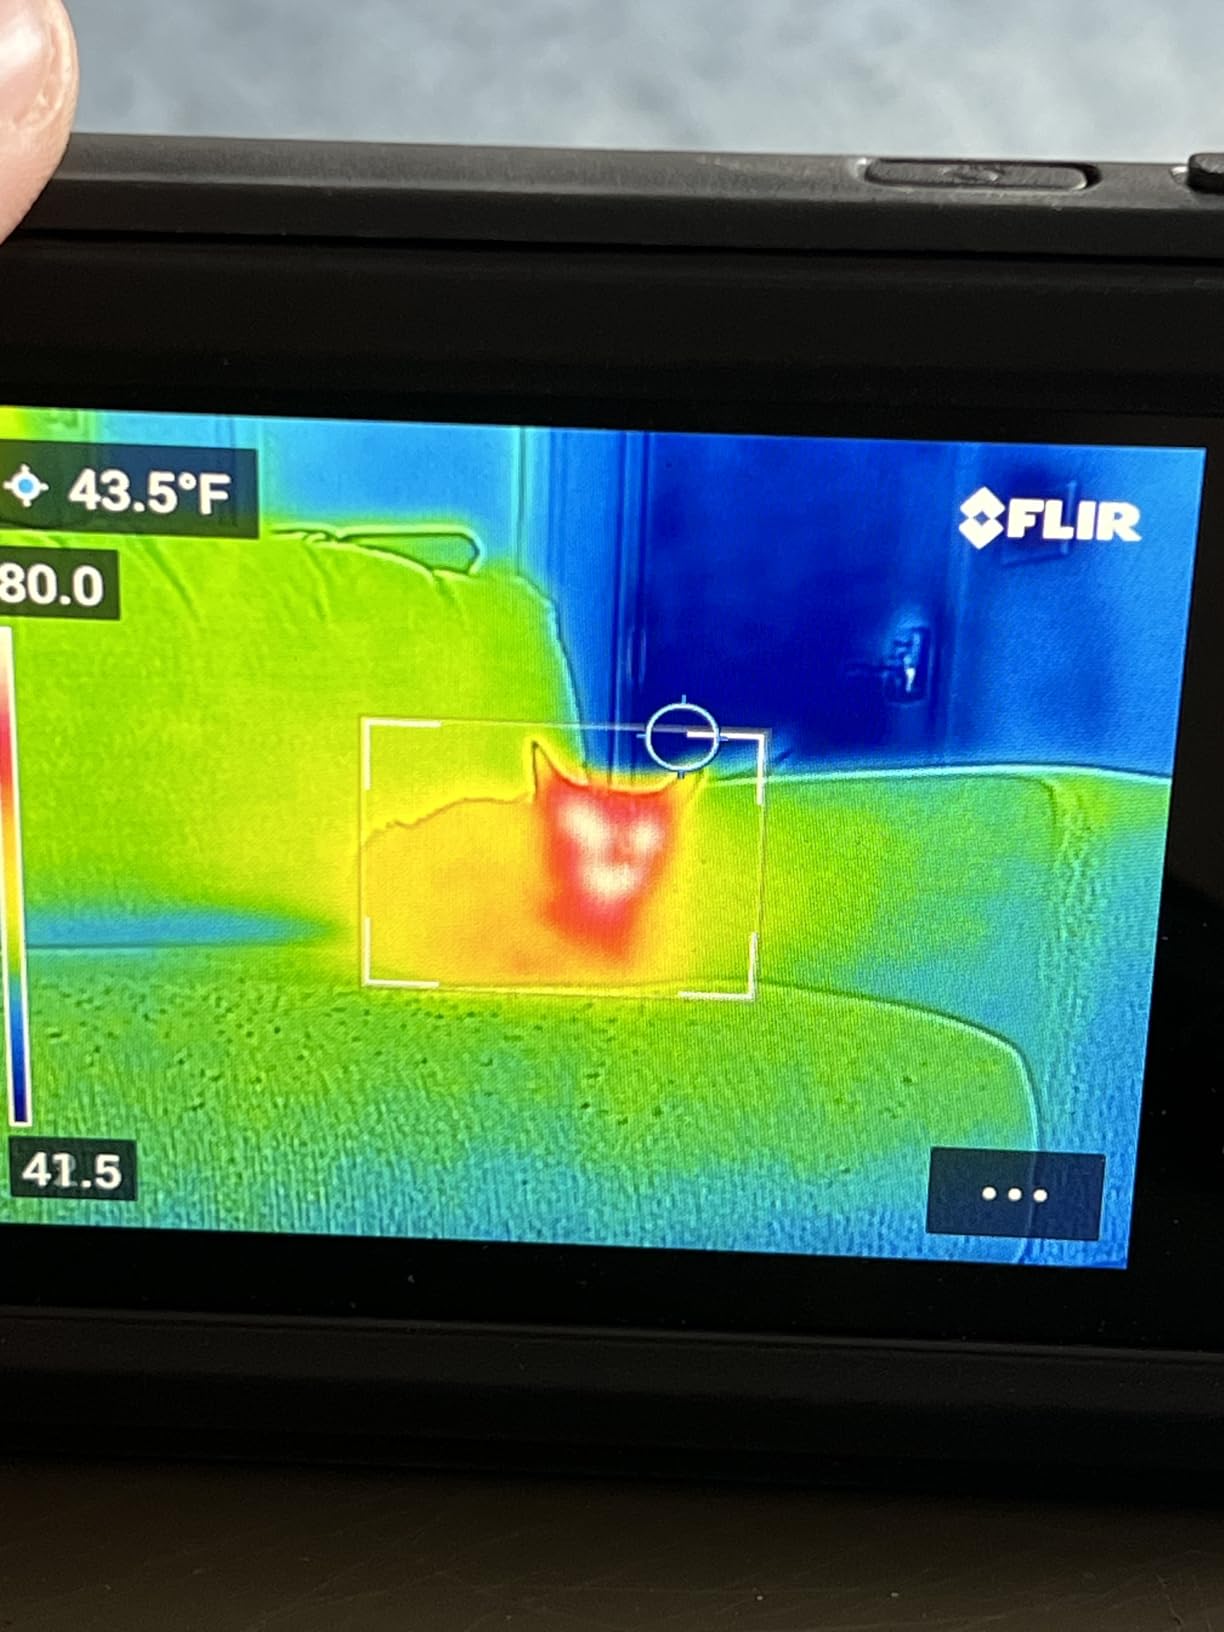
The VOx detector claims plus or minus 2 percent accuracy with 0.05C differential detection and sub-50mK sensitivity at 25Hz. That differential figure is the interesting one for envelope work, because most insulation and air leakage findings are 1 to 3C differences rather than dramatic temperature swings.
IntellFault deep-learning scene detection attempts to flag insulation gaps and leaks automatically. Treat it as a prompt for where to look rather than a diagnosis. As several reviewers point out, the camera does not produce moisture readings, and a flagged insulation gap is a hypothesis that still needs a moisture meter to test.
What we liked
Screen readability and framing. On a bright exterior wall in direct sun the large display is genuinely easier to work with than a small LCD, and the fusion and picture-in-picture modes help a beginner understand what they are looking at.
What to watch for
Roughly four hours of battery, and no indicator on screen showing how much charge remains. That combination is worth planning around on a full inspection day, and some early units also experienced battery failures that needed replacement through the seller.
7. MiLESEEY TR10 – Best Native Resolution and Sensitivity on a Budget
MILESEEY TR10 Thermal Imaging Camera, 192 × 192 IR Resolution, 25Hz
Resolution: 192x192 at 25Hz
Thermal sensitivity: NETD below 50mK
Accuracy: +/-2C
Range: -4F to 1022F
Pros
- 192x192 true resolution is unusually high for this price
- NETD below 50mK picks up subtle temperature differences
- eight hour battery and 8GB storage support full inspection days
- high and low alarms speed anomaly recognition
- recessed lens with 6.6ft drop rating
Cons
- Wired connectivity only with no wireless transfer to a phone
- less sophisticated app and reporting software than FLIR ecosystem options
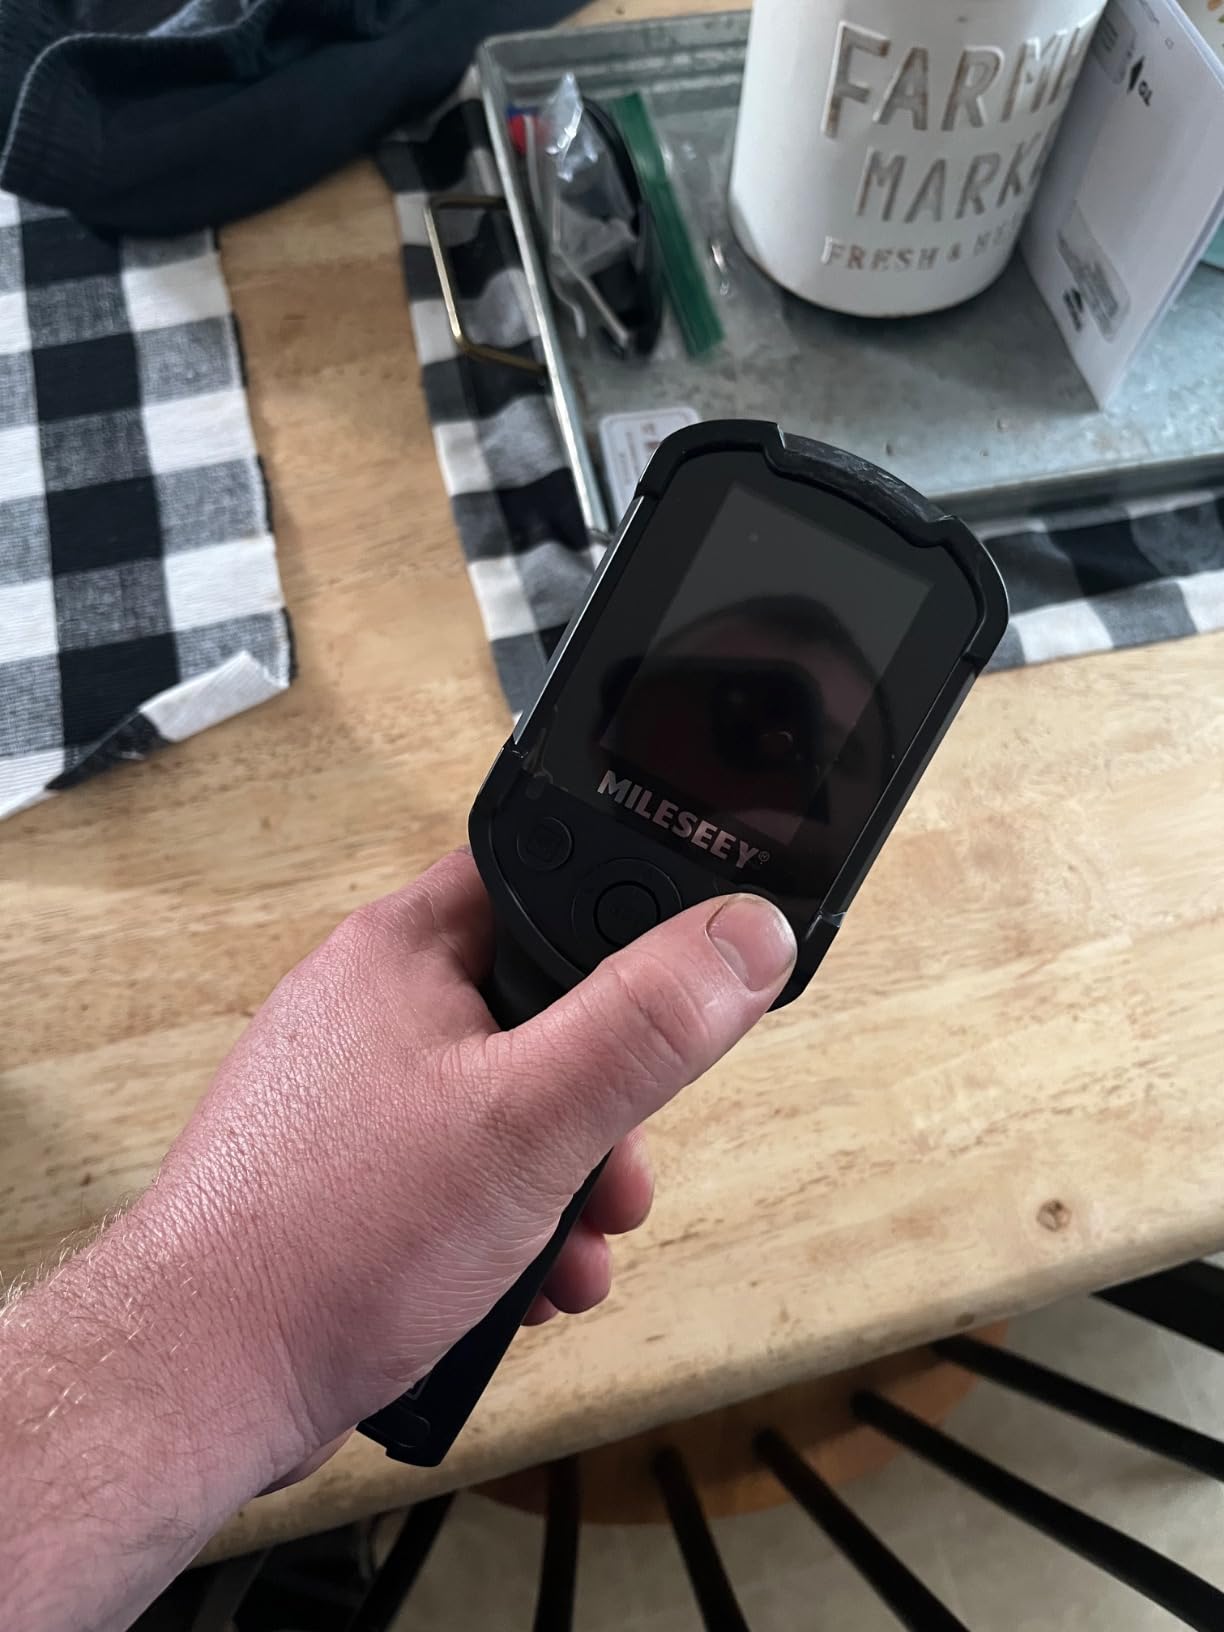
The TR10 is the specification anomaly in this lineup. A true 192×192 detector with NETD specified below 50 mK and accuracy within 2C, in a body at a budget price point, does not match what most cameras in this class offer. Most competitors at this level start from 96×96 or 128×128 and upscale the display.
That combination of native resolution and published sensitivity is what makes it interesting for envelope scanning. Insulation defects, air leakage through bypasses and thermal bridging all show up as small temperature differences rather than dramatic ones, and a detector that can resolve a fraction of a degree difference while showing you more pixels is exactly what you want for that work.
Practical details are well handled. The 3000mAh battery runs about eight hours continuously. Storage is 8GB built in, holding more than 30,000 images. The recessed lens design protects the optics and it is rated for 6.6ft drops. Temperature range runs -4F to 1022F, which covers building envelope and HVAC work comfortably, and spot lock on maximum, minimum and centre points reduces the fiddling involved in aiming.
The limitation is connectivity. It is wired only, with no wireless transfer to a phone, and the accompanying software is less refined than what the FLIR ecosystem provides. If your workflow depends on getting images into a cloud report in minutes, this is friction you will feel every time.
Why it stands out
It is the only unit here that publishes both a high native resolution and a thermal sensitivity figure. Two of the larger brands in this list publish no NETD specification at all, which means you cannot compare them to this one on paper even if you wanted to.
Where it is wrong for you
If your deliverable is a branded client report built in the cloud, you will spend time on file handling. If your deliverable is your own notes and a set of labelled images, that trade is worth making at this price.
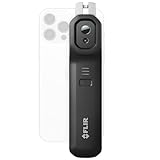
8. FLIR Edge Pro – Best Wireless Scanning for Tight Spaces
Flir Edge Pro Wireless Thermal Imaging Camera, iOS/Android, 480×360
Resolution: 160x120 native, 480x360 with Vivid IR
Connectivity: wireless to iOS and Android
Accuracy: +/-3C or +/-5%
Cloud: FLIR Ignite
Pros
- Wireless design lets you see around corners into tight spaces
- works with both iOS and Android unlike USB-C plug-in models
- app alignment tool lines up MSX and blend modes
- longer runtime than the previous FLIR One Pro LT
- FLIR Tools PC software is free
Cons
- Wireless stream is laggy compared with wired models
- Wi-Fi frequently disconnects and joining the camera network can drop the tablet from home Wi-Fi
- IR and visible images sometimes fail to align
- not water resistant
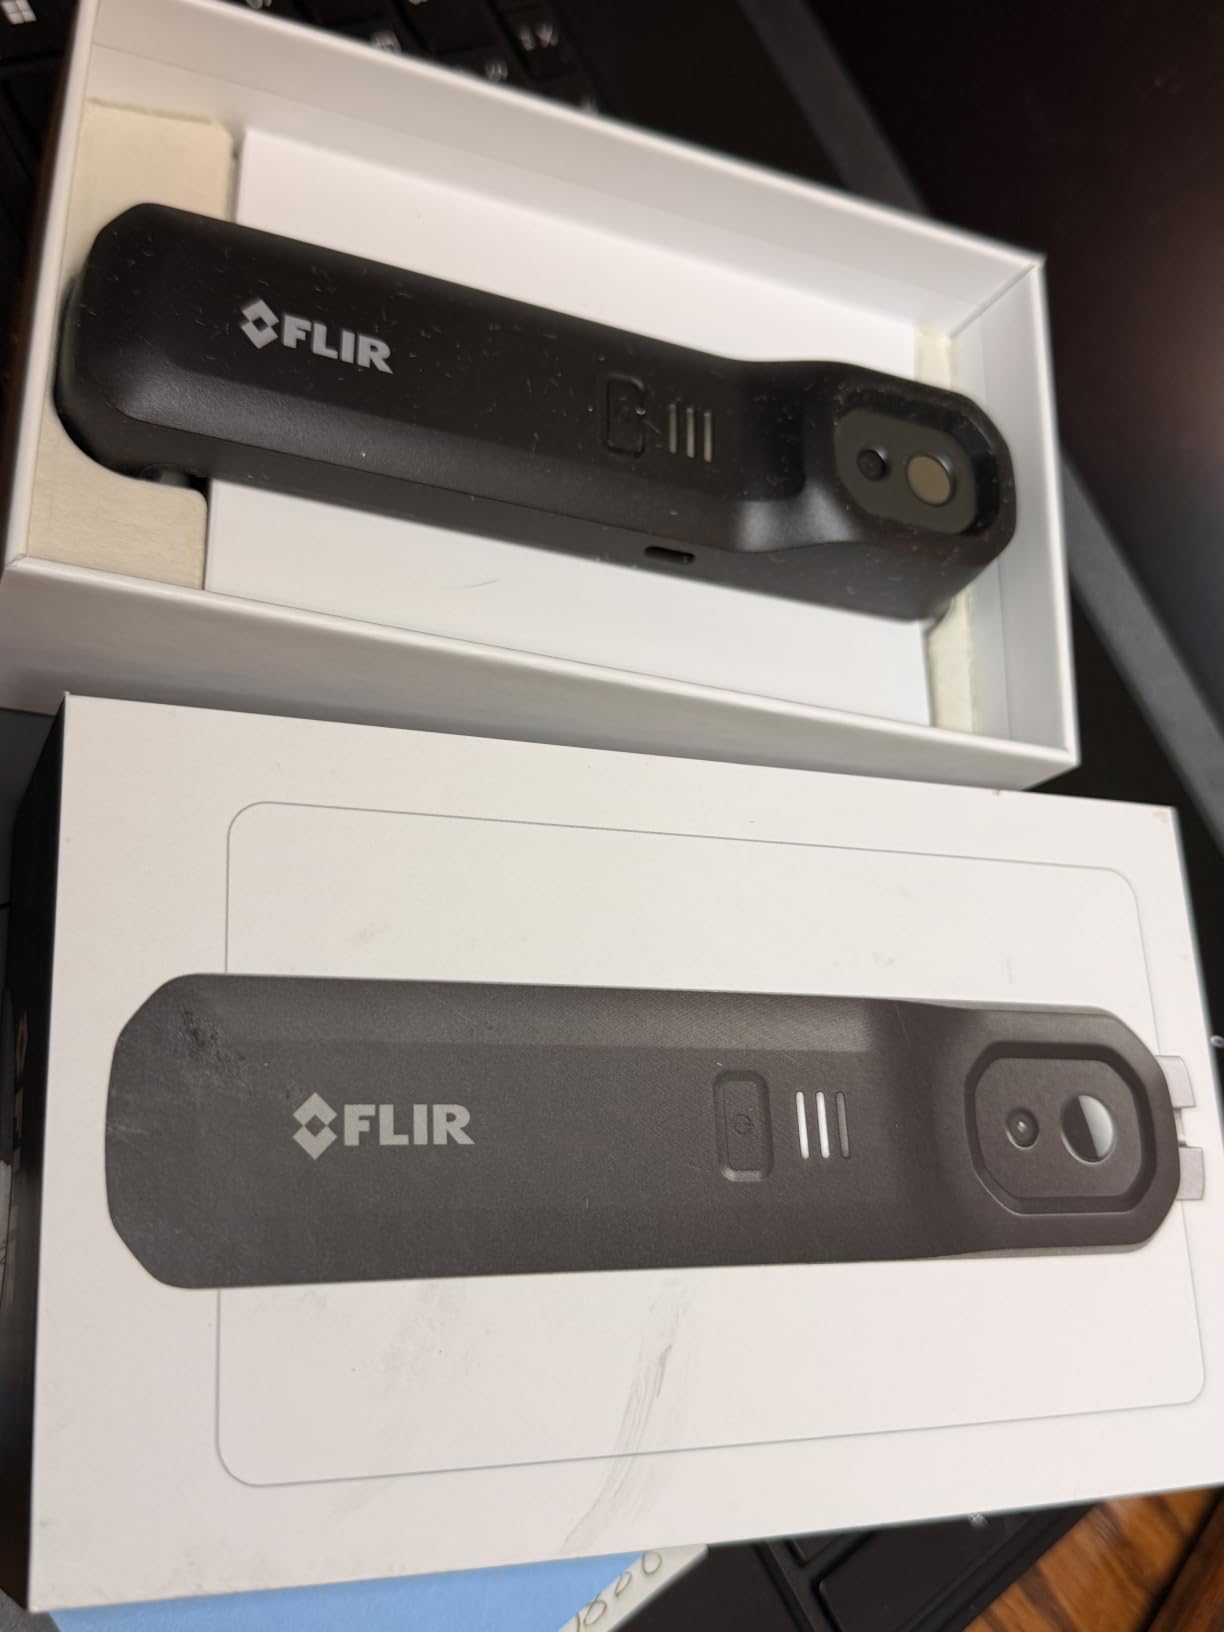
The Edge Pro exists for one problem the wired FLIR phones cannot solve. When the interesting part of the system is behind an obstruction, inside a chase, or around the back of a return duct, a cable running from the phone to the camera is a real limitation. Going wireless removes it, and you can hold the camera around a corner and watch the screen.
It also solves the platform problem. This works with both iOS and Android over wireless, which no USB-C plug-in model can do. If you or your partner use iPhones, the wired FLIR One Pro in this lineup is simply not an option.
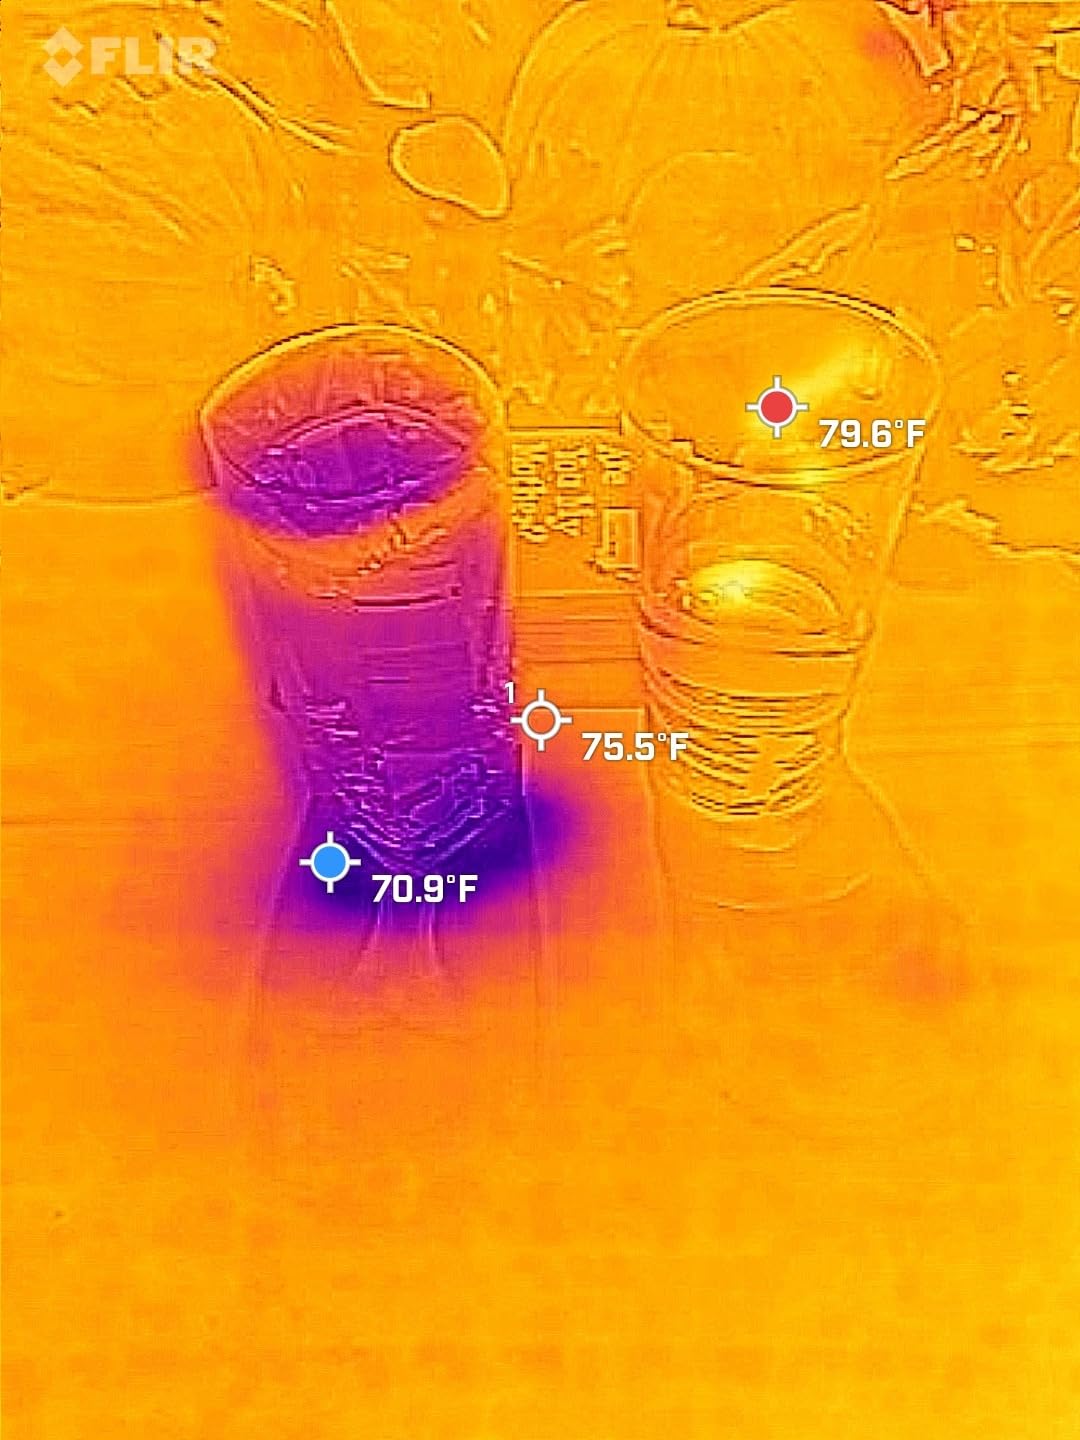
The wireless experience is where the compromises live, and reviewers are blunt about them. The stream lags compared with the wired models. Wi-Fi disconnects, and a recurring complaint is that joining the camera to its network can knock your tablet off the home Wi-Fi entirely. There is roughly half a second to a second of delay between moving the camera and the screen updating, and the IR and visible images do not always align perfectly.
On the specification side it is 160×120 native upscaled to 480×360 with Vivid IR and MSX blending, accuracy of plus or minus 3C or 5 percent, and FLIR Ignite cloud upload for organising and sharing. The warranty is two years with ten on the thermal camera. It is not water resistant, which rules out wet crawlspaces.
Where wireless earns its keep
HVAC work behind equipment, ceiling cavities you cannot reach with the phone in front of you, and any scan where you need the camera in one hand and something else in the other. Professionals who made this their daily driver cite the untethered workflow as the reason.
Where it frustrates
Connection reliability. If your properties have weak or crowded Wi-Fi, budget time for reconnects, or carry a wired unit as backup. The not-water-resistant rating should also rule it out of any wet location.
9. Flagfront 240×240 – Best Budget Camera for First-Time Buyers
Flagfront Thermal Camera, 240 x 240 TISR Resolution for Home Inspection
Resolution: 240x240 super resolution at 25Hz
Range: -4F to 1022F within 2%
Field of view: 50 degrees
Durability: IP54 and 6.6ft drop rated
Pros
- Very low entry point for a 240x240 super-resolution camera
- smooth 25Hz refresh makes scanning large walls easy
- temperature alarm with highest lowest and centre readouts on screen
- lightweight and comfortable over long inspections
- survives drops and includes an SD card already installed
Cons
- Images can look soft when fine detail is needed
- lens cover flap will not stay open and can block downward pointing
- screen resolution is modest
- image briefly stalls during calibration after switching on
If your goal is finding out whether a house has a badly missing section of insulation before you commit to buying it, this is the cheapest sensible way to find out. Homeowners and HVAC technicians reviewing this camera describe it as excellent for general heat mapping, leak and insulation checks at the money.
The specification reads better than it performs. The 240×240 figure is super resolution processing rather than a native detector, and the honest expectation is that you get a usable picture of where the temperature differences are, not a sharp record of a small defect at a distance. A minority of reviewers find the picture too soft for fine detail, and that is the honest boundary of this camera.
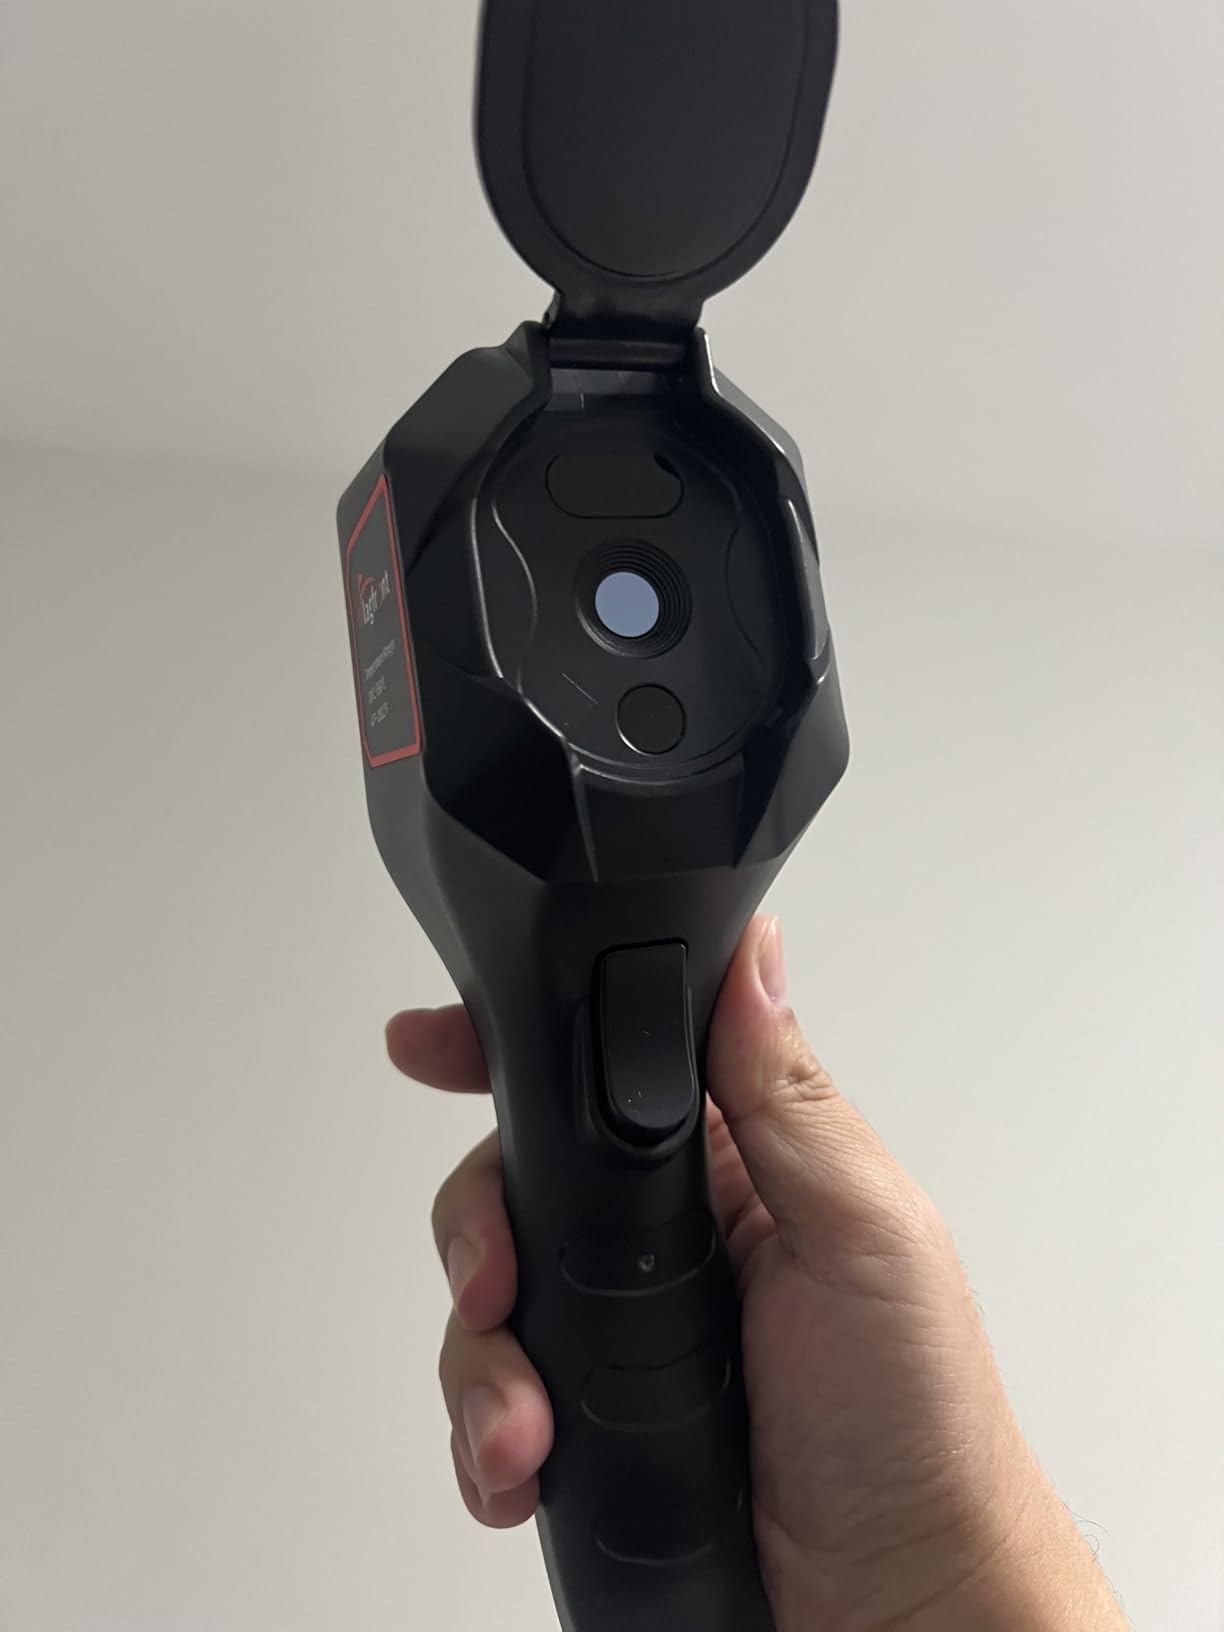
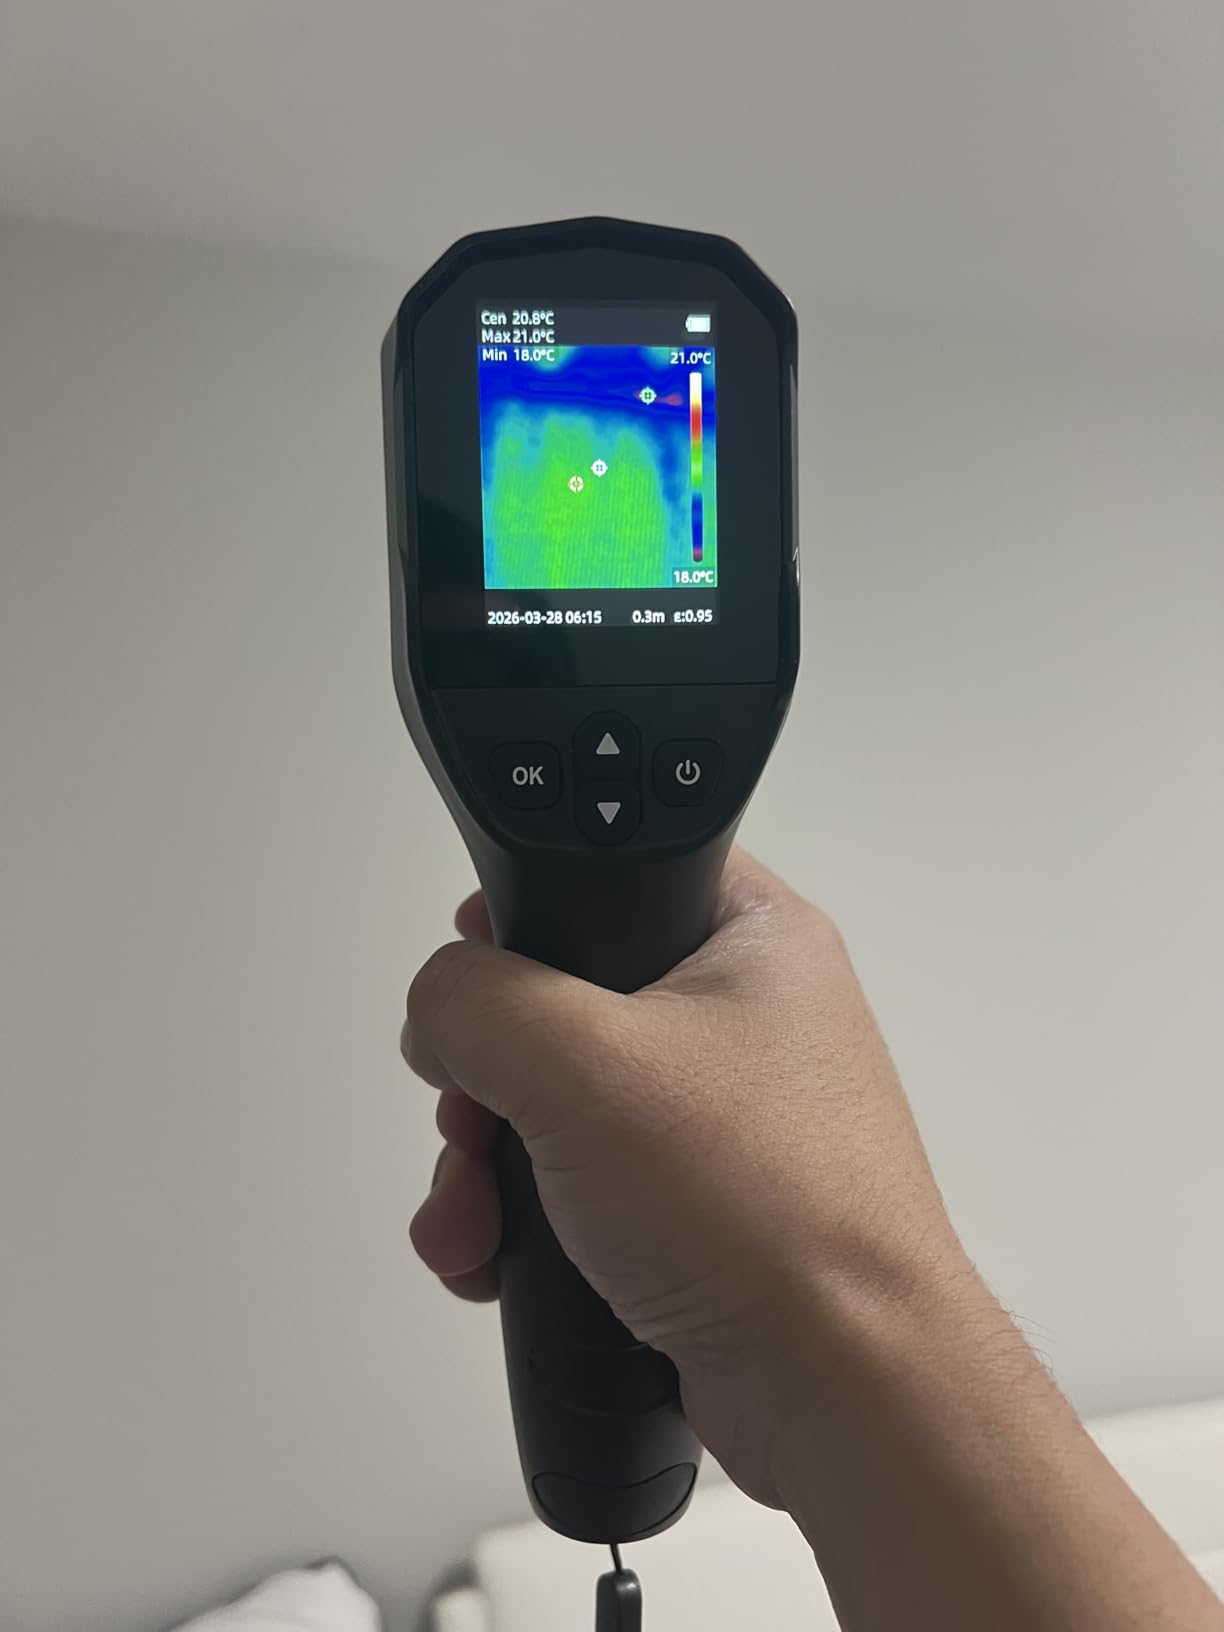
What you do get is a smooth 25Hz refresh, which matters more than most buyers expect. Panning across a large exterior wall with a camera that stutters produces a smeared, hard-to-read image, and the refresh rate here keeps the scan legible. The 50 degree field of view covers a good area per frame, and the built-in alarm with highest, lowest and centre readouts gives you the numbers on screen without aiming gymnastics.
Temperature range is -4F to 1022F within 2 percent, with adjustable distance and emissivity settings and six colour palettes. It is IP54 rated and 6.6ft drop tested, and storage takes an SD card, which is a welcome change from the USB-C transfer workflow most cameras in this class force on you.
Best first purchase
For a buyer doing one or two pre-purchase screenings, this answers the question that matters: is there a thermal anomaly worth walking back in with a moisture meter? You do not need report-grade imagery for that, and you should not pay for it.
Known problems
The lens cover flap will not stay open and can block the view when pointing downward, which is exactly the angle you use for ceiling and attic scans. The screen resolution is modest and the image briefly stalls during calibration after power-on.
10. Thermal Master Thor002 – Sharpest Thermal Detail in This Lineup
Thermal Master Thor002 Handheld Thermal Camera, 512 × 384 X³ Resolution
Resolution: 512x384 X3 from 256x192
Thermal sensitivity: 40mK at 25Hz
Display: 3.5 inch 640x480 IPS
Range: -4F to 1022F, +/-3.6F
Pros
- Highest resolution class in this lineup at 512x384
- 40mK sensitivity and 25Hz capture fine thermal gradients
- large 3.5 inch 640x480 IPS screen reads easily on site
- 32GB storage with voice notes and QR file management
- 10.5 hour runtime with fast charging
Cons
- Heaviest unit in the lineup at 3.12 pounds so less pocketable
- X3 resolution is an enhancement over a 256x192 sensor
- learning curve on the menu system
The Thor002 is the only camera here that clears the 320×240 benchmark that certified inspectors on the InterNACHI forum describe as the ideal standard for report imagery. X3 processing takes a 256×192 sensor to 512×384, and paired with 40 mK sensitivity at 25Hz, it produces the most detailed thermal images in this group by a clear margin.
For a professional whose image will be examined by a client, a buyer and potentially an expert witness, that resolution is the difference between a photograph that shows a defined region and one that shows a vague colour shift. If you are pricing a report-grade workflow, this is the camera the rest of this list is being compared against.
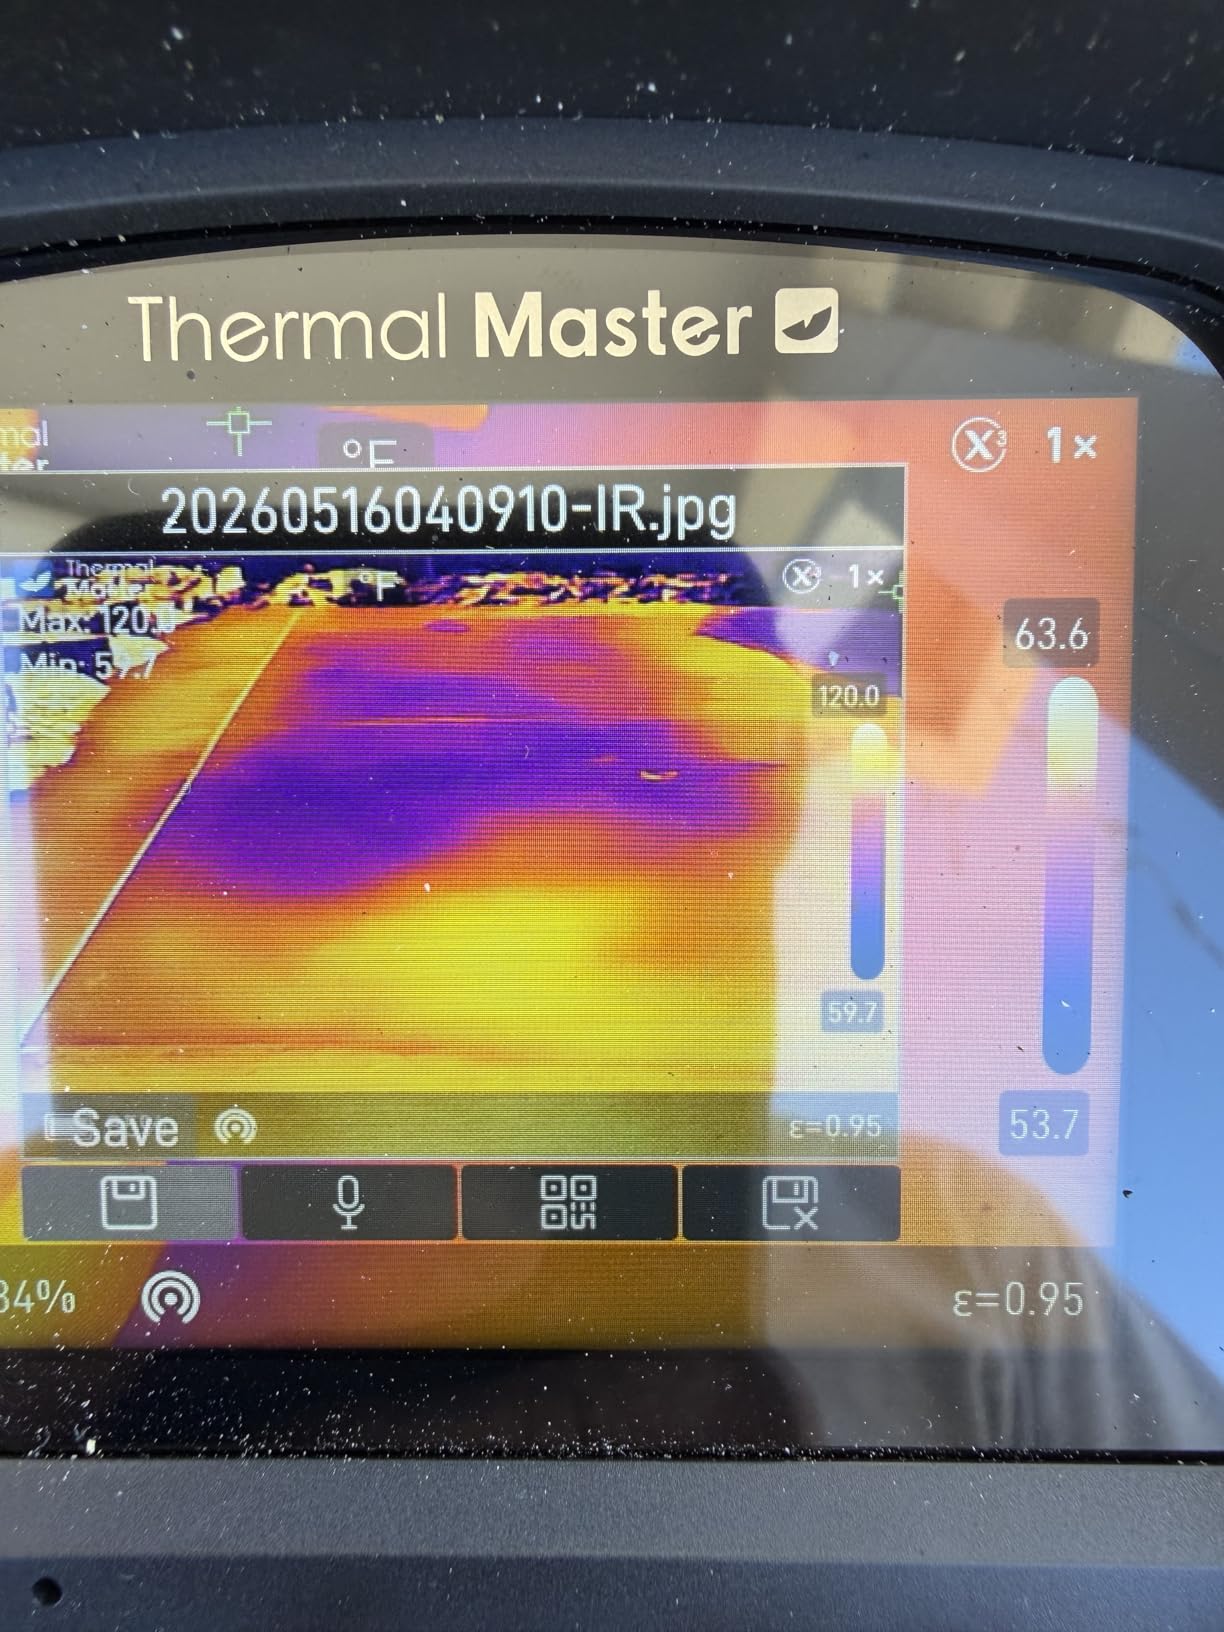
The documentation features are unusually strong for this category. Storage is 32GB with voice notes and QR code file management, so you can record an observation at the wall and find it again without scrolling through a folder of near-identical filenames. Six simultaneous measurement points cover centre, hot, cold and three custom spots, which lets you capture a full profile of a junction in one frame rather than moving the aim between readings.
Screen real estate is another strength. A 3.5 inch 640×480 IPS display is bright enough to read in daylight on an exterior wall, which matters because a lot of envelope scanning happens outside. The 5000mAh battery runs up to 10.5 hours with 18W fast charging, USB PC real-time analysis is available, and it pairs over Wi-Fi with phones and tablets.
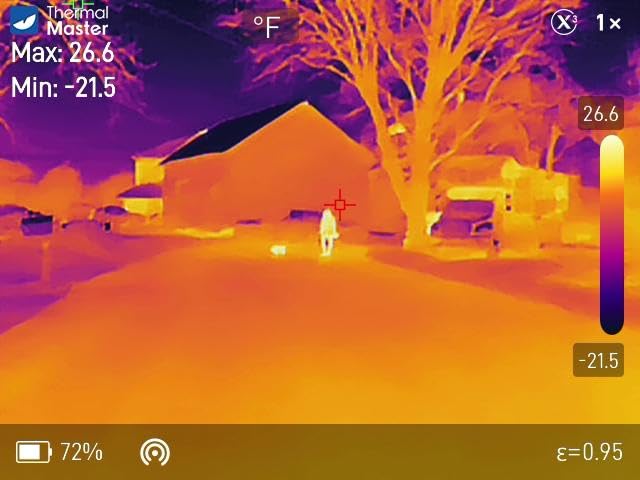
Who should buy this
Inspectors who put imagery in written reports, and anyone doing energy auditing where documenting a delta across a wall assembly is the deliverable. The high sensitivity also makes it the better choice for spotting thermal bridging around window openings and structural members.
What it costs you
At 3.12 pounds it is the heaviest unit here and you will notice it after a few hours of continuous scanning. The menu system has a real learning curve, and the X3 figure is an enhancement over a 256×192 sensor rather than a native 512×384 detector.
11. FOXWELL RT280 – Best for Report Generation on a PC
FOXWELL RT280 Thermal Imaging Camera, 320 x 240 2.8″ LCD, 240 x 180 TISR
Resolution: 120x90 native, 240x180 TISR
Display: 2.8 inch 320x240 LCD
Range: -4F to 1022F, +/-3.6F or 2%
Storage: 8GB eMMC
Pros
- Straightforward operation usable within five minutes
- built-in laser pointer and LED light for dark crawlspaces
- 8GB storage supports photo video and voice memo
- PC software adds 2D and 3D analysis with report generation
- sturdy build that survives tool-bag daily use
Cons
- Advertised 240x180 is TISR enhanced from a 120x90 sensor
- 25Hz can look slightly jerky during fast panning
- PC software is Windows only with no Mac support
- some readings reported off from a reference thermometer
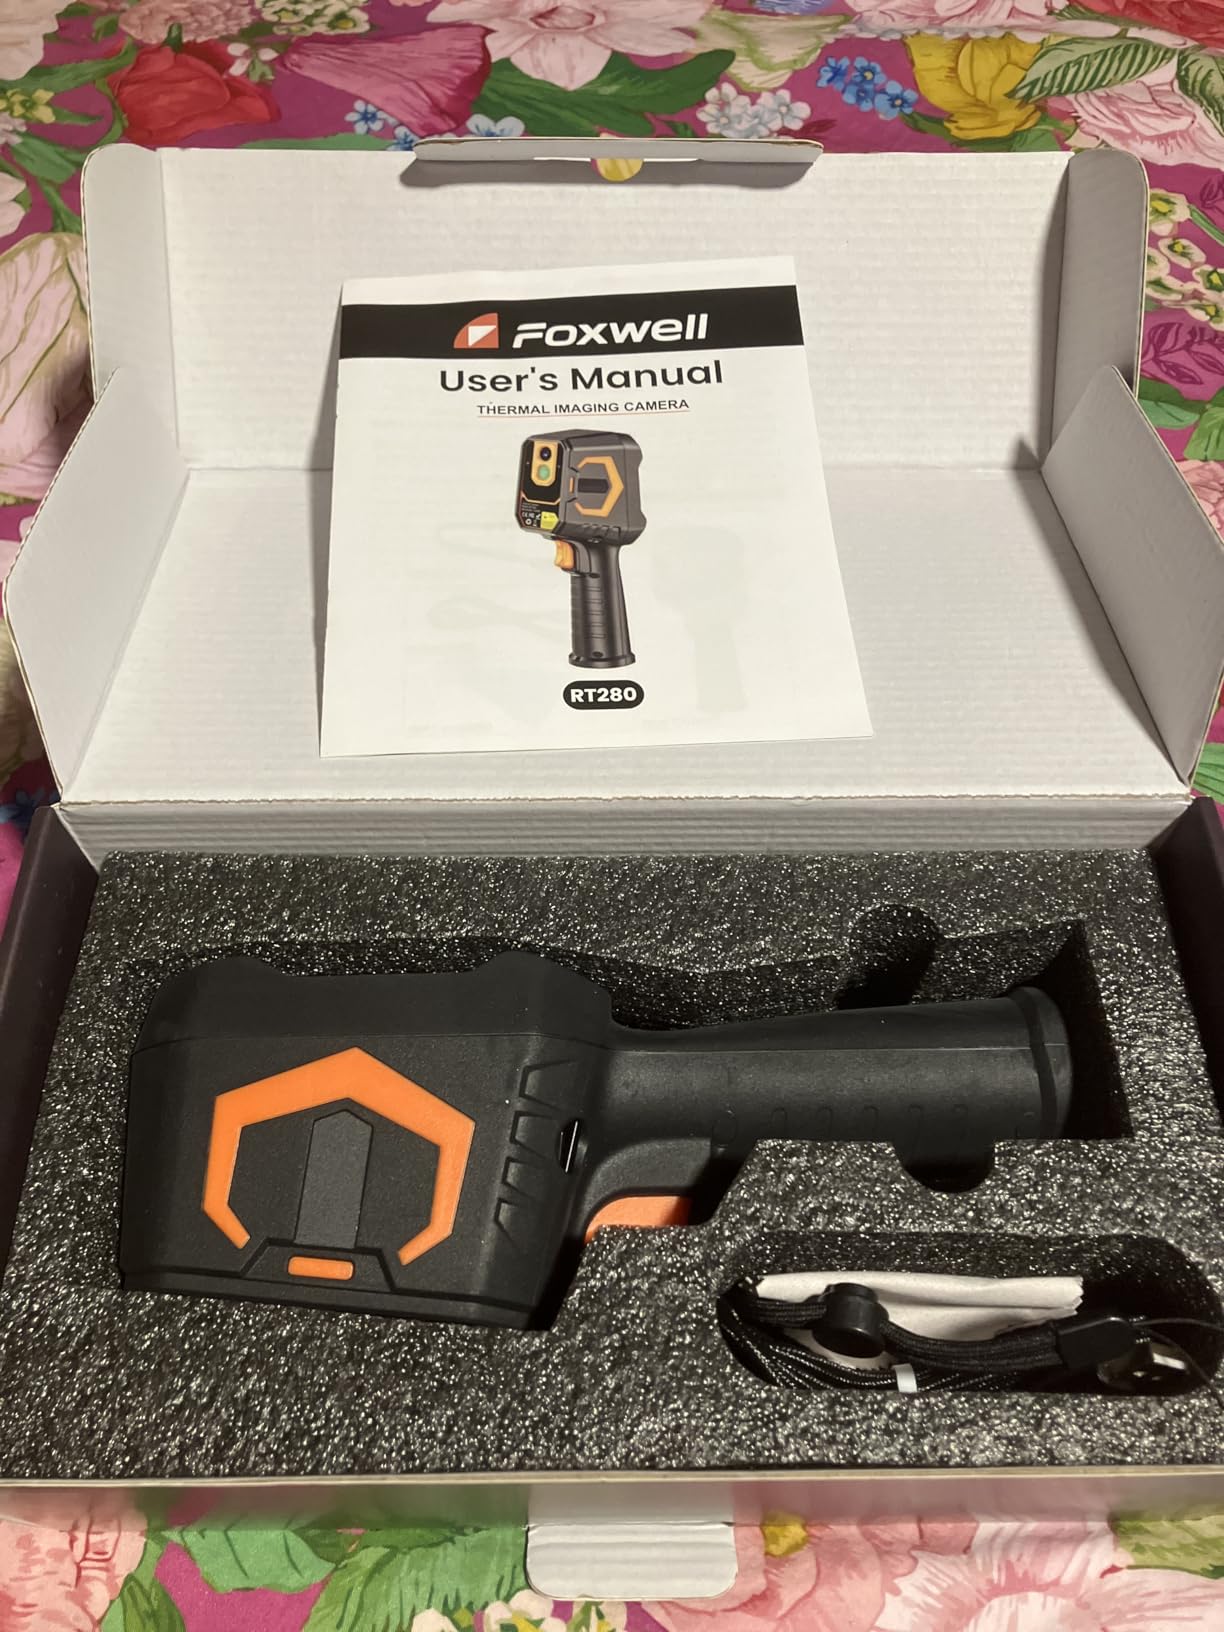
The RT280 is the pick here for anyone whose reports are assembled on a Windows computer. The bundled software does 2D and 3D analysis and generates reports directly, which removes the manual image handling that eats time on every job. Very few cameras at any price include something close to that.
Operation is the other selling point. Owners describe it as usable within five minutes of opening the box, with an interface that does not require reading a manual. The laser pointer and LED flashlight are practical additions, particularly for crawlspaces and shaded exterior walls where you need to identify the spot you are about to measure.
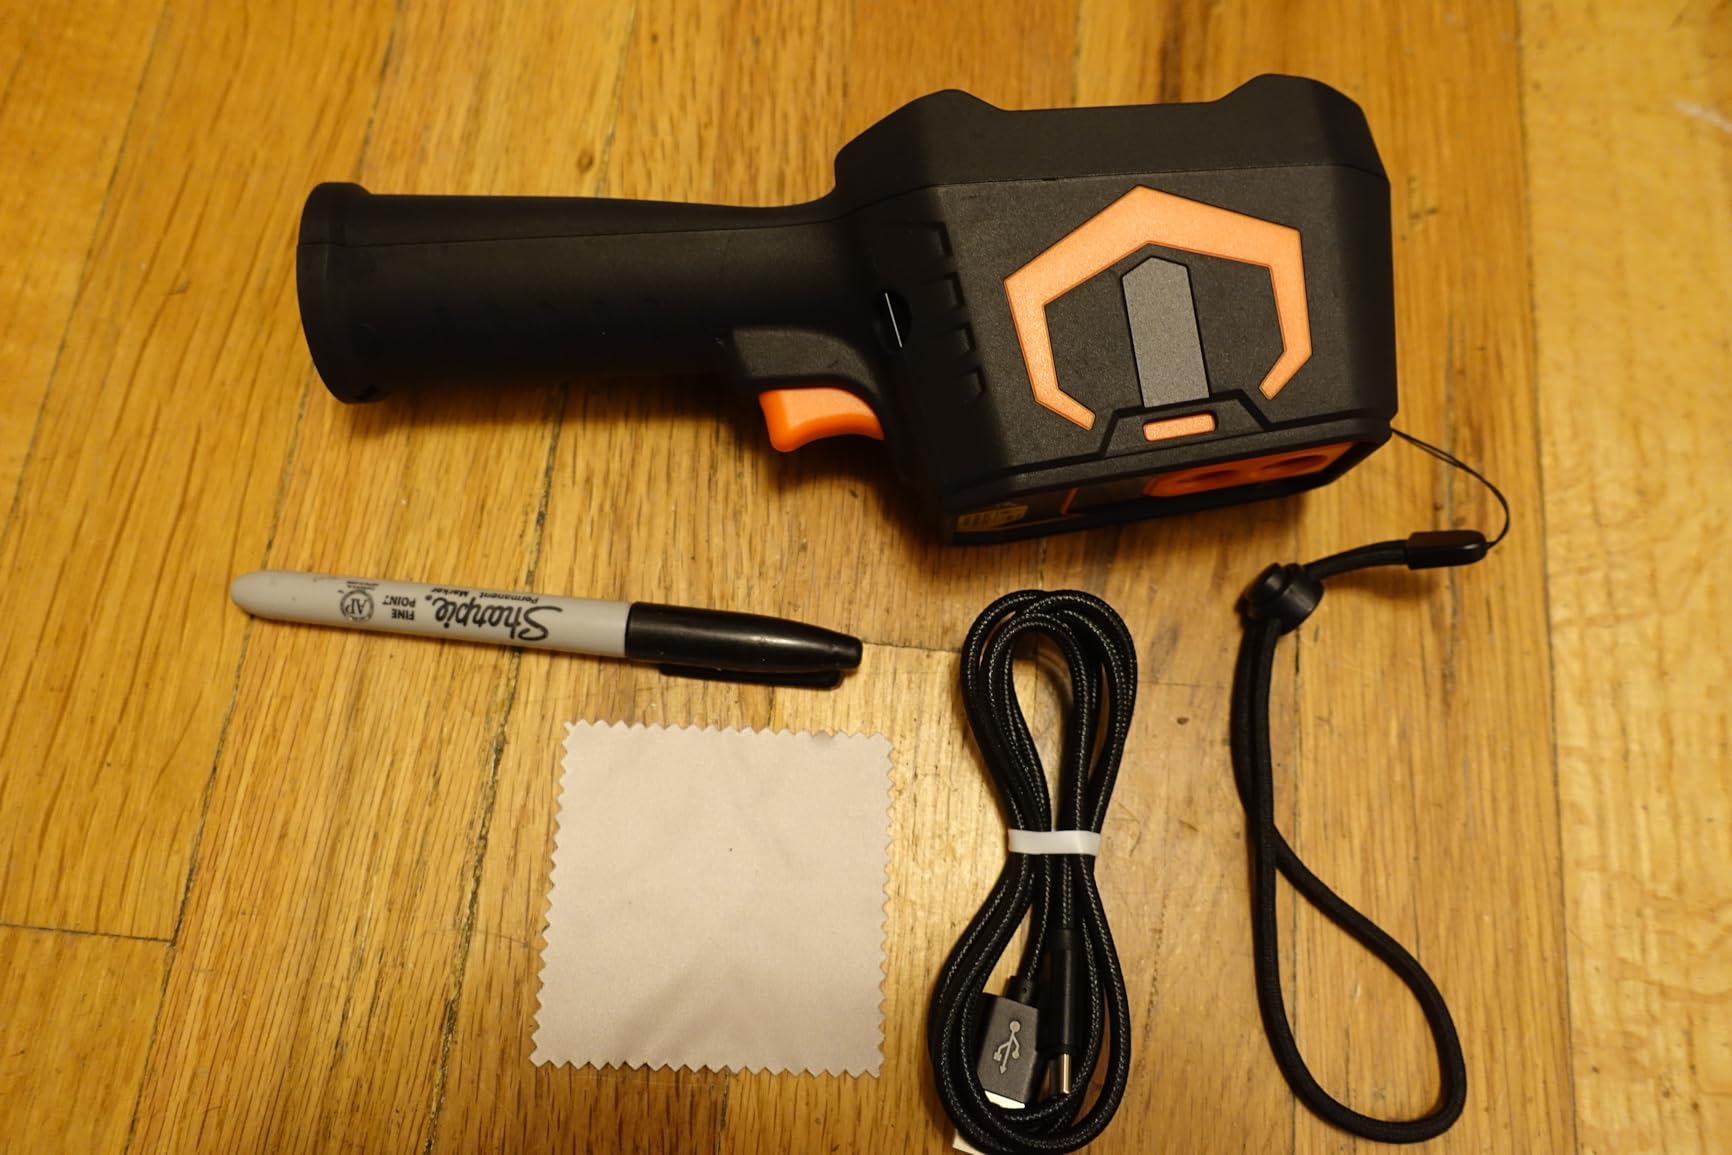
Be clear about the resolution, because the listing leads with it. The 240×180 figure is TISR enhancement from a 120×90 native sensor, one of the smallest raw detectors in this lineup. That is genuinely small, and it will not resolve fine anomalies at distance. What it will do is give you a fast, readable overview of where the temperature differences are, which for screening work is most of the value.
The display is a 2.8 inch 320×240 LCD, the refresh runs at 25Hz which can look slightly jerky during fast panning, and the 50×38 degree field of view covers a reasonable area. Storage is 8GB of eMMC holding more than 20,000 images and videos. Accuracy is quoted at plus or minus 3.6F or 2 percent, though some reviewers report readings that differ from a reference thermometer, which is worth checking against a known point when you first get it.
Best for
Tradespeople and new inspectors who want report output without a subscription or a learning curve. The Windows-only software is a hard limit for Mac users, so check your machine before anything else.
Where to be careful
Verify accuracy against a known reference when the camera arrives. And if you already own a camera with a larger native sensor, the RT280 adds reporting convenience rather than detection capability, so it complements a toolset rather than replacing one.
12. HSFTOOLS HF96V – Best Value Dual-Camera Setup
HF96V Thermal Camera with Visual Camera & Laser Pointer, Intelligent Scene Detection, 240 * 240 Super Resolution Thermal Imaging Camera,25 Hz, 50° FOV, -4°F to 1022°F, IP54 Infrared Camera
Resolution: 96x96 IR enhanced to 240x240
Visible camera: 640x480
Range: -4F to 1022F, +/-3.6F
Battery: up to 11 hours
Pros
- Fusion mode overlays thermal on the visible image making anomalies easy to locate
- owners report it found a wax tank near 300 degrees and saved diagnostic time
- eleven hour battery and 4GB storage support long inspections
- scene recognition and high/low alarms speed detection
- laser pointer and Windows software included
Cons
- Base IR sensor is only 96x96 so images need super resolution
- low on-screen resolution
- will not charge with generic USB-C cables
- menu interface is awkward to navigate
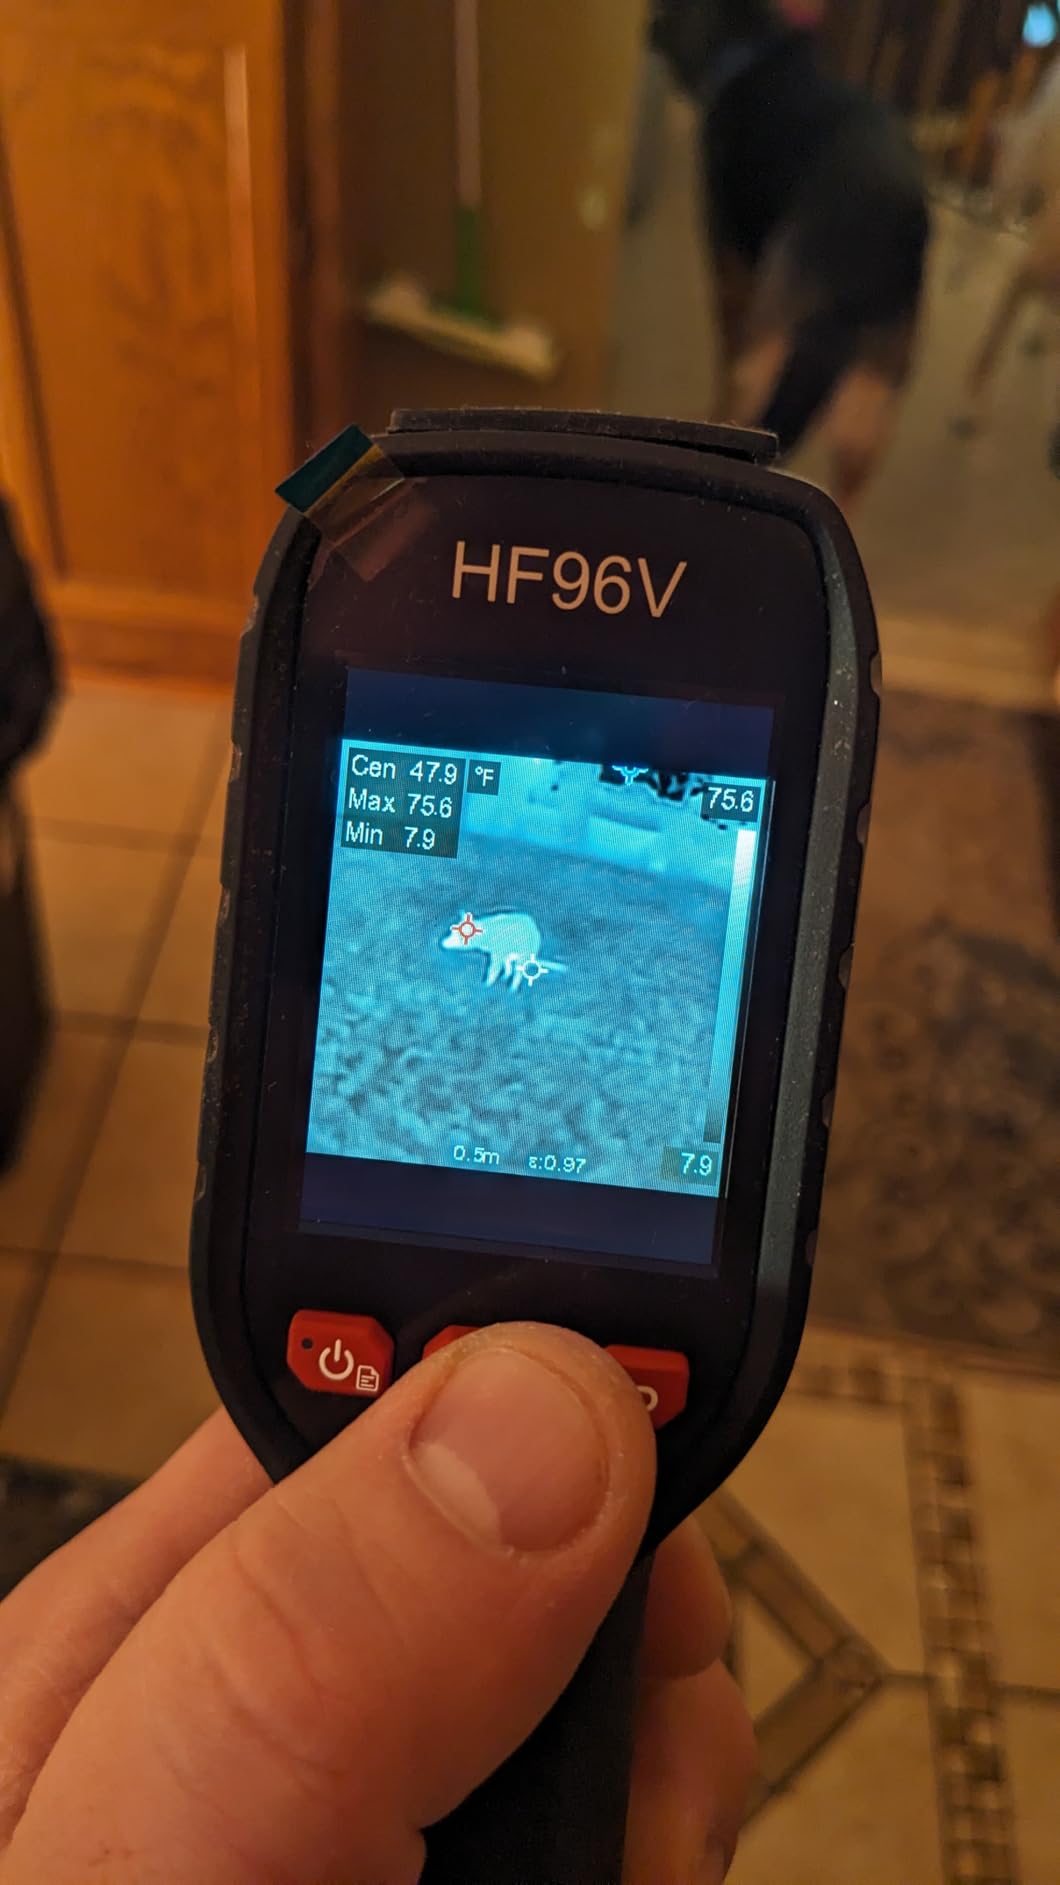
The HF96V is a three-in-one package: thermal camera, 640×480 visible camera with fusion, and a laser pointer, at a price that undercuts most single-function bodies. Fusion mode is the feature that earns its keep during a whole-home walkthrough, because you see the room as your client sees it with the thermal gradient painted over the relevant surface.
Users report practical wins from it. One owner described finding a wax tank running near 300 degrees and saving significant diagnostic time as a result. For HVAC troubleshooting and mechanical work alongside an inspection, having the visible camera built in rather than separate removes a step.
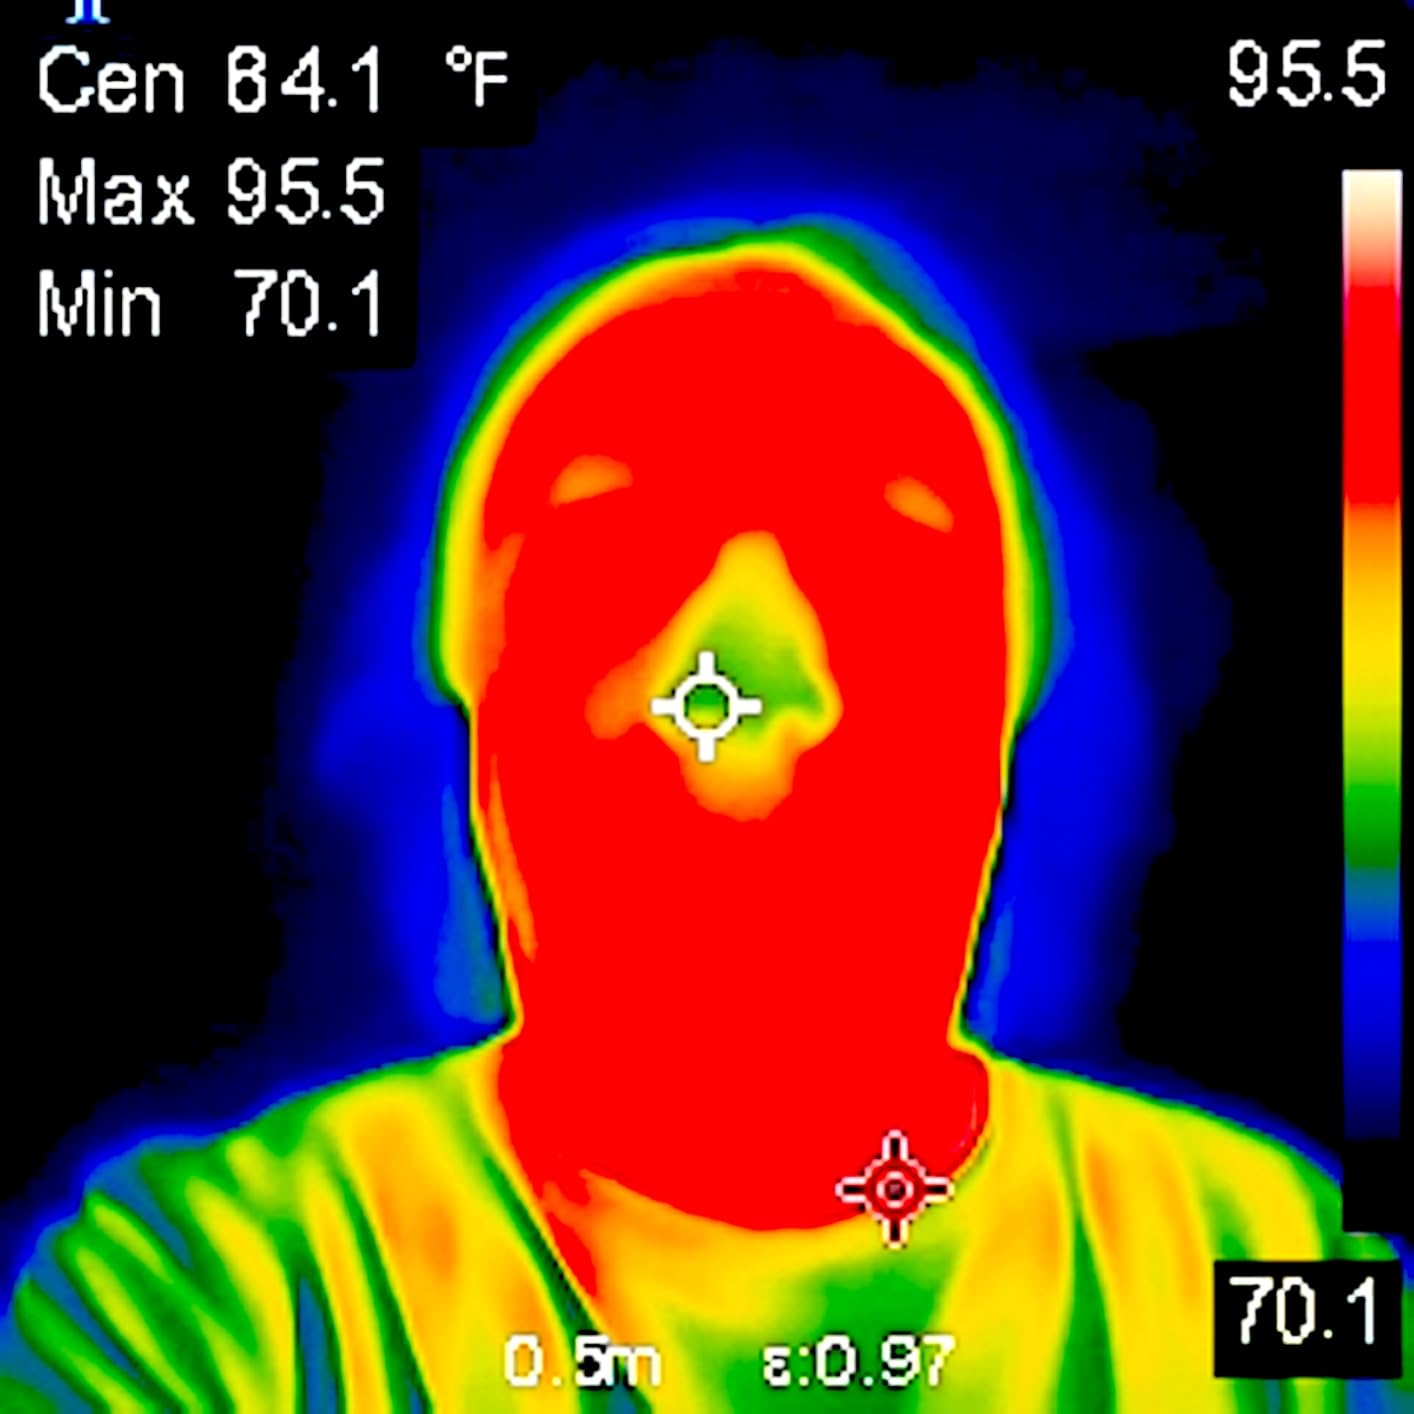
The base infrared sensor is 96×96, which means live super resolution is doing the heavy lifting to present a 240×240 image at 25Hz with sensitivity below 50 mK. Understand what that means before you buy: the displayed resolution looks considerably better than the raw sensor, and small anomalies at distance will not resolve. For whole-surface scanning it is effective. For pinpoint diagnosis it is not.
Everything around the sensor is well specified for the price. Temperature range is -4F to 1022F with plus or minus 3.6F accuracy, the field of view is 50 degrees with hot, cold and centre spot tracking, and there are seven colour palettes. Battery life runs up to eleven hours with 4GB of storage for more than 30,000 images and 14 hours of video. It is IP54 rated, passes a 6.6ft drop test and includes a tripod mount and laser pointer.
Where it makes sense
Combined inspections and HVAC-adjacent work, where a visible camera plus thermal plus a pointer in one body is genuinely convenient. The eleven hour battery means a two-property day without a spare.
What to watch for
It charges only with the included cable, not generic USB-C leads, which is an annoying surprise on a job site. The menu interface is awkward and the on-screen resolution is low, so you will want to review images on a computer rather than judge quality on the camera display.
How to Choose a Thermal Camera for Home Inspection?
Here is the order we would work through. Start with resolution, because it determines what you are physically able to detect, then filter on sensitivity, then decide form factor, then check the software, and only then look at ruggedness.
1. Thermal resolution. Resolution is the detector pixel count, written as width by height: 160×120, 192×192, 256×192, 320×240. More pixels means each pixel covers a smaller piece of the surface, so a small defect stays visible at a distance instead of averaging into its surroundings. The professional benchmark discussed on inspector forums is 256×192 as a floor and 320×240 as the target for report imagery. Most of the low-cost bodies here start at 96×96 or 128×128 and upscale the display, which improves framing but not detection.
2. NETD thermal sensitivity. NETD, or thermal sensitivity, is the smallest temperature difference the detector can register, expressed in millikelvins. Under 50 mK is the figure that keeps appearing in professional guidance. It matters most for insulation and air leakage work, where the signal you are hunting may be 1C or 2C across a wall rather than a dramatic hotspot. Plenty of cameras publish no NETD figure at all, which makes them impossible to compare on paper.
3. Temperature range. For envelope and HVAC work you need coverage from around -20C for cold exterior conditions up to at least 400C for electrical and mechanical diagnostics. A camera that tops out near 150C will not help you with a stuck boiler or an overloaded breaker, and one that cannot read below zero will misbehave on a winter scan.
4. Form factor. Standalone handheld units such as the TOPDON TC004 Mini and the Thermal Master Thor002 give you a dedicated tool with long battery life and no platform dependency. Smartphone attachments such as the FLIR ONE Pro are lighter to carry and inherit your screen, but tie you to a phone, an app and a charging port. Wireless models solve cable problems and work on both iOS and Android, at the cost of a laggier, less reliable connection.
5. Software and reporting. This is where professional and DIY buyers should diverge most sharply. FLIR Ignite gives you cloud upload, organisation and client-ready report sharing. The FOXWELL RT280 bundles Windows software with 2D and 3D analysis and report generation. If your deliverable is a branded report, budget for this. If it is your own notes, do not pay for capability you will not use.
6. Ruggedness and power. Look for an IP54 rating or better, a stated drop rating, and battery life that exceeds your working day. A 4 hour runtime with no on-screen charge indicator will end a scan mid-property. Removable batteries are worth more than they look on paper.
7. Rent or buy. On an inspector forum in Austin, the practical advice given to a new buyer was to rent an imager first and learn on it before committing. That is sound for anyone who is still unsure whether thermal fits their workflow. If you are buying for a one-off pre-purchase screening, renting costs less than the mistake of buying the wrong body. If imaging is part of every report you write, the payback on owning one is quick.
Our broader guides to thermal imaging cameras for inspectors cover the wider category, and if your work involves large sites or aerial survey, our thermal drone picks are the relevant read.
What a Thermal Camera Can and Cannot Tell You?
It cannot see through walls. It does not see inside your house the way night vision cameras do. A thermal camera measures infrared radiation emitted from surfaces it can actually see, and it renders the temperature differences on those surfaces. It has no penetration through drywall, framing, insulation or floors.
It cannot prove moisture. Evaporative cooling does create a measurable temperature anomaly, which is why thermal imaging works as a screening tool for water intrusion. But the same anomaly appears when a duct leaks cold air, when a bathroom exhaust fan is running, or when solar loading has warmed one side of a wall. Confirming moisture requires a moisture meter. That is the standard advice, and it is why inspectors describe thermal as an adjunct to a moisture meter rather than a replacement for one.
It cannot certify electrical safety. A hot spot at a connection is a reason to look closer with another instrument, not a finding. And it cannot detect mould, cannot assess structural condition, and cannot tell you anything about wiring inside a wall.
This is where the liability question lives, and it deserves direct attention. Mike Senty, writing on the InterNACHI forum, said he does not want to own the liabilities of putting IR findings into a written home inspection report, and uses his imager primarily for energy audits where the limits are well understood. That is a defensible position, and more inspectors are adopting it. If you include thermal images in a report, describe what you observed, state the conditions under which you observed it, and avoid asserting a cause the image cannot establish.
On the InterNACHI forum, that same thread pointed to a training path: the InterNACHI Infrared Certified route and a Building Science and Infrared Thermal Imaging course. Training does not make an image more accurate, but it is what converts a picture into a finding you can defend.
How Inspectors Get Usable Thermal Images on Site?
The single biggest reason a thermal camera disappoints someone is not the camera. It is that nobody created the conditions where thermal imaging can work, which is exactly what Mike Senty described on the InterNACHI forum: you need both a good imager and the knowledge of how to create the conditions that allow the imager to detect what you are looking for. IR is more than point and shoot.
Start with load. A hot shower running for ten minutes behind a wall creates a temperature difference the camera can see. So does the HVAC system running at full load, a dryer running, or an oven heating. Without a differential, the image is a flat field of near-identical colours and tells you nothing.
Next, watch the delta between inside and outside. A meaningful envelope scan wants roughly a 20C difference between interior and exterior conditions. On a mild day with the HVAC off, you will get an image that looks clean because everything is the same temperature. That is a false negative, and it is the most common way professionals convince themselves a camera is not worth owning.
Then set emissivity correctly for the surface. Painted drywall is near 0.95. Brick, tile, bare wood and especially window glass read very differently. Shiny or reflective surfaces will give you a wrong number no matter how good the camera is, and that is where a manual emissivity control such as the Klein TI250’s 0.01 to 0.99 range earns its place.
Finally, control for solar loading. A west-facing wall in the late afternoon is warmed by the sun, and that stored heat will dominate the image and mask everything you were looking for. Scan solar-exposed walls in the early morning or after sunset. Look at the weather before you arrive, not after.
When you have a usable image, capture the context. A thermal photograph of an anonymous colour field proves nothing to a client. Frame the anomaly in the visible image, note the load condition that produced it, label the spot temperature and the reference temperature elsewhere in the same surface, and save the radiometric data so you can re-examine it later.
Frequently Asked Questions
Which thermal camera has the highest quality?
For home inspections, the quality ceiling is a detector around 320×240 with NETD at or under 50 mK and an MSX or image-fusion overlay on a visual-light camera. In this lineup the Thermal Master Thor002 leads with 512×384 X3 output at 40 mK, while the FLIR ONE Pro leads on software and report workflow. For a hunting-grade sensor you are paying for capability a building inspection does not need.
Is thermal imaging inspection worth it?
Worth it as an adjunct to moisture meters and visual inspection, not as a diagnostic instrument on its own. It turns an invisible defect into evidence you can put in a report, and it adds non-destructive verification that intrusive inspection cannot. The limitation is that it cannot prove moisture, mould or an electrical fault, so findings still need confirmation with other instruments.
Can someone see inside my house with thermal or night vision?
No. A thermal camera measures surface temperature differences on surfaces it can see. It does not see through walls, floors or ceilings, and it cannot confirm moisture, mould or an electrical fault. It shows you where the surface temperature differs from its surroundings, which is useful but far more limited than most buyers expect.
What are the different types of inspection cameras?
Standalone handheld units such as the TOPDON TC004 Mini and the Thermal Master Thor002, which need no phone and run all day. Smartphone attachments such as the FLIR ONE Pro, which plug into a charging port and inherit your screen. Wireless modules such as the FLIR Edge Pro, which work across iOS and Android but stream less reliably. Higher-end IR borescopes and crawlers handle confined spaces that no thermal camera can reach.
What resolution do I need for a home inspection thermal camera?
At least 256×192 as a working floor, and 320×240 or better if your images go into a written report. That threshold comes from inspector guidance on professional forums. Below about 128×128 native, you are scanning whole surfaces well but resolving individual small defects poorly, so treat the unit as a screening tool rather than a diagnostic one.
Do thermal cameras detect moisture?
They screen for it. Evaporative cooling produces a measurable surface temperature anomaly, which is why thermal imaging flags suspect areas well. The same pattern also appears from air leakage, exhaust fans and solar loading, so a thermal anomaly is a prompt to bring out a moisture meter, never a substitute for one.
Is FLIR better than HIKMICRO for home inspection?
FLIR generally leads on software, MSX fusion and cloud report workflow, which matters most if a client sees your images. Inspectors on home inspection forums repeatedly point to HIKMICRO as the value alternative with comparable image quality for much less. If your deliverable is your own notes, the ecosystem advantage matters less than the price gap.
What is NETD and why does it matter for home inspection?
NETD, or thermal sensitivity, is the smallest temperature difference the detector can register, measured in millikelvins. Under 50 mK is the professional benchmark. It matters because insulation gaps, thermal bridging and air leakage produce differences of one or two degrees, not dramatic hotspots, and a less sensitive detector will not resolve them at a distance.
Do I need a license or certification to use a thermal camera?
No licence is required to operate one, but training changes what you can defensibly report. Inspectors discuss the InterNACHI Infrared Certified route and Level 1 thermographer training as the recognised path. Training does not improve the image, it improves your ability to create the conditions that produce usable images and to describe findings without overstating them.
Should I buy or rent a thermal camera?
Rent if you are still learning whether imaging fits your workflow or you need it for a single pre-purchase screening. Buy if you plan to include imagery in every report, since the payback is quick. Rent-before-buy is common advice on inspector forums for exactly that reason, and renting also lets you confirm whether you prefer a standalone body or a phone attachment.
The Bottom Line: Which Thermal Camera Should You Buy in 2026
For a working inspector who puts images in written reports, start with the Thermal Master Thor002, which is the only body here that clears the report-grade resolution benchmark. If your budget is a real constraint, the MiLESEEY TR10 gives you genuine 192×192 native pixels and sub-50 mK sensitivity for a fraction of the spend.
For a standalone daily tool that survives a full day of properties, the TOPDON TC004 Mini is the pick. Fifteen hours of runtime and automatic threshold capture change how you work rather than just what you see. For phone-based scanning with the strongest software, the FLIR ONE Pro remains the editor’s choice, and it is the one most inspectors on r/homeinspectors name first when they compare brands.
Whichever you choose, create the load conditions before you judge the result. A thermal camera used on a wall with no temperature difference tells you nothing about the camera, and buying another one will not change that. Read more of our field-tested coverage in our thermal imaging camera guide for inspectors and our thermal monocular picks for outdoor survey work.