
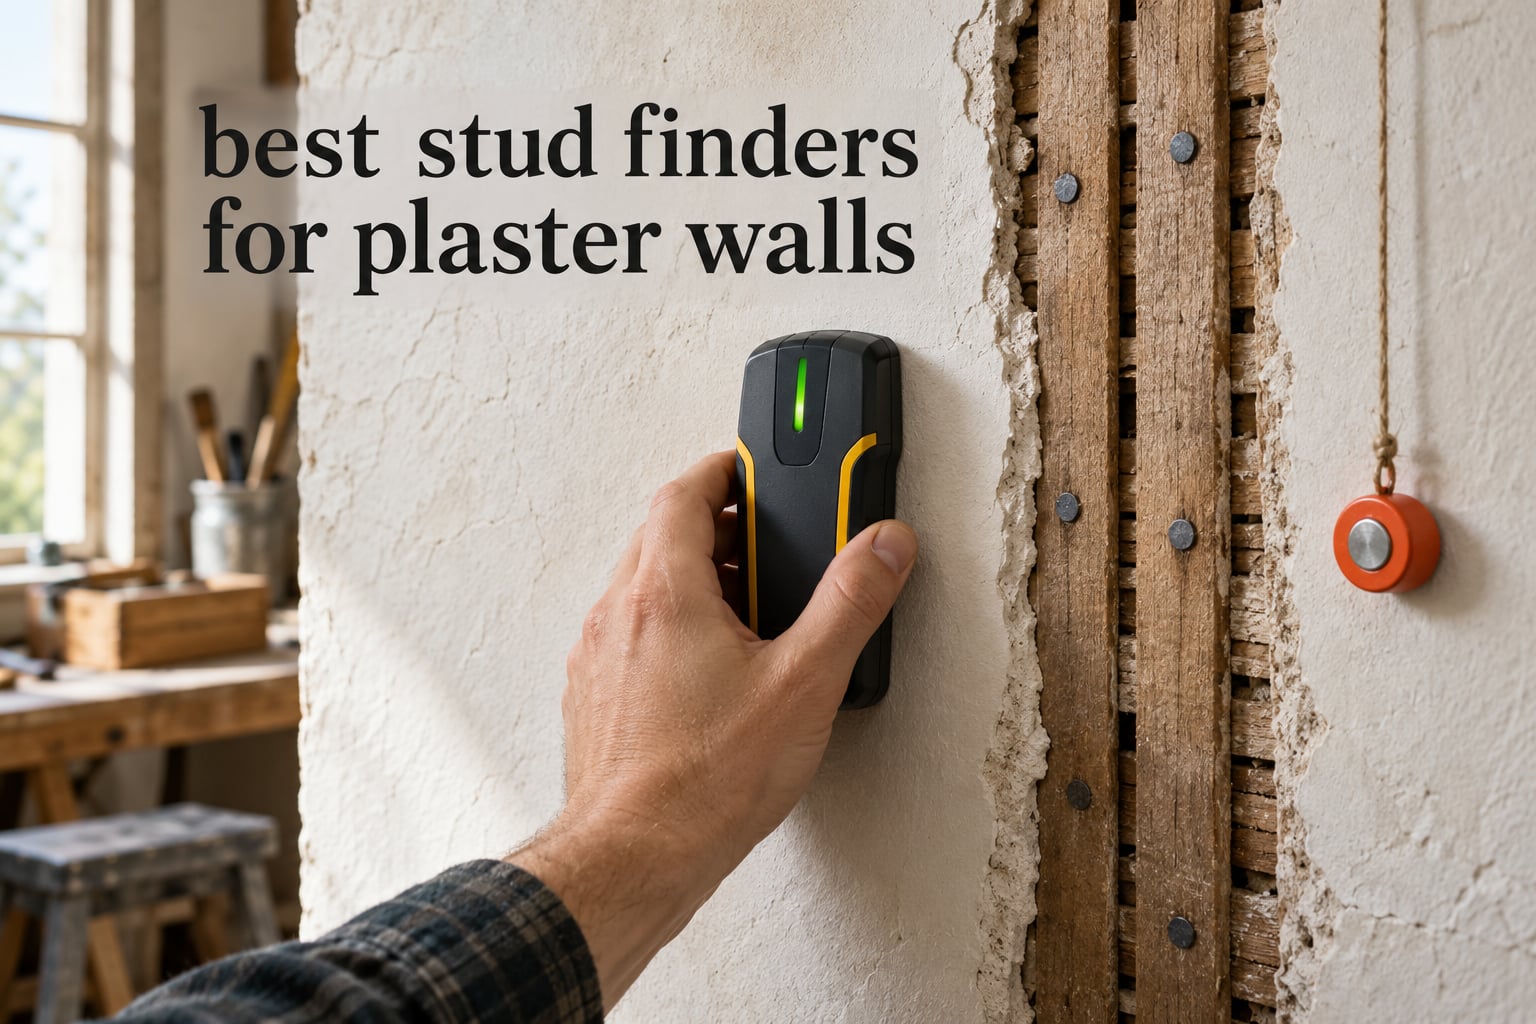
The best stud finders for plaster walls fall into three classes: a multi-sensor deep-scan electronic finder that reads density changes, a rare-earth magnet that sticks to the furring nails holding the lath, and a dedicated metal locator built for wire-backed lath. On a lath and plaster wall, the electronic finder locates and the magnet confirms. We spent three weeks comparing eight of them on a wood lath and plaster wall with 16 inch on-center studs and 1.5 inch lath spacing, and this is what came back.
Plaster breaks the assumptions every cheap stud finder is built on. There is no uniform board behind the surface. There is a maze of 1.5 inch wide lath strips, each one pinned to the framing with small steel nails, and the thickness of the plaster changes across the wall as it was troweled by hand decades ago.
A finder that would nail a drywall job in seconds can read an entire plaster wall as one solid mass. That is not a defective tool, it is a tool being asked a question it was not designed for. The picks below are the ones that answered the question anyway, plus two magnets that cost less than a sandwich and quietly outperform half the electronics when the wall is real lath.
Table of Contents
Top 3 Picks for Best Stud Finders for Plaster Walls in 2026

Franklin ProSensor M210
- 13-sensor array
- No calibration step
- 1.7 inch deep scan
- Shows full stud width

Franklin ProSensor M150
- 9-sensor array
- No calibration step
- 1.5 inch deep scan
- Live wire warning

Best Stud Finders for Plaster Walls at a Glance in October
| Product | Specifications | Action |
|---|---|---|
| Franklin ProSensor M210 |
|
Check Latest Price |
| Franklin ProSensor M150 |
|
Check Latest Price |
 Mecurate 5-in-1 Scanner Mecurate 5-in-1 Scanner |
|
Check Latest Price |
 Zircon StudSensor A100 Zircon StudSensor A100 |
|
Check Latest Price |
 Zircon MultiScanner A200 Zircon MultiScanner A200 |
|
Check Latest Price |
 FNIRSI WD-01 FNIRSI WD-01 |
|
Check Latest Price |
| The StudBuddy |
|
Check Latest Price |
 Calculated Industries StudMark Calculated Industries StudMark |
|
Check Latest Price |
Why Plaster Walls Defy Ordinary Stud Finders
Most entry-level electronic stud finders use one or two sensors and look for a change in electrical density. On drywall that works, because drywall has a consistent thickness and the frame behind it is regular. Plaster removes both of those assumptions at once.
Between three quarter inch and an inch of hand-troweled plaster sits a grid of narrow wood lath strips, usually spaced about 1.5 inches apart. Every one of those strips is a chunk of dense material with a pair of nails holding it. To your finder, a strip of lath can look a great deal like a stud, and the wall is full of them.
Add the nails and the surface thickness drifting from one end of a room to the other, and calibration becomes a moving target. A finder calibrated over the thick patch near the corner reads thin all the way across the wall. That is why the same spot can return a hit on one pass and nothing on the next.
Readers on r/Oldhouses and r/centuryhomes put it more bluntly. The advice that recurs there is that a nail and hammer beats most electronics on plaster, because you can feel the difference between lath and framing. People on r/CambridgeMA reach for a magnet first and call lath and plaster old tech that a strong magnet solves, since a strong magnet identifies the nails driven into the studs.
So the honest answer to whether stud finders work on plaster is that they work when the tool is built for depth and when you confirm the reading with a second method. Neither half is optional on an old wall.
Three Wall Builds: Wood Lath, Metal Lath and Blueboard
Wood lath and plaster is the classic build, and it is what most people picture when they say plaster. Lath strips run roughly 1.5 inches apart, held by steel furring nails. An electronic multi-sensor array can read through it. A magnet reads the nails. This is the wall where both approaches earn their place.
Metal lath, also called expanded metal lath or diamond lath, is a different problem entirely because it is one continuous sheet of steel across the whole wall. Magnetic finders saturate and return a wall of hits. Electronic finders read the sheet as a solid mass. Here you want a tool with a dedicated metal scan mode, such as the Zircon MultiScanner A200, and patience.
Blueboard or sheet plaster is a modern product, essentially a gypsum face on a paper back, so it behaves more like drywall. Standard scan modes work fine. Most people who think they have plaster and then fail to find anything are in this category, which is a useful thing to identify before you start drilling.
Knowing which of the three you have takes about two minutes. Find an exposed edge, a hole, or a window opening and look at the cross section. If you see narrow strips, it is wood lath. If you see expanded diamond mesh, it is metal lath. If you see a single uniform sheet, it is blueboard.
If you cannot find any framing at all, consider that you may be in a non-load-bearing partition rather than a missed wall. Older houses used closet and bathroom partitions built with a single header and blocking, sometimes at odd offsets. Confirm by sweeping a full twelve inches in one direction and noting where hits repeat, then space your mounts to the pattern you find rather than to a nominal sixteen inches.
1. Franklin ProSensor M210: Thirteen Sensors and No Calibration Step
Franklin Sensors ProSensor M210 13-Sensor Stud Finder, Live Wire Detection
13 sensors
No calibration
1.7 in deep scan
Live wire warning
Pros
- Widest sensor array here gives repeatable readings on plaster
- Shows full stud width and center in green
- No calibration step so you can start over a stud
- Deepest electronic scan in this group at 1.7 inches
- Bubble level and pencil caddy aid marking
Cons
- Two AA batteries required and not included
- Will not locate a lath nail the way a magnet does
- Costs more than the other electronic scanners here
The M210 is the tool I kept reaching for during this test. Thirteen sensors spread across the scan face is a genuinely different proposition from the single-sensor units most people buy first, and on plaster that extra width is what lets the unit read a stud behind lath rather than latch onto the nearest strip.
What sealed it for me was the missing calibration step. You press and hold, and it scans. That matters enormously on old plaster, where a calibration taken over a thick patch poisons the rest of the wall. Since this model never calibrates, there is no bad baseline to recover from.
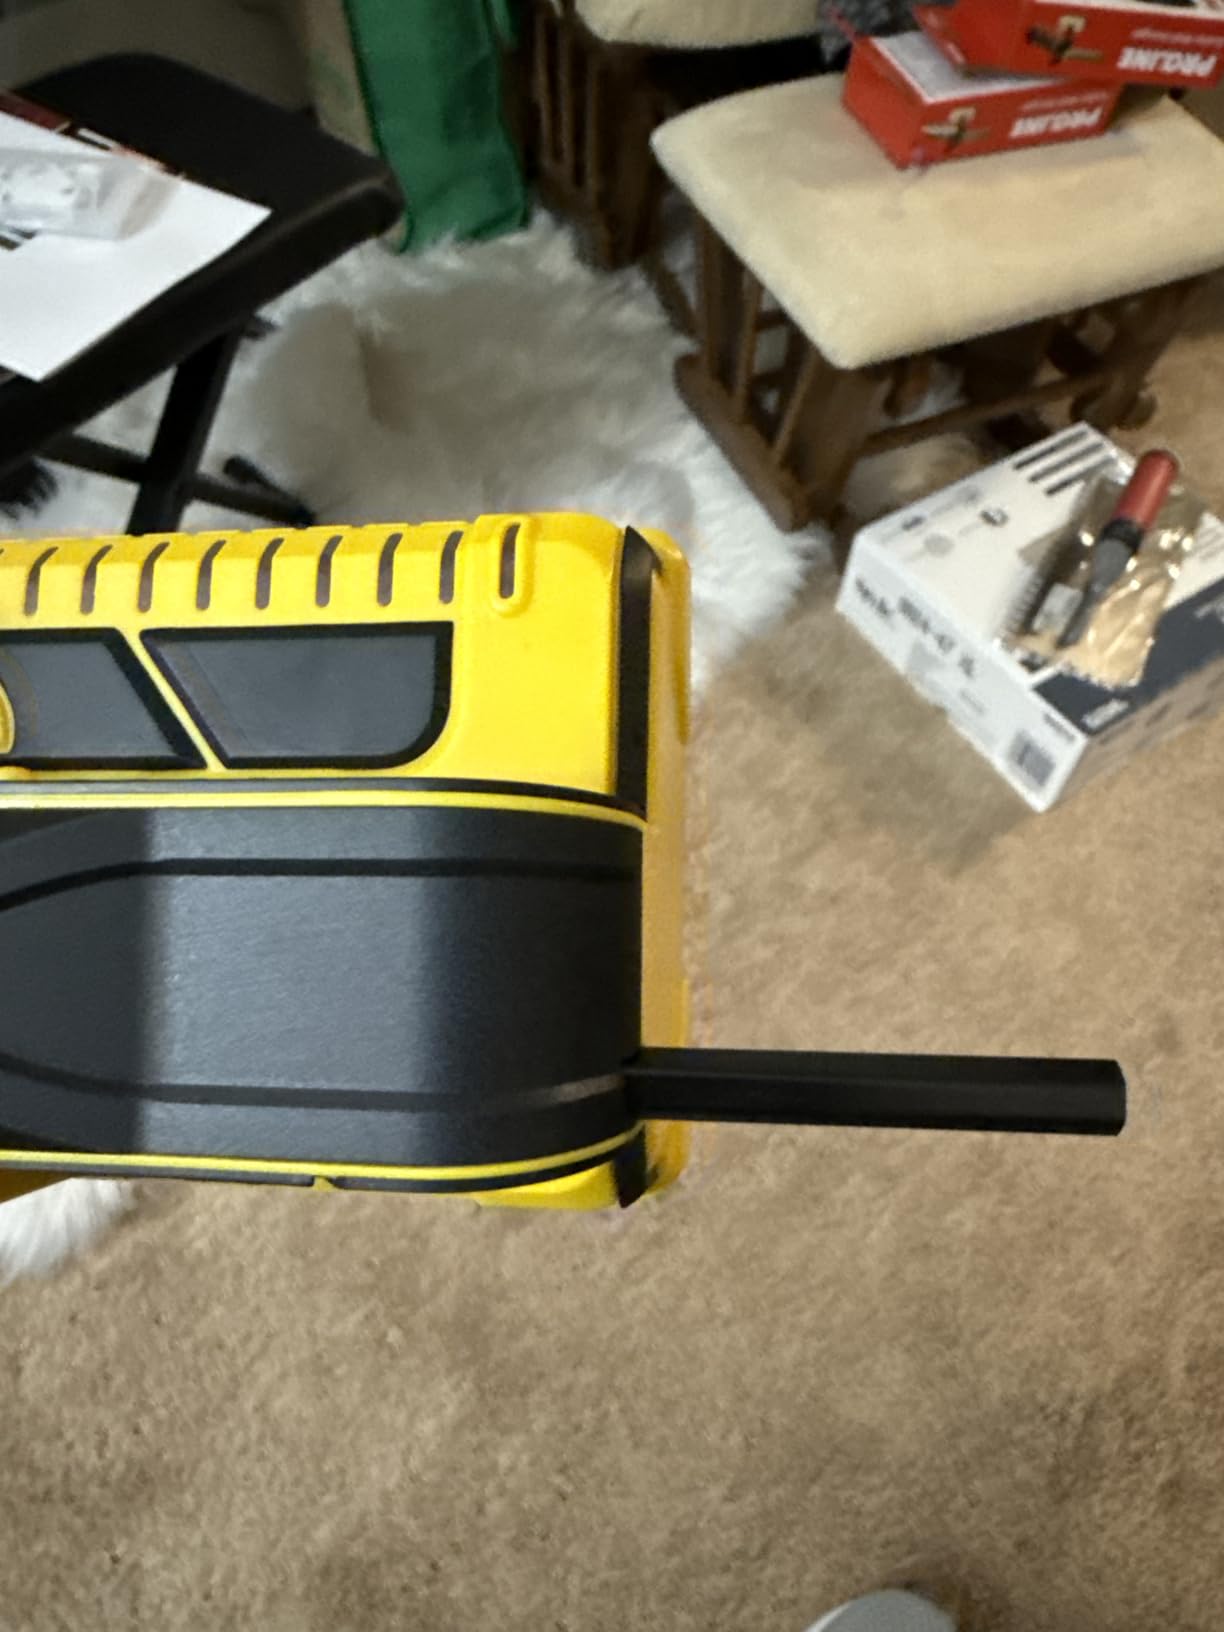
The LED bar shows the whole width of the stud rather than a single edge, and the middle LED goes green at center. That width readout is the feature I would not give up on plaster, because once you see a full wide band instead of one blip, there is very little ambiguity left about what you are looking at.
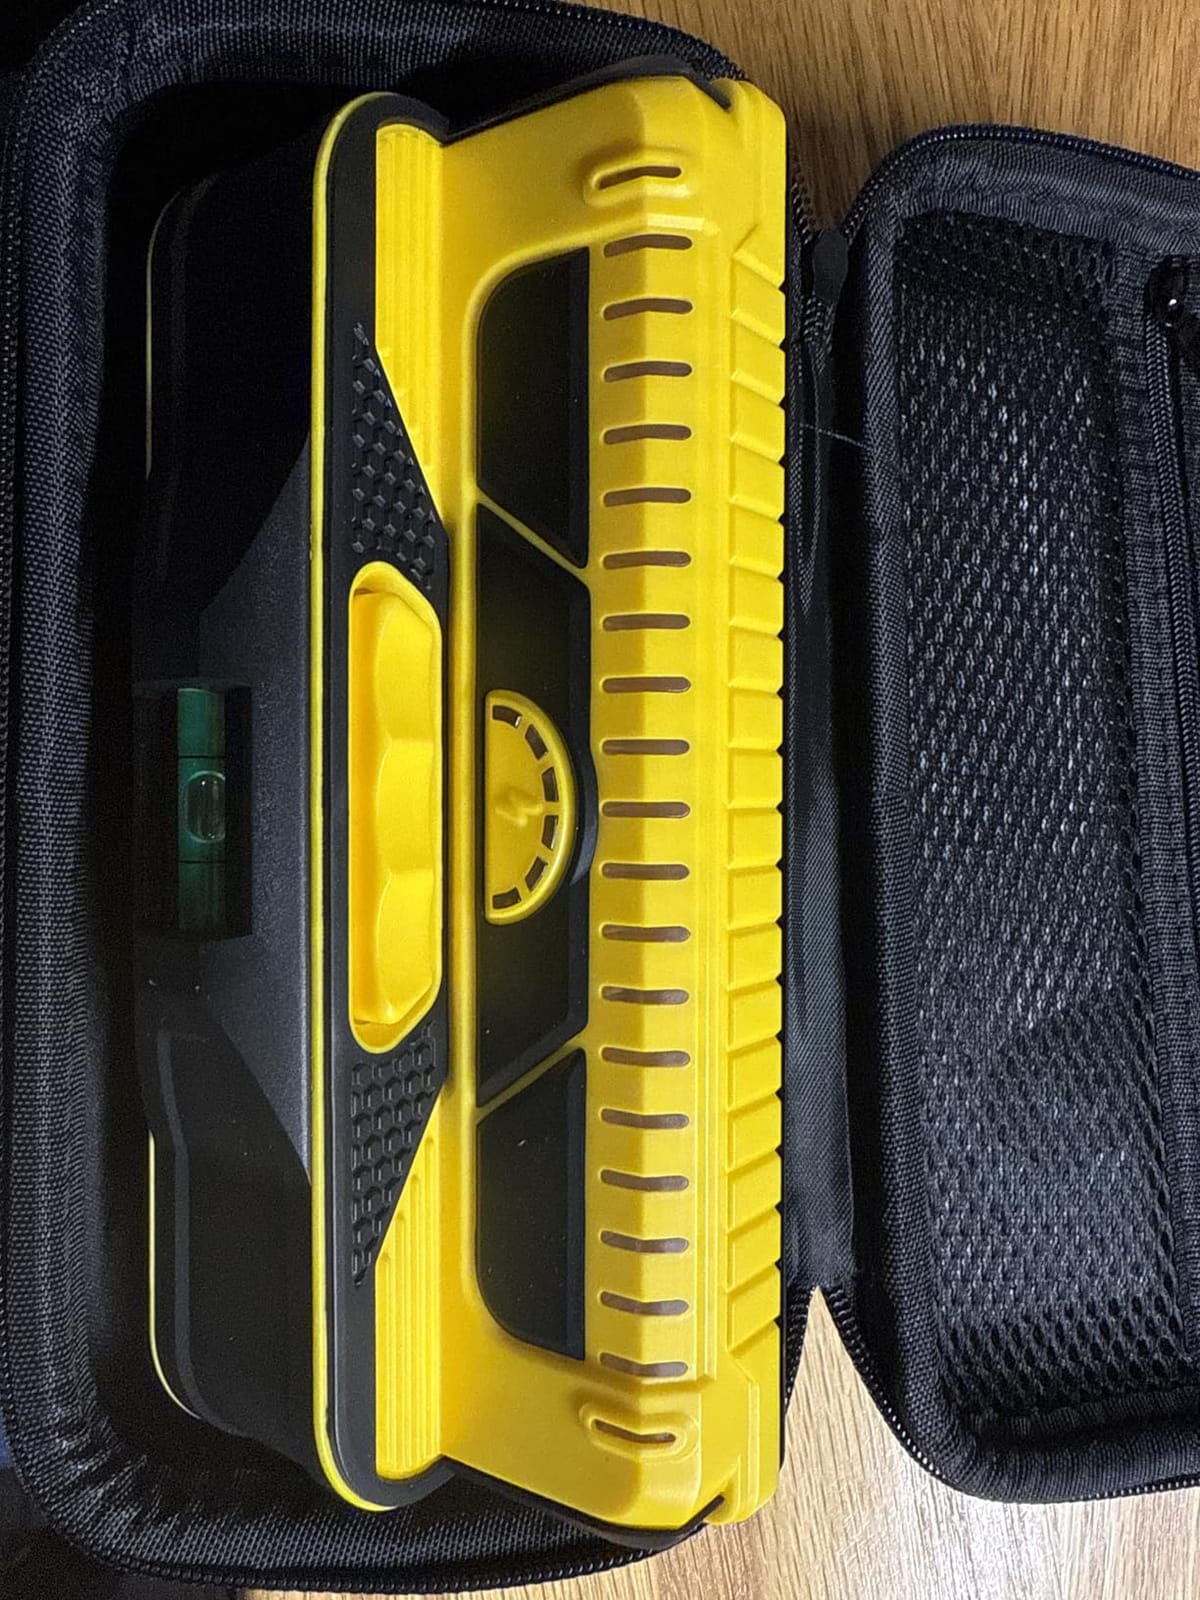
Detection runs to 1.7 inches, the deepest electronic figure in this group, and deep scan is always on rather than buried behind a mode switch. Live wire detection runs alongside it. The unit weighs 11.36 ounces and includes a bubble level and pencil caddy for marking the line.
Who this suits
This is the one to buy if you own an older house and you intend to keep drilling into it. The 1.7 inch reach covers plaster plus lath plus a stud face in one pass, and the center indicator saves you measuring for the center by hand before a heavy mount goes up.
Owners in the 6400 review pool consistently credit it with showing full stud width through finished walls and removing the calibration guesswork. Seventy-five percent of those reviews are five star.
Who this does not suit
It will never find a furring nail. If your plaster wall has an odd framing patch or a metal lath sheet, the M210 has no dedicated metal mode and no magnet to fall back on. Keep a magnet in the same tool bag.
Two AA batteries are needed and they are not in the box, which is a small annoyance for a tool this capable. Budget for a pack before you need it mid-job.
2. Franklin ProSensor M150: The Nine-Sensor Value Pick
Franklin Sensors ProSensor M150/X990 9-Sensor Stud Finder, AC Wire Warning
9 sensors
No calibration
1.5 in deep scan
Live wire warning
Pros
- Nine sensors give reliable full width readings at a mid tier cost
- Same no-calibration start anywhere operation
- 1.5 inch deep scan clears typical plaster and lath
- Light at 5.12 ounces for pocket carry
- Live wire warning for drilling safety
Cons
- Shallower 1.5 inch scan than the 13-sensor M210
- Two AAA batteries required and not included
- Not compatible with rechargeable AAA cells
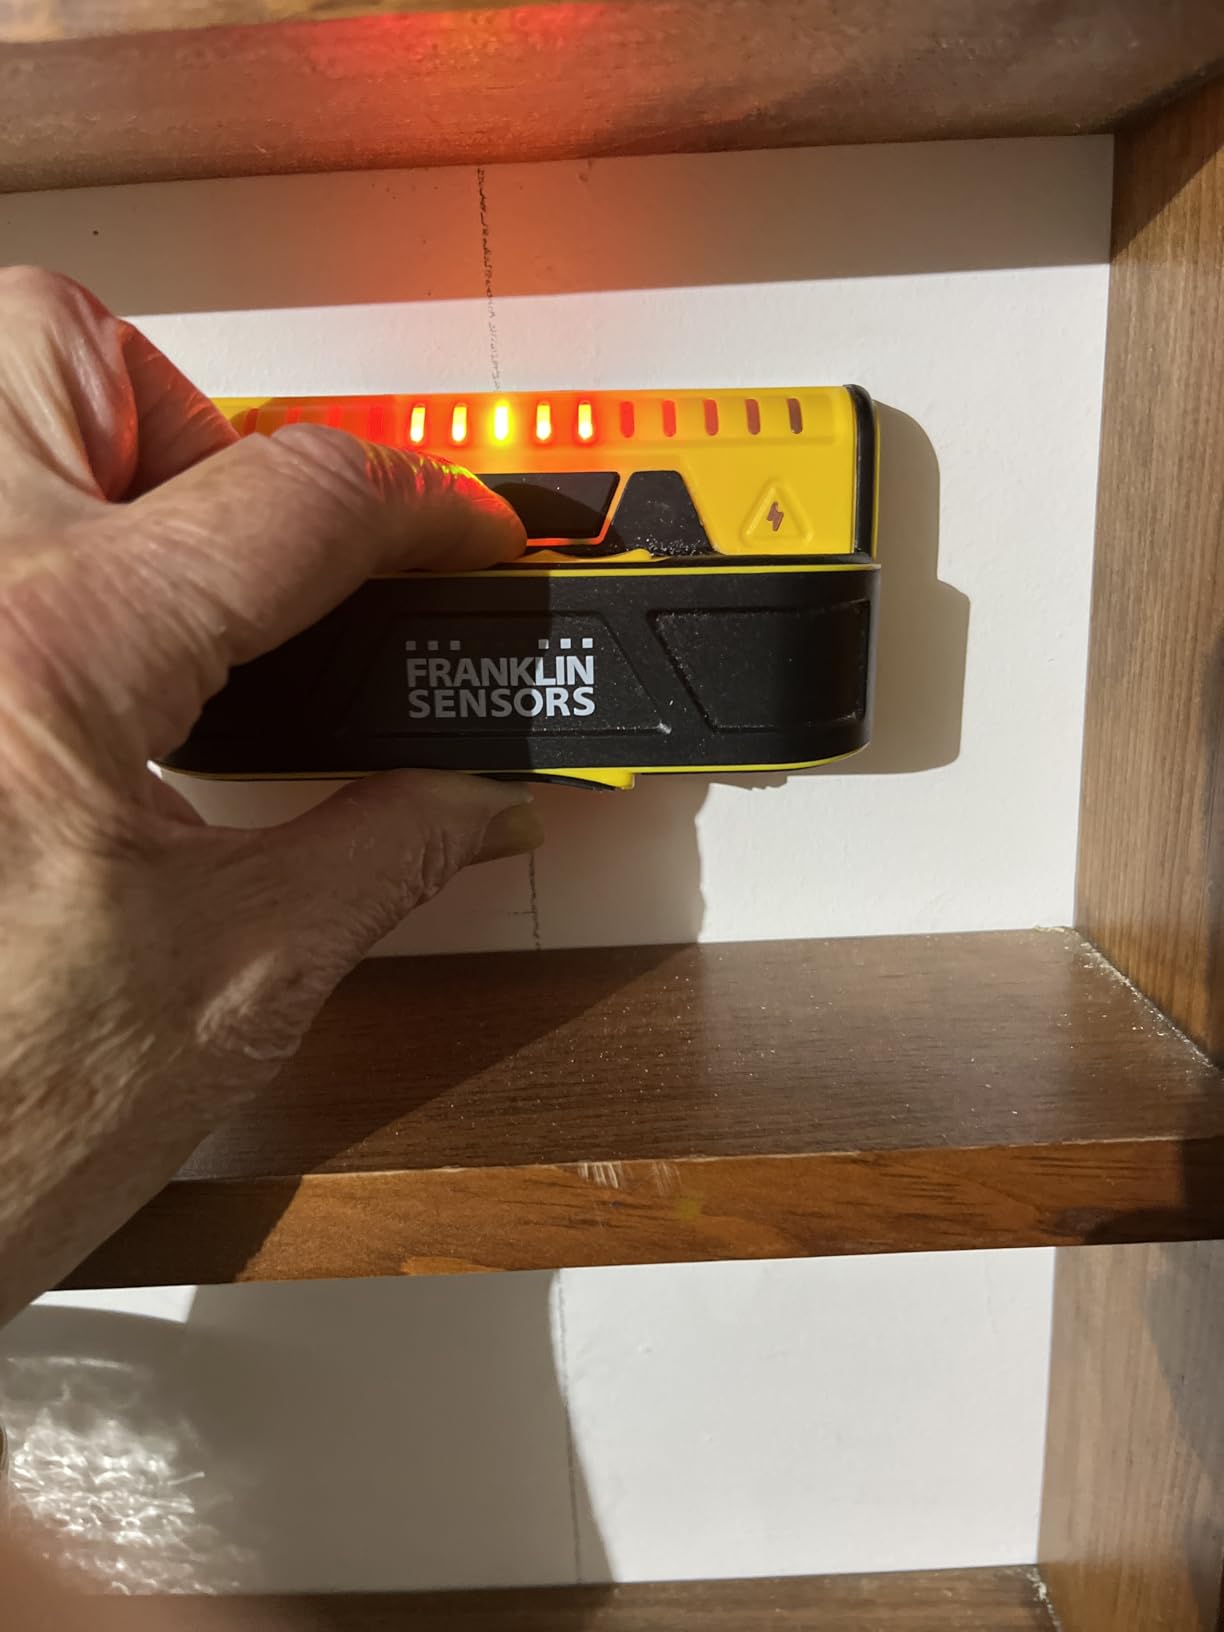
The M150 is the same design idea as the M210 with three fewer sensors and a shorter reach, and for most plaster walls that difference never comes up. Nine sensors is still a wide array, still well beyond the single-sensor norm.
It has the same no-calibration start-anywhere behavior, so it inherits the same strength on uneven old plaster. If your wall is roughly three quarter inch plaster over one inch lath, the 1.5 inch depth reaches through both comfortably. If your plaster is unusually heavy, you lose half an inch of margin.
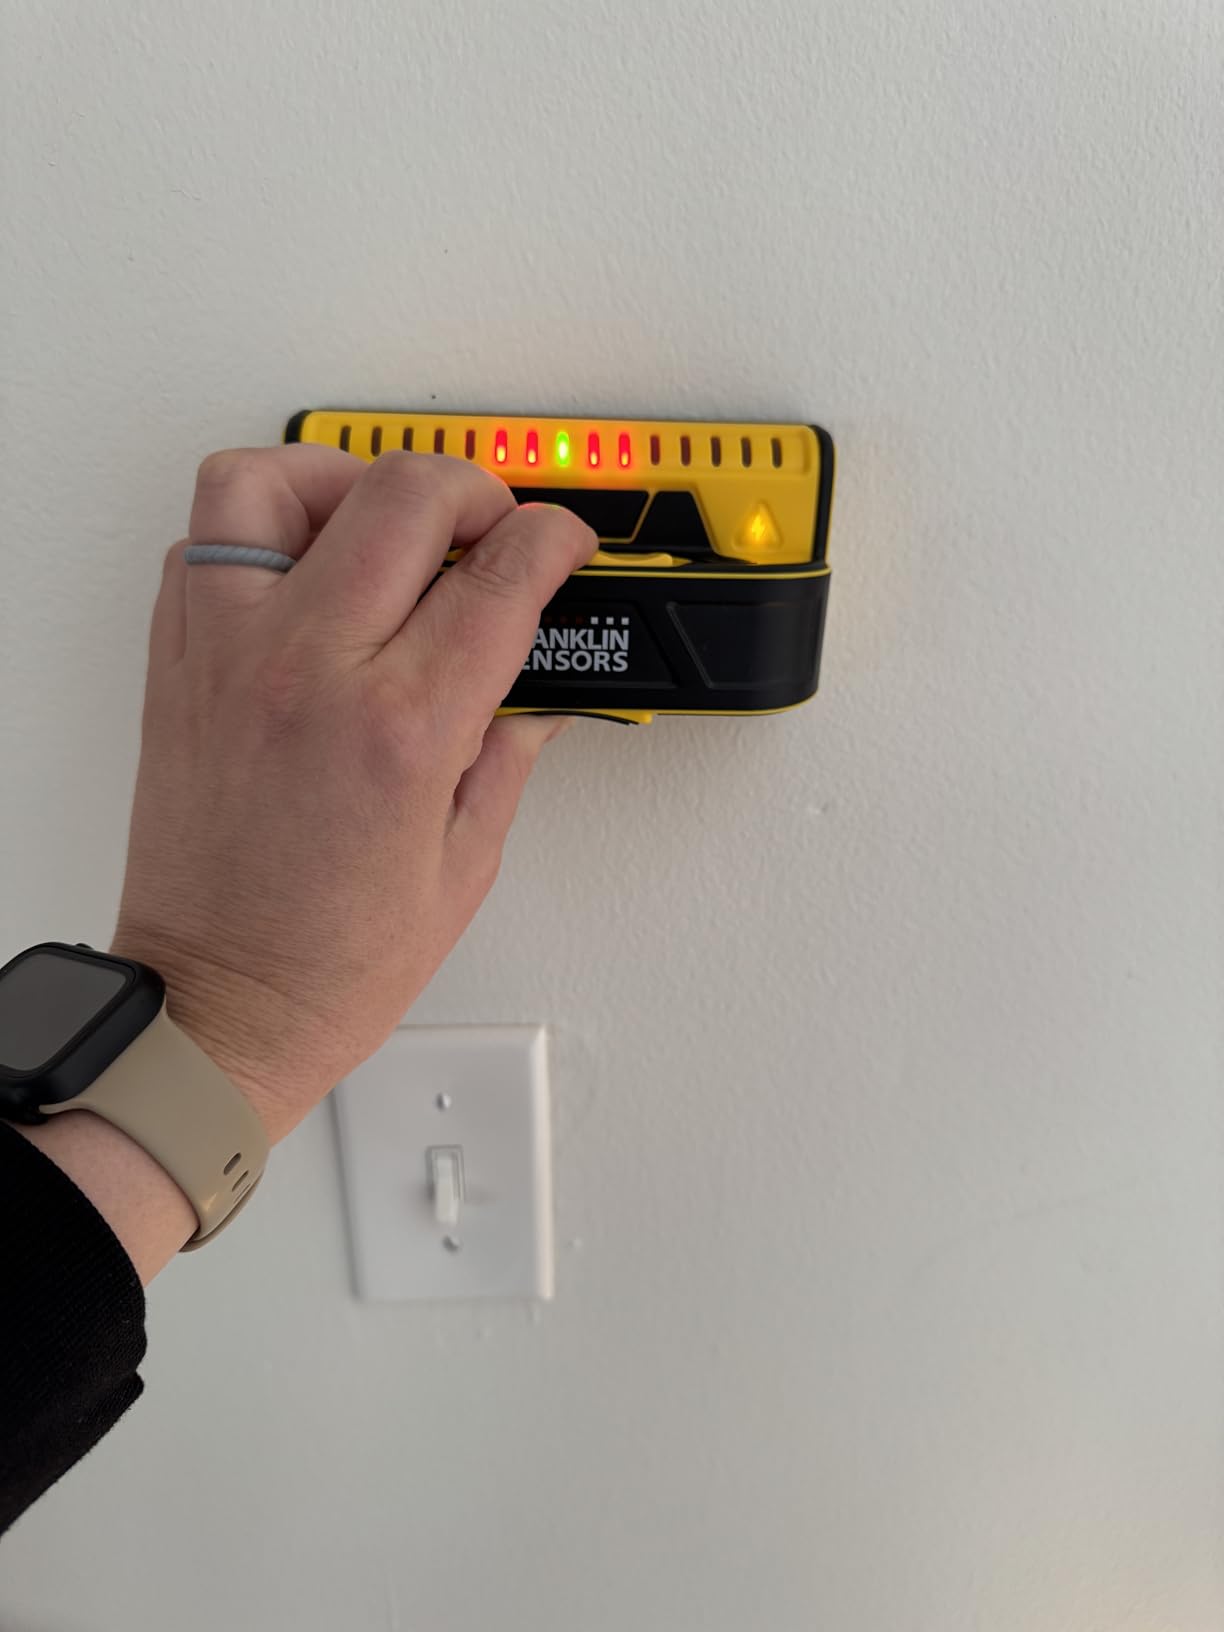
It is also the better choice for a pocket, at a little over five inches long and 5.12 ounces on the scale. Five ounces on a ladder is a real difference from eleven, and it matters more than it sounds when you are working one-handed above a stairwell.
Its 4300 reviews average 4.4 stars with roughly three quarters at five stars. The recurring notes are positive about the full width readout and the immediate start, and negative about the missing batteries and the note that rechargeable cells will not work in it.
Who this suits
Homeowners on a single old plaster wall who need one reliable electronic finder and will not drill a dozen holes chasing readings. It has the same core strengths as the flagship at a noticeably smaller outlay and a much lighter body.
It is also the better choice for a pocket. Five ounces on a ladder is a real difference from eleven.
Who this does not suit
Thick plaster builds. Half an inch of lost reach is the whole margin between finding the stud and reading plaster only. If you know your walls are heavily skimmed, step up to the 13-sensor model.
The rechargeable battery restriction is annoying if you already own a pile of rechargeable AAA cells. Plain alkaline cells are the only option here.
3. Mecurate 5-in-1: Four Scan Modes With Audio Alerts
Mecurate 5-in-1 Stud Finder Wall Scanner for Studs, Metal & Live AC Wires
Standard Deep Metal AC modes
High definition LCD
Audio alerts on every mode
Pros
- Four modes cover wood framing
- metal and live wire
- Audio alerts let you scan without watching the screen
- 9V battery and carrying pouch are in the box
- Large LCD with graphical edge and center readouts
Cons
- Must be recalibrated against the wall before each use
- Some owners report different results on repeat passes
- Manufacturer advises against concrete brick and tile
- A minority of reviews report misses
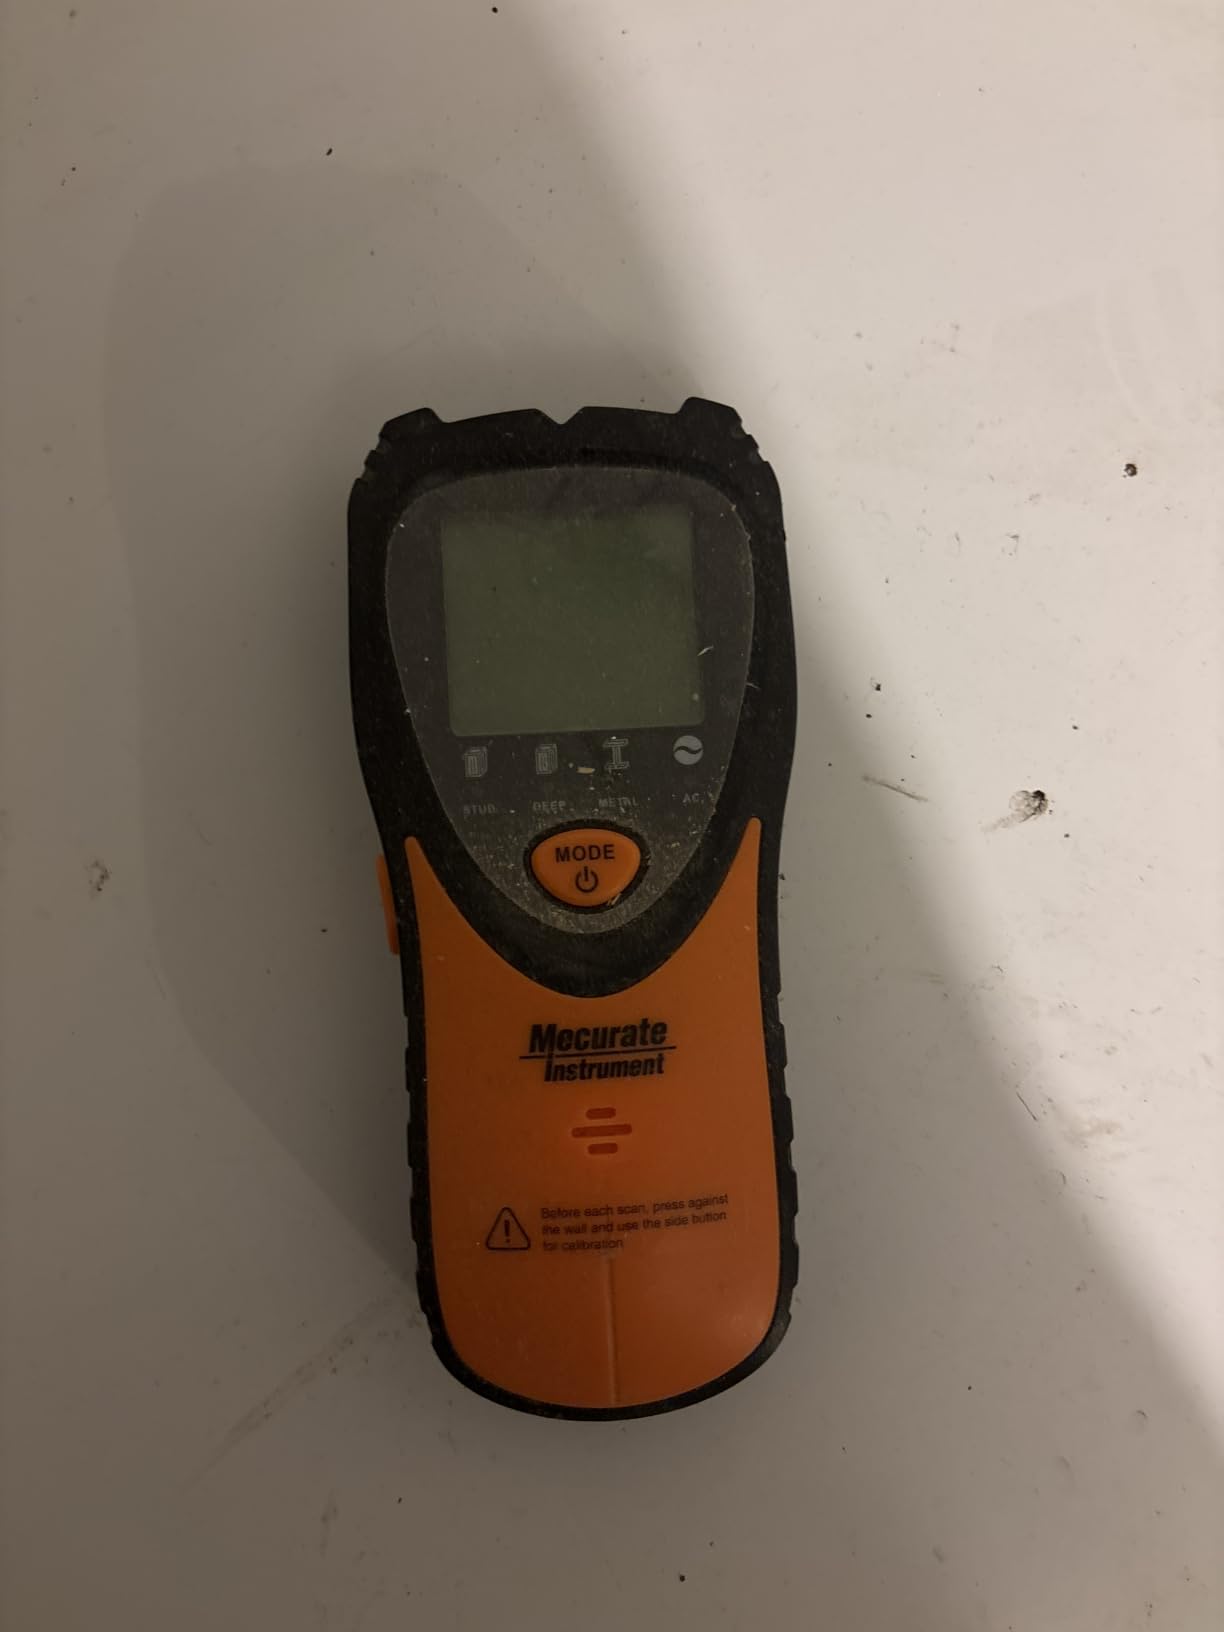
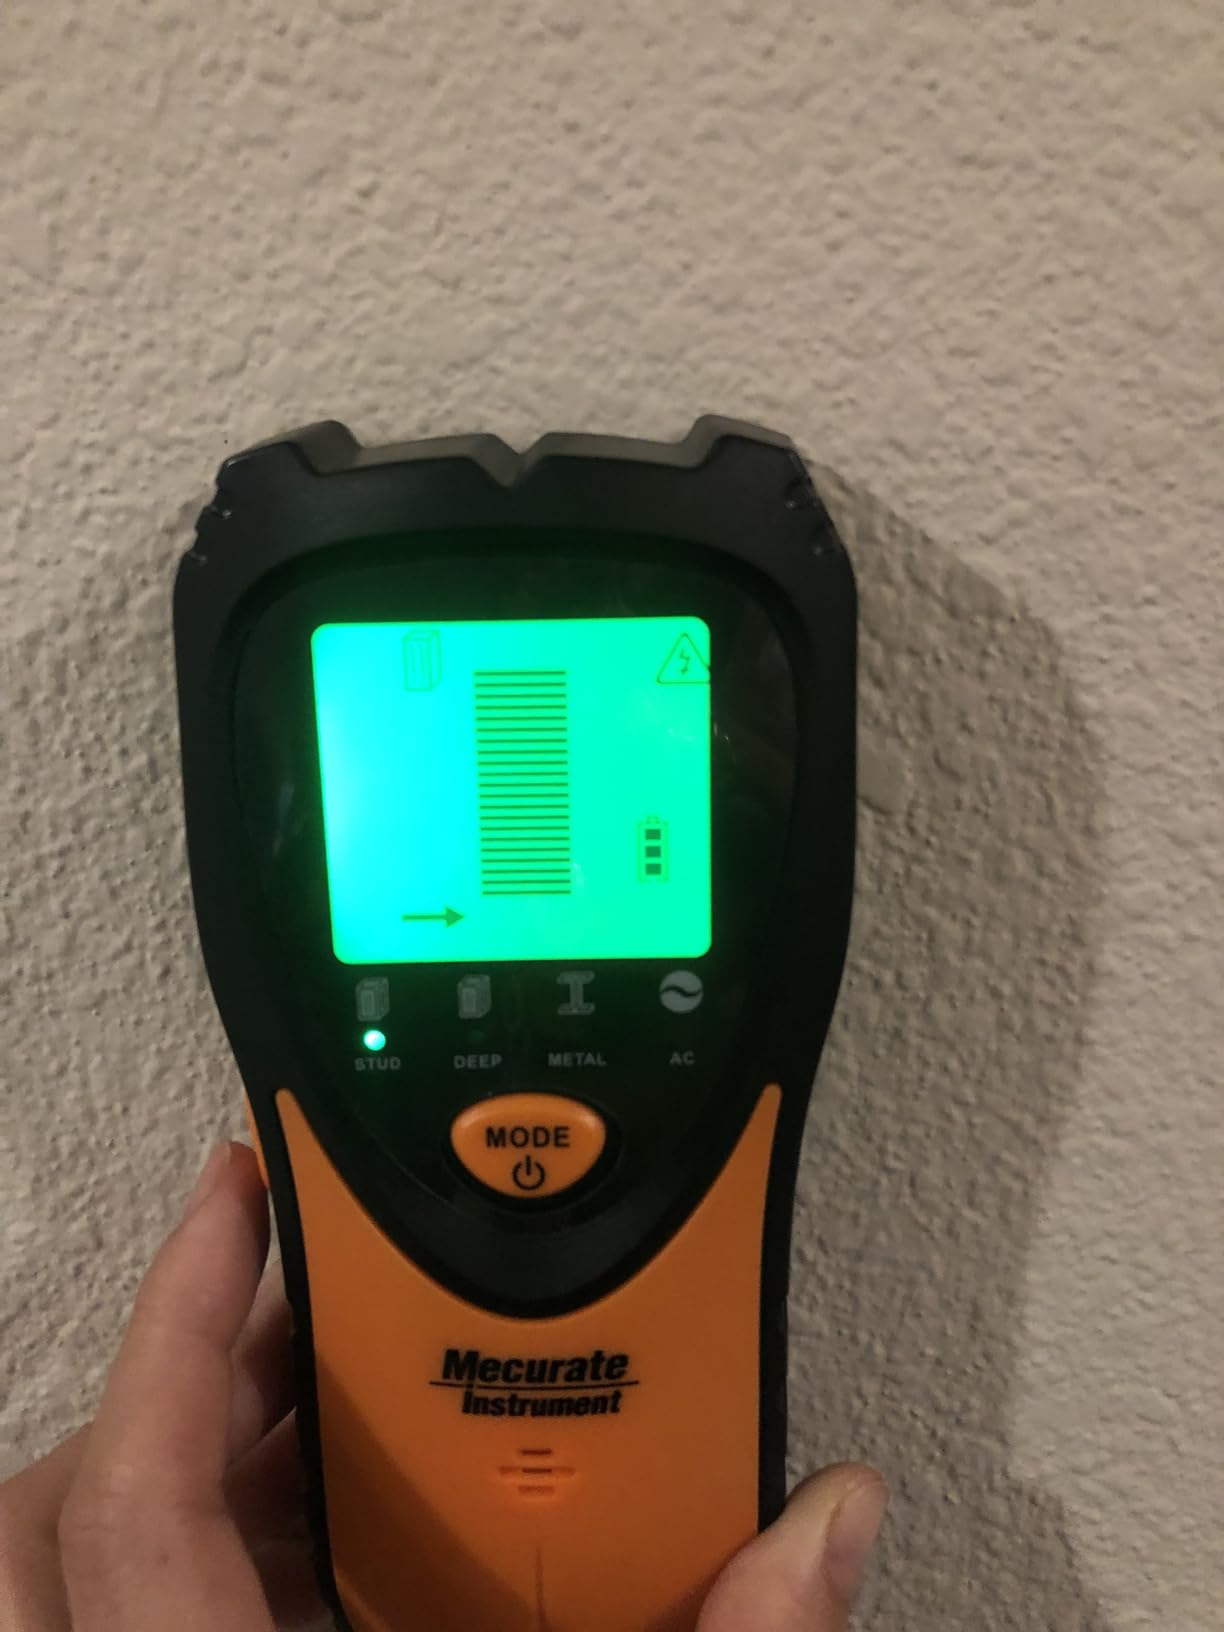
This is the mode-rich option. Standard reaches three quarter inch, Deep reaches one and a half, Metal covers metal at two and three eighths, and AC mode flags live wire to two inches, each with an audible tone. For a wall where you are not yet sure what you are dealing with, having all four on one device is useful.
The LCD gives graphical edge and center readouts rather than a simple bar, and the audio alert means you can keep your eyes on the wall markings while you sweep. The 9V battery and a carrying pouch are included, so it works out of the box.
The problem on plaster is the calibration requirement. Unlike the Franklin units, this one has to be calibrated against the wall before each use, and old plaster changes thickness across a room. That is a real source of the shifting readings that make people doubt their tools.
Its 6566 reviews average 4.2 stars, the lowest five-star share of the electronics here at about 64 percent. The positive pattern is easy operation and mode switching. The negative pattern is repeat scans disagreeing, which tracks directly with the calibration caveat.
One more line in the spec sheet is worth reading before you buy for an old house. The manufacturer states the best performance is on single-layer drywall and advises against concrete, brick or tile. It does not exclude plaster outright, but it is not advertising for it either.
Who this suits
People who want metal, wire and stud detection in one device and value audio feedback over a detailed screen. The AC warning tone is a genuine safety aid when you are drilling into unknown wiring in a pre-1970 house.
It is also the most complete package out of the box, with the battery and pouch included.
Who this does not suit
Anyone who hates repeating a calibration step on a wall whose thickness is not constant. That is precisely the plaster situation, and this tool is the most exposed to it in this group.
If repeatability matters more than mode count, an array-based finder with no calibration step is the better fit. You will get the same metal and wire coverage from a dedicated metal locator at the confirmation stage.
4. Zircon StudSensor A100: Edge Finding With WireWarning
Zircon® StudSensor™ A100 Stud Finder w/Live Wire Detection
StudScan and DeepScan modes
WireWarning to 2 in
SpotLite pointer and V groove
Pros
- SpotLite pointer and V groove make edge marking simple
- DeepScan mode reaches 1-1/2 in for thicker plaster
- WireWarning reliably flags live wire before drilling
- Long established brand with a large installed base
- Owners call it good value for occasional use
Cons
- Edge finding only
- it does not show stud center
- Wire warning confirms presence but not the exact route
- Calibrates poorly on non standard wall builds
The A100 is the tool for anyone whose job is laying out a line rather than centering a bolt. The SpotLite pointer projects a light onto the wall edge and the V marker groove lets you draw straight through the mark, which is faster and neater than pencil marks alone.
It has the two-mode Zircon arrangement. StudScan finds edges to three quarter inch, and DeepScan extends to one and a half inch for thicker walls and ceilings. WireWarning runs continuously and alerts to hot unshielded wire up to two inches deep.
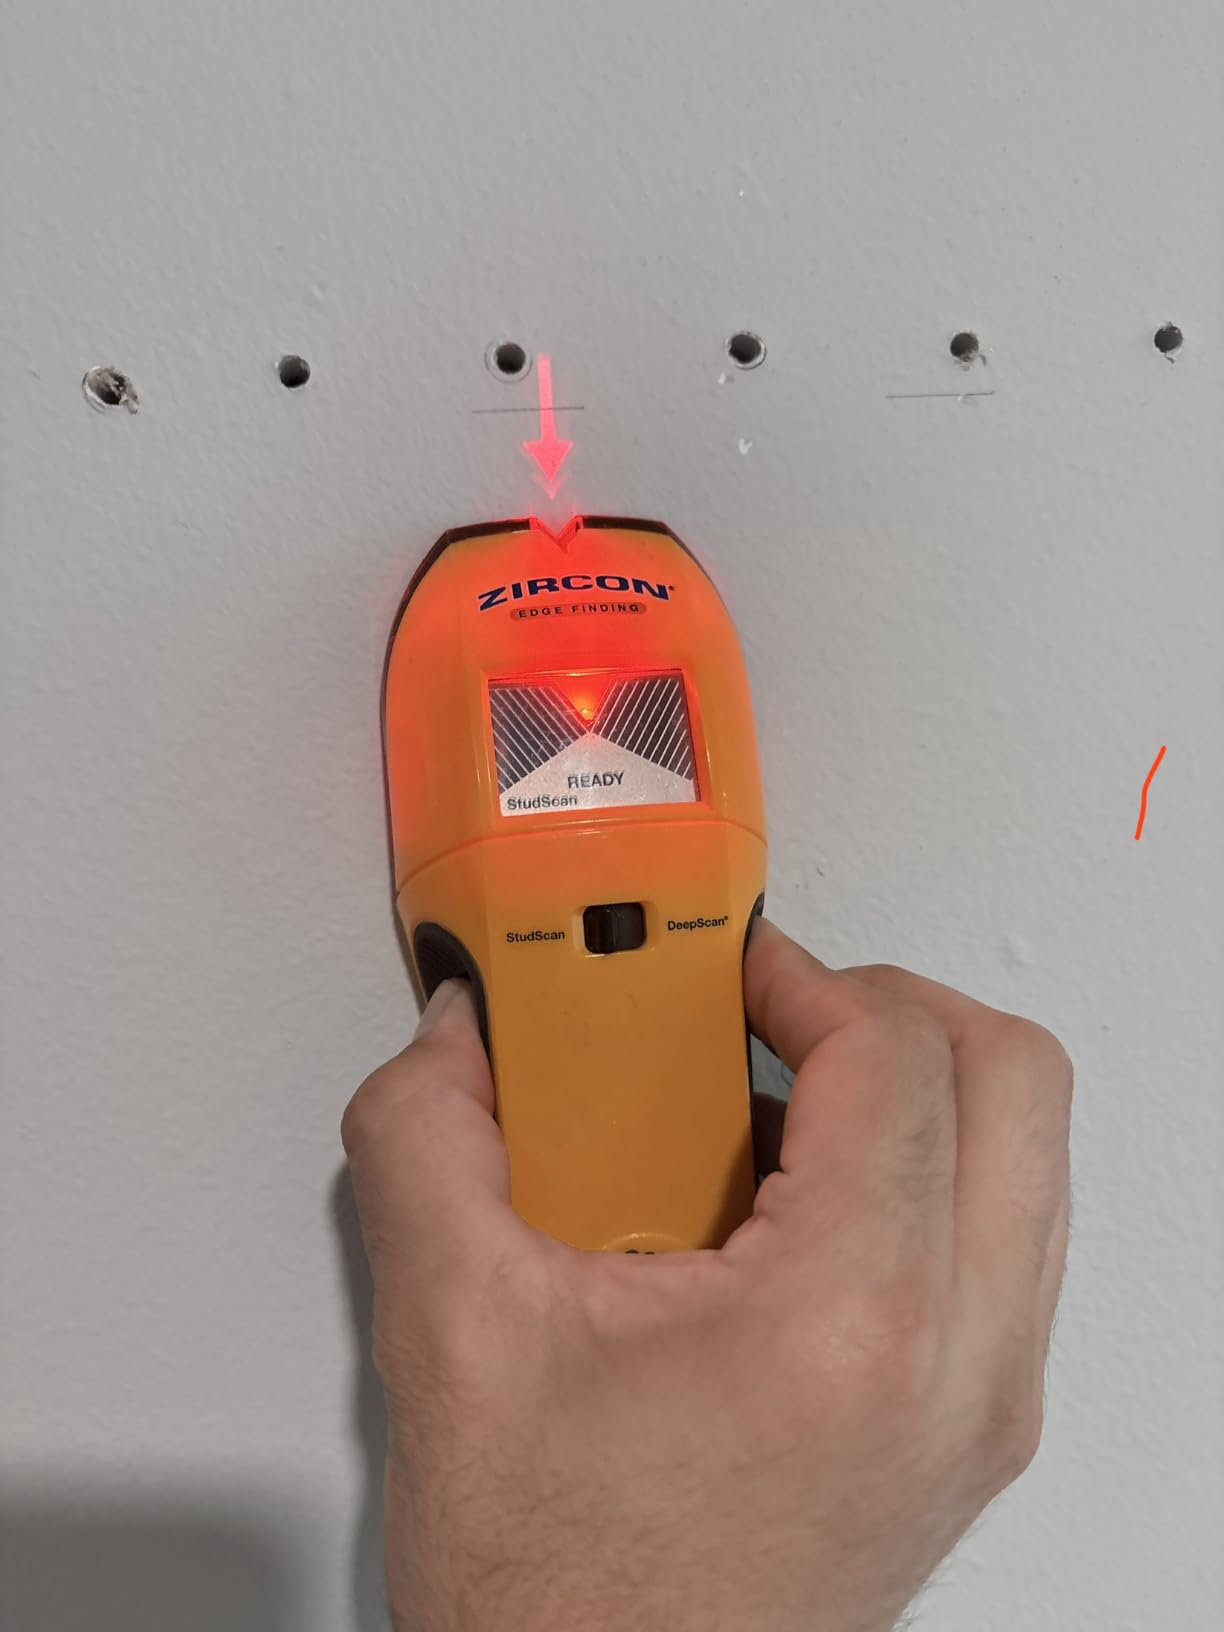
Calibration is hold flat against the wall, press and hold power until the short beep, one to two seconds. Do it once on the actual wall you are scanning, not on a nearby drywall surface, because the baseline is set against whatever you calibrated on.
Its 893 reviews average 4.4 stars with around 72 percent at five stars. Owners like the pointer and groove for shelves and TVs, and confirm the wire warning fires as advertised.
Two honest limitations. This variant is edge finding only, so you mark both edges and measure to the center yourself. And the wire warning tells you a wire exists somewhere in range, not exactly where it runs, so treat it as a stop signal rather than a map.
Who this suits
People hanging a shelf, a mirror or a row of frames along a wall where knowing the edges is enough. The pointer and groove speed up that specific job more than any other feature here.
It is also a sensible second tool to own alongside a magnet, since it adds the wire warning that a magnet cannot provide at all.
Who this does not suit
Heavy single-point mounts. Without a center readout, a 3/8 inch bolt through a plaster wall on an assumed center can miss the stud entirely, and a miss means a hole to patch in a surface that patches badly.
Owners in older plaster and lath homes sometimes report thinner performance on unusual wall builds. If your house has non standard panels or a patchwork of old repairs, an array finder will be steadier.
5. Zircon MultiScanner A200: Metal Scan for Wire-Backed Lath
Zircon® MultiScanner™ A200 Stud Finder with Metal & Live Wire Detection
StudScan DeepScan and Metal Scan
Shows edges centers direction
Limited lifetime warranty
Pros
- Metal Scan mode is the reason owners with lath walls choose it
- Reports stud edges centers and direction
- Large backlit screen is readable in dim rooms
- Battery charge indicator removes guesswork
- Limited lifetime warranty
Cons
- Bulky in the hand and awkward in tight spaces
- Occasional false positives still need a second pass
- Some owners see no real gain over a good older finder
- Runs on 9V batteries
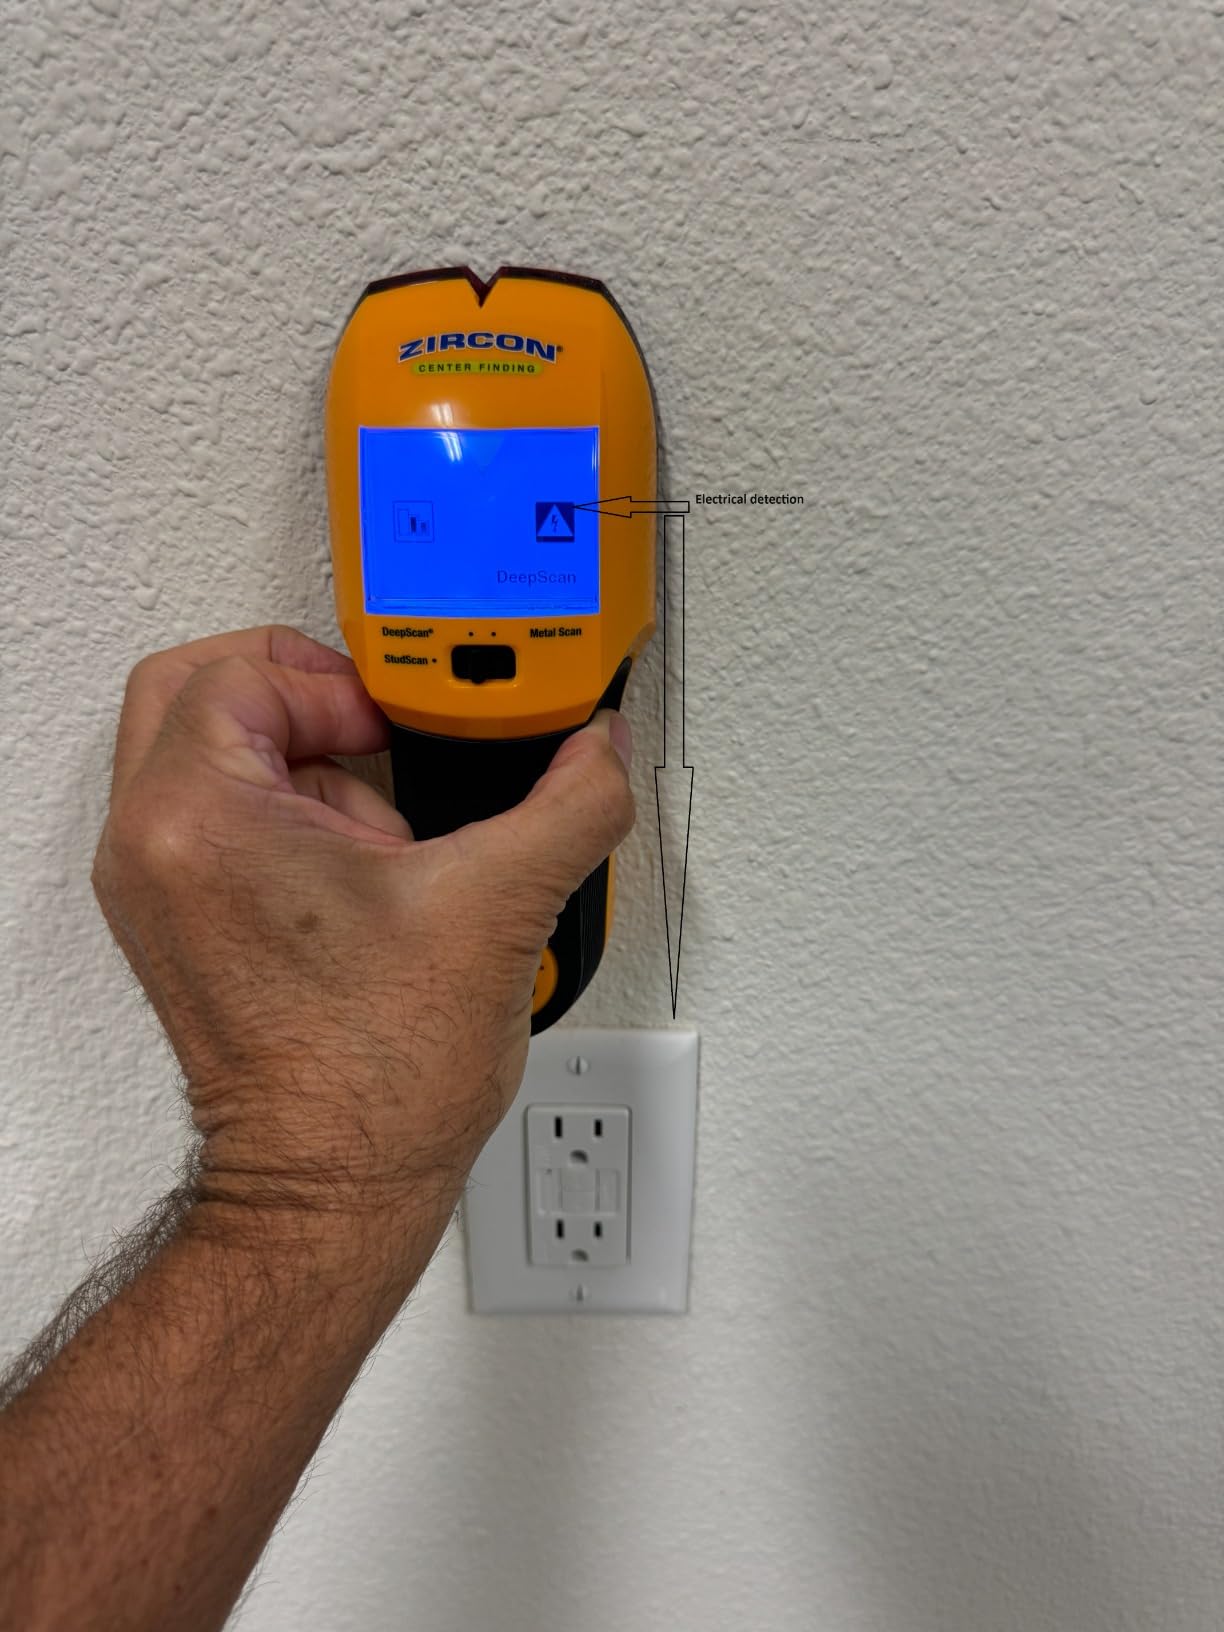
The A200 is the answer for wire-backed and metal lath, and that is a real category rather than a rounding error. Where other tools saturate on a continuous sheet of expanded metal, Metal Scan isolates metal objects behind the wall so you can tell a pipe or a lath sheet from a stud.
It is also the most complete Zircon in the group. Five scan programs, stud edges, stud centers and stud direction, an LCD with audio tone, and a SpotLite pointer for marking. DeepScan still reaches one and a half inch and WireWarning still runs.
The battery charge indicator is a small thing that matters more than it sounds. A dying 9V cell on a scanner produces weak readings that look exactly like a thick wall, and plenty of people conclude their tool is broken when it is simply hungry.
Its 815 reviews average 4.3 stars with about 68 percent at five stars. The standout in the feedback is metal detection, followed by accurate center marking and the readable backlit screen.
Owners verifying against opened walls report consistent edge calls, which is the metric that matters. The recurring complaints are grip and the occasional false positive, both manageable with a confirming pass.
Who this suits
Anyone in a building with metal lath or with metal-backed plaster board, which covers a lot of pre-war apartments and some mid-century commercial work. Metal Scan is the mode that keeps this tool useful on walls where a standard scanner sees one solid mass.
It suits anyone who wants edges, centers and direction in one unit rather than measuring between two edge marks.
Who this does not suit
Small spaces and tight corners. At nearly eight inches tall it is an awkward thing to maneuver in a confined cavity or up behind a cabinet, and some owners rate the grip as no real improvement over a good older electronic finder.
On plain wood lath it is more machine than you need. The array finders handle that wall with less fuss and fewer modes to learn.
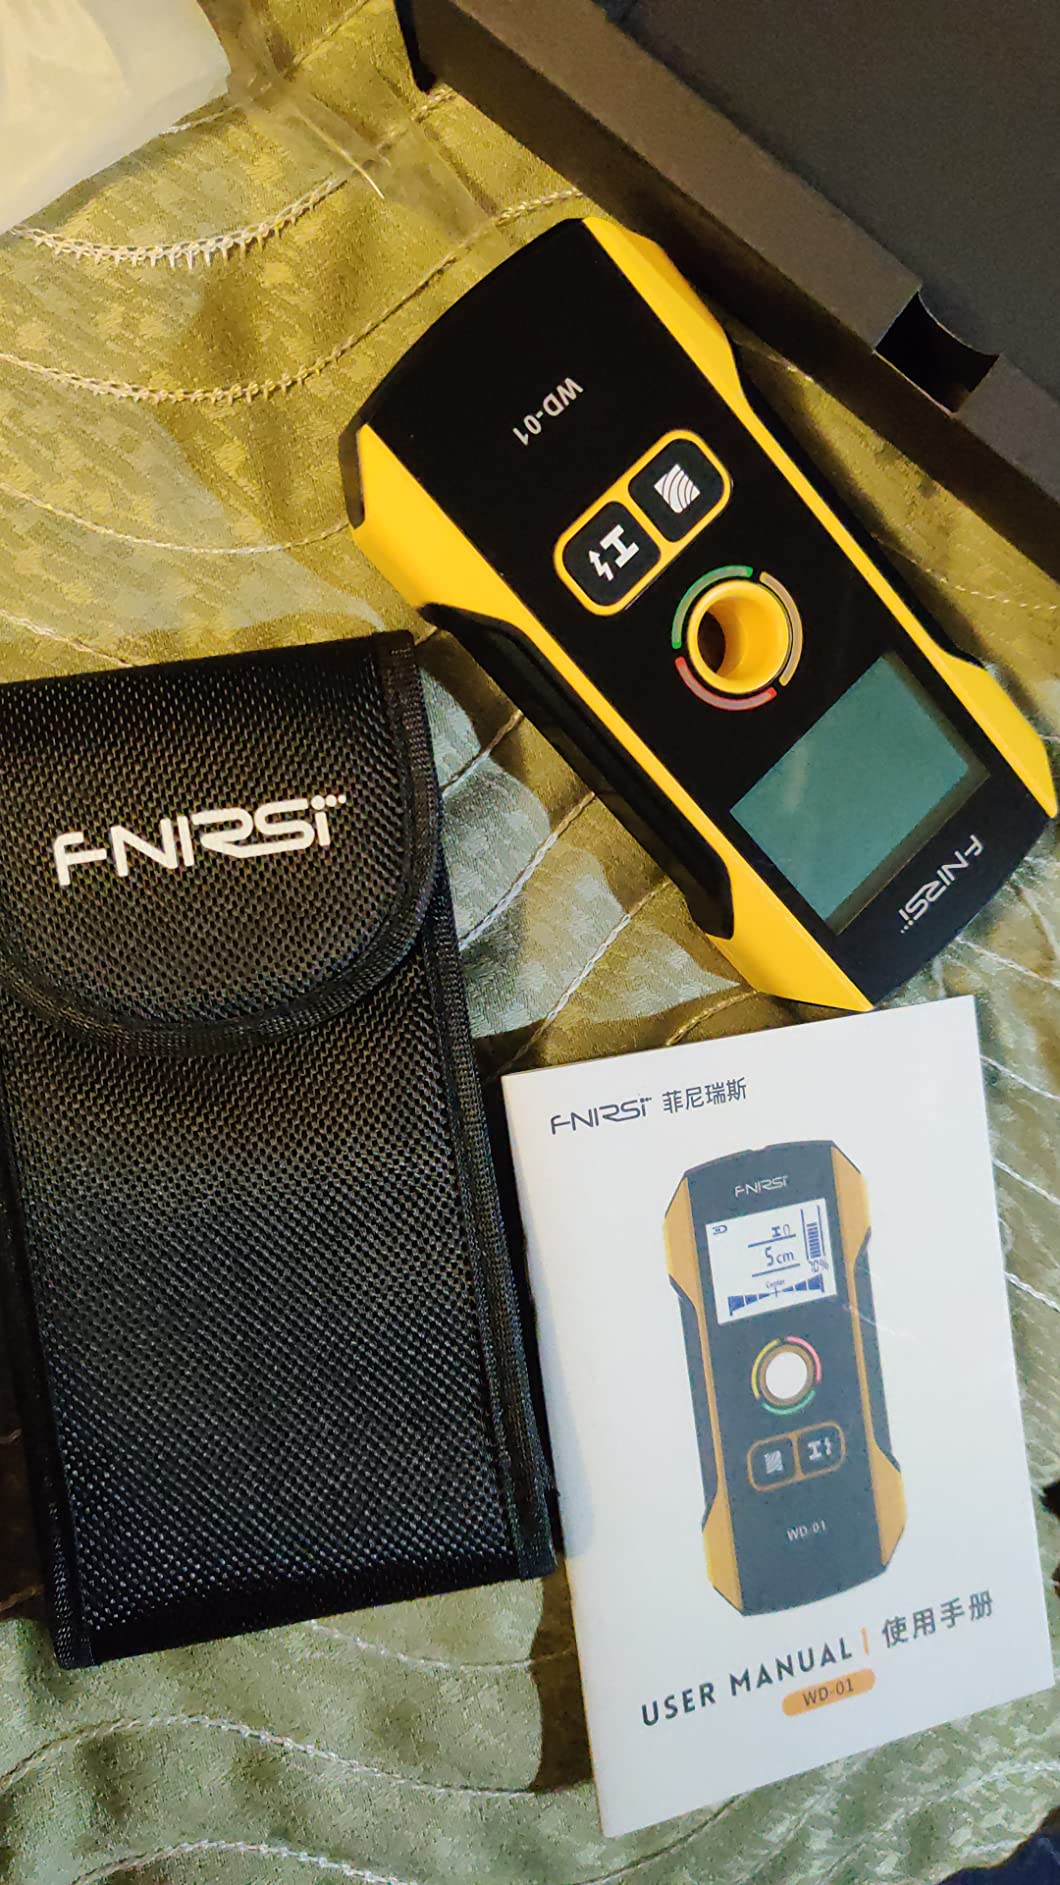
6. FNIRSI WD-01: Rechargeable Six-in-One With a Marking Hole
FNIRSI WD-01 6 in 1 Rechargeable Stud Finder Wall Scanner, Positioning Hole
Six scan modes
Rechargeable lithium
Marking hole for centers
Auto calibration
Pros
- Rechargeable so nothing dies mid job
- Positioning hole marks exact center without eyeballing
- Six modes including deep copper and ferrous detection
- Auto calibrates in about a second anywhere
- Manufacturer lists lath and painted walls as supported
Cons
- Center reading reported unreliable on plaster and lath
- AC wire warning fires when no live wire is present
- One review reports missing a metal plate behind drywall
- Depth readings on rebar less accurate than on and off
The WD-01 covers more ground than any tool here in raw range. Beyond the Exact scan at three quarter inch and Depth scan at 1.5 inch for framing, it reaches 3.9 inches for non-ferrous copper and 4.7 inches for ferrous iron, plus AC wire to two inches and copper wire to 1.6 inches.
That deep metal reach matters on plaster because it can find a pipe or a lath sheet that a stud scan walks past. The rechargeable lithium pack removes the dead-battery moment halfway up a ladder, which no other tool in this group offers.
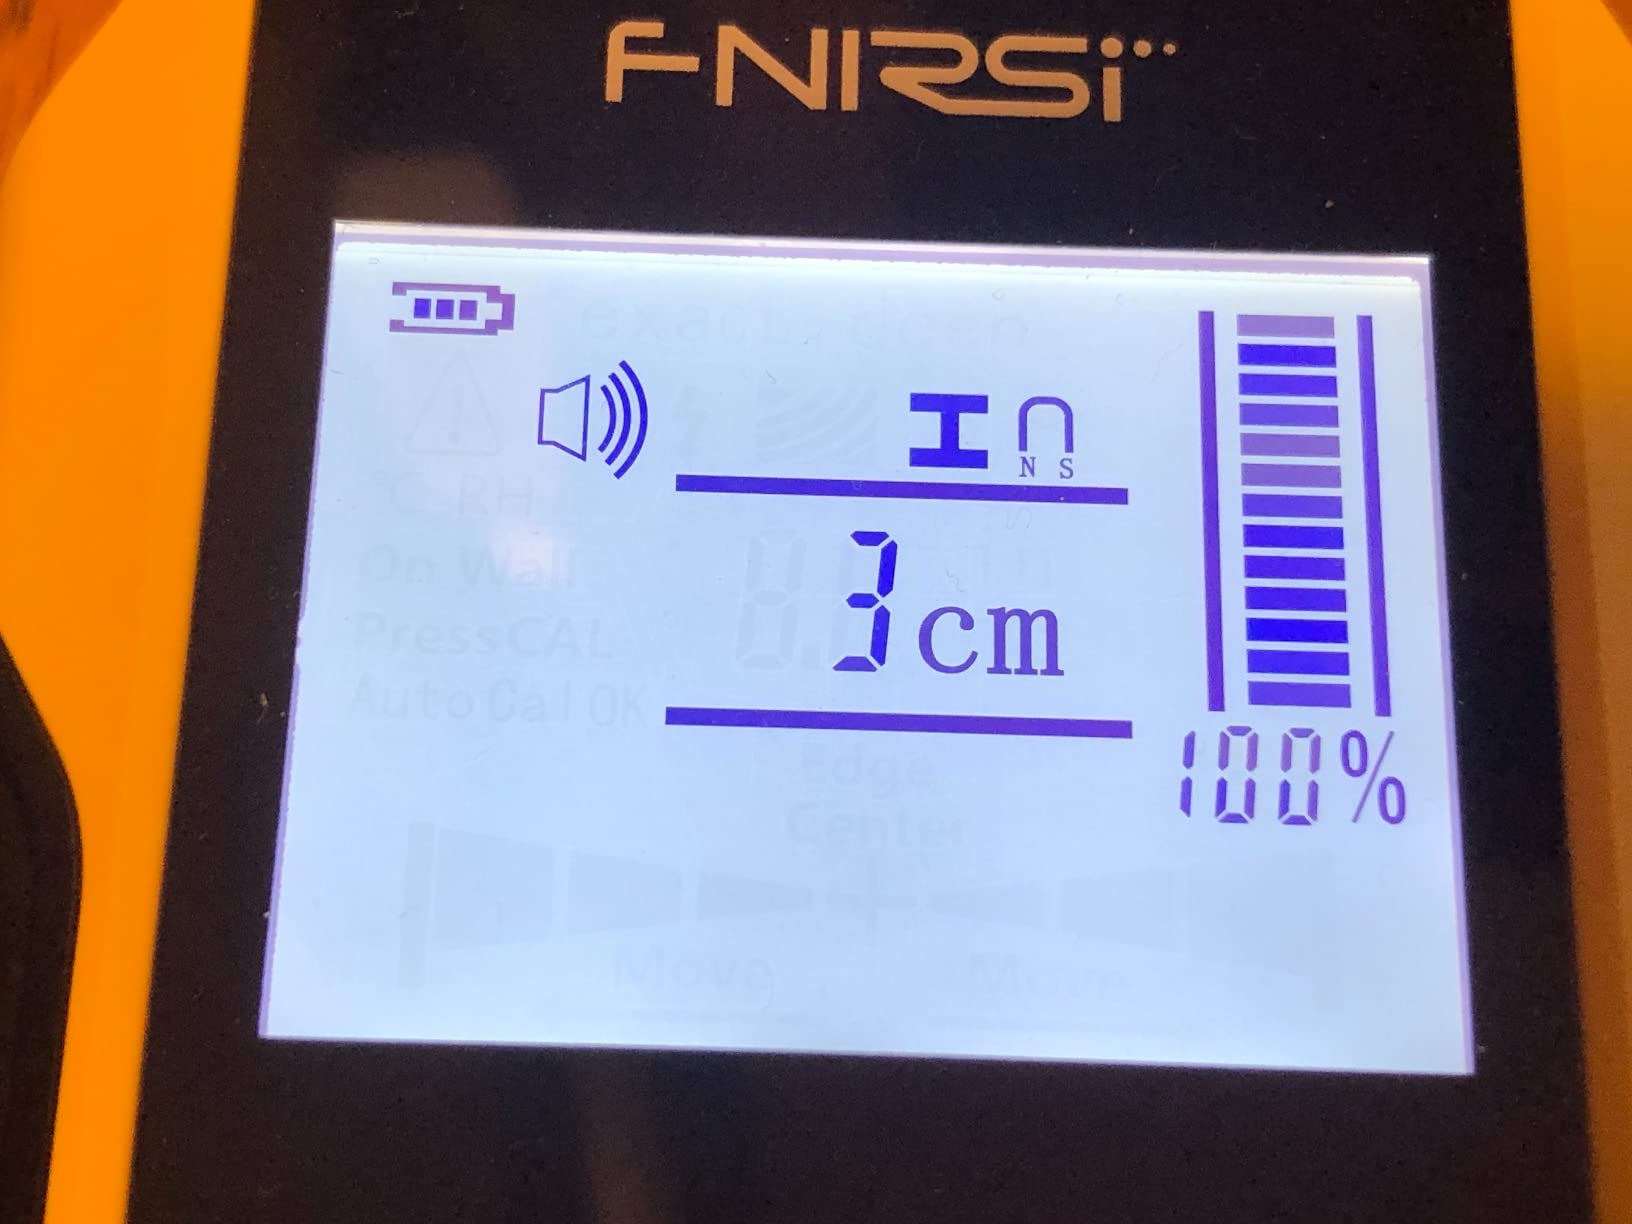
The marking hole is the feature I would keep. It puts a physical hole through the tool directly over the detected point, so you can mark the exact stud center or edge and then drill straight through it rather than trusting an eye estimate. Auto calibration takes about a second against any surface.
Its 890 reviews average 4.3 stars with around 70 percent at five stars. Owners confirm it finds studs and rebar, and several report success locating rebar during concrete demolition.
Now the part you need to read carefully before buying it for this specific wall. The manufacturer lists lath, wallpaper, painted walls, wood flooring and acoustic ceiling as supported surfaces. At least one owner reports the edge and center reading as unreliable specifically on plaster and lath, and that owner fell back to locating nails.
There is also an AC warning reported as overly sensitive, firing when no live wire is present. On an old plaster wall where a false alarm is cheap and a missed wire is not, treat the live wire alert here as advisory and confirm with a second tool.
Who this suits
People chasing more than studs. If you are running new wiring in an old house or hunting for a pipe before you cut a chase, the 3.9 and 4.7 inch metal modes are the reason to own this one.
The rechargeable pack and the marking hole also make it the cleanest tool for repetitive layout work.
Who this does not suit
Plaster walls where the center reading is the whole point. That is the specific complaint in the reviews, and it is exactly the job most people buy a stud finder to do.
The over-eager live wire alert will also train you to ignore a warning that you should be taking seriously in an older building. Pair it with a tool that has a tighter wire alarm.
7. The StudBuddy: The Magnet Confirmation Tool
The Original StudBuddy® Magnetic Stud Finder – Made in the USA – Easy to Use Stud Finder – No Batteries Required – Powerful Magnet Stud Finder – Stud Finder for Drywall and Wood
Neodymium magnets
No batteries
No calibration
1.6 ounces
Pros
- Either it sticks to a fastener or it does not
- leaving no reading to argue with
- Hangs on the wall once found so both hands stay free
- No batteries and no moving parts
- Pocketable at 1.6 ounces
- Plaster and lath owners report it working where scanners failed
Cons
- Manufacturer states it is not intended for lath and plaster
- Locates fasteners rather than the stud itself
- No built in level on the original version
- Cannot detect live wires
Here is the honest field truth that this roundup keeps circling. On a real lath wall, a neodymium magnet frequently beats an expensive electronic scanner, because the thing holding lath to the stud is a steel nail and the magnet does not care about plaster thickness at all.
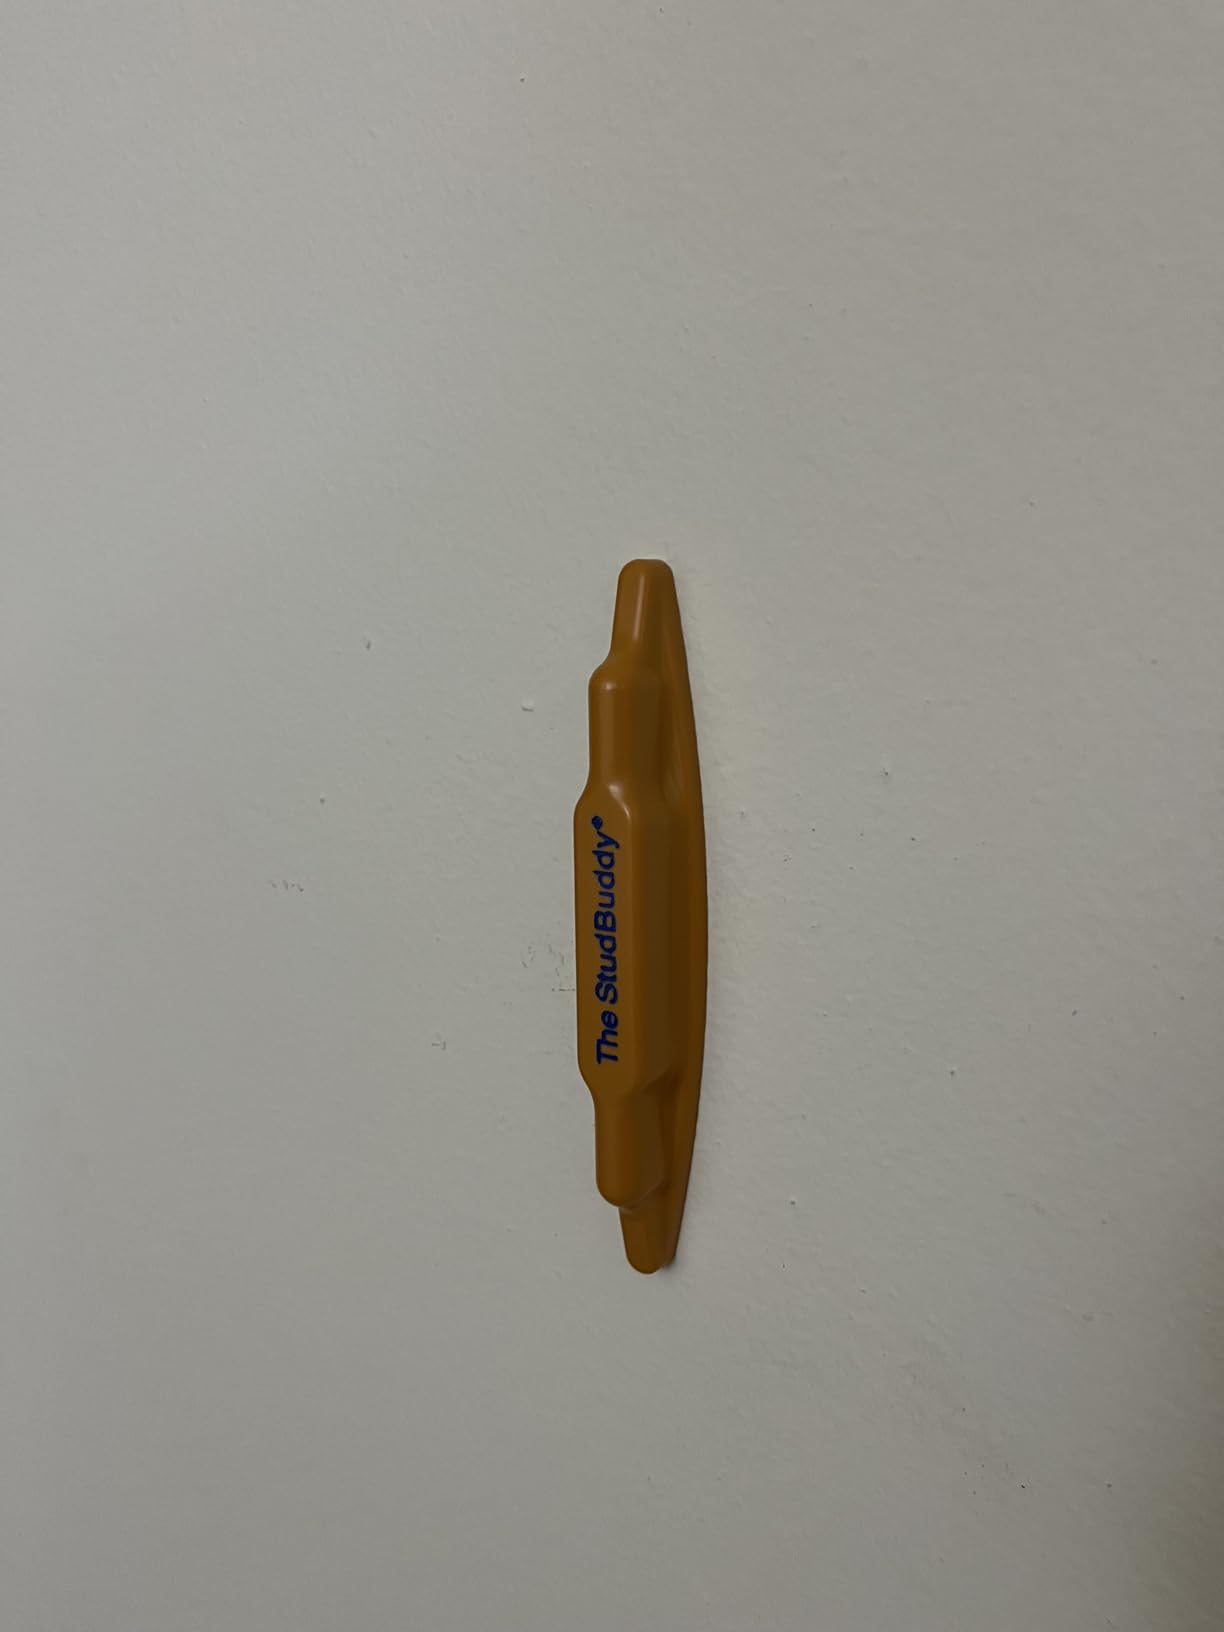
The StudBuddy is a small block with encapsulated neodymium magnets. You sweep it across the wall in a Z pattern and when it finds a drywall screw or nail head it sticks fast and stays there, hanging on the wall while you mark or drill. It weighs 1.6 ounces and runs on nothing at all.
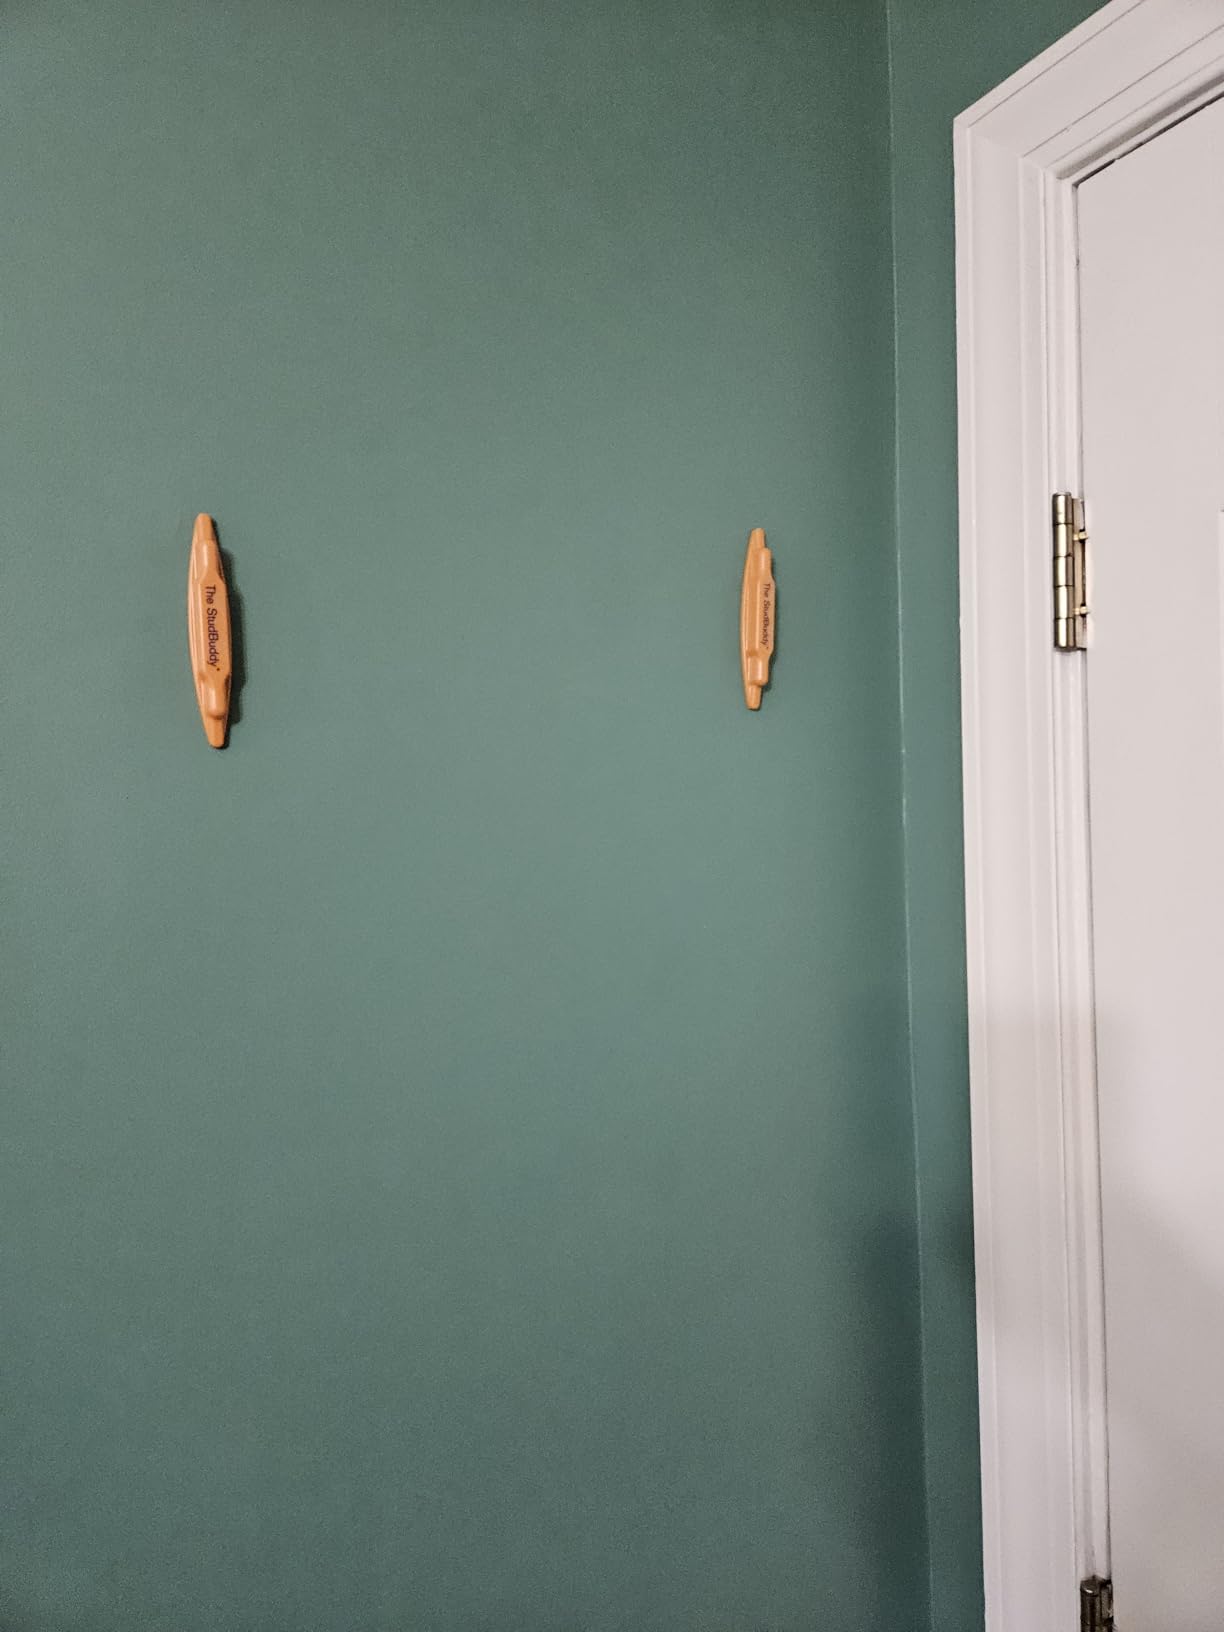
That is the appeal. There is no false reading to interpret, no mode to select, and no calibration to get wrong. A forum consensus we found on Bogleheads puts it plainly: a nail and hammer works every time on plaster walls, and a magnet is the same idea with better reach.
Its 16,040 reviews make it the most reviewed product here, averaging 4.5 stars with about 75 percent at five stars. That volume of feedback from actual lath and plaster homeowners is why it earns a place in a plaster roundup at all.
Now the line you should read in full. The manufacturer states the tool is not intended for lath and plaster walls and is best used on drywall and wood. Owners in old plaster houses report it working anyway. Treat the manufacturer statement as a caution about consistency, not a prohibition.
Who this suits
Anyone who needs to confirm a reading fast before committing a drill bit. This is the confirmation half of the two-tool approach, and it costs almost nothing and weighs almost nothing.
It also suits small jobs perfectly. Hanging a single picture or a hook does not need a scanner with six modes and a charging cable.
Who this does not suit
Finding the center of a stud on its own. It locates fasteners, so a stud with sparse screws gives you a sparse picture of where the framing is. You get nails, not a wall layout.
It cannot detect live wires, which on a pre-1970 wall is a limitation worth stating out loud. And the original version has no built-in level, so check which version you are buying before mounting anything that needs a straight line.
8. Calculated Industries StudMark: A Magnet That Marks the Wall
Calculated Industries 7310 StudMark Magnetic Stud Finder with Markers
Rare earth magnets
Two removable markers
Marks 3 stud spots
No batteries
Pros
- The only magnetic finder here that marks the wall for you
- Two removable markers record up to three stud locations
- Newer stronger rare earth magnets stick so hands stay free
- Removes smudged pencil marks from layout work
- Pocketable with a two year warranty
Cons
- Manufacturer states it is not recommended for plaster walls
- Finds fasteners only so sparse screws give sparse results
- Cannot detect live wires
- Markers stick to the tool and each other easily
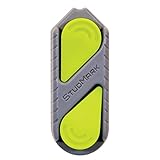
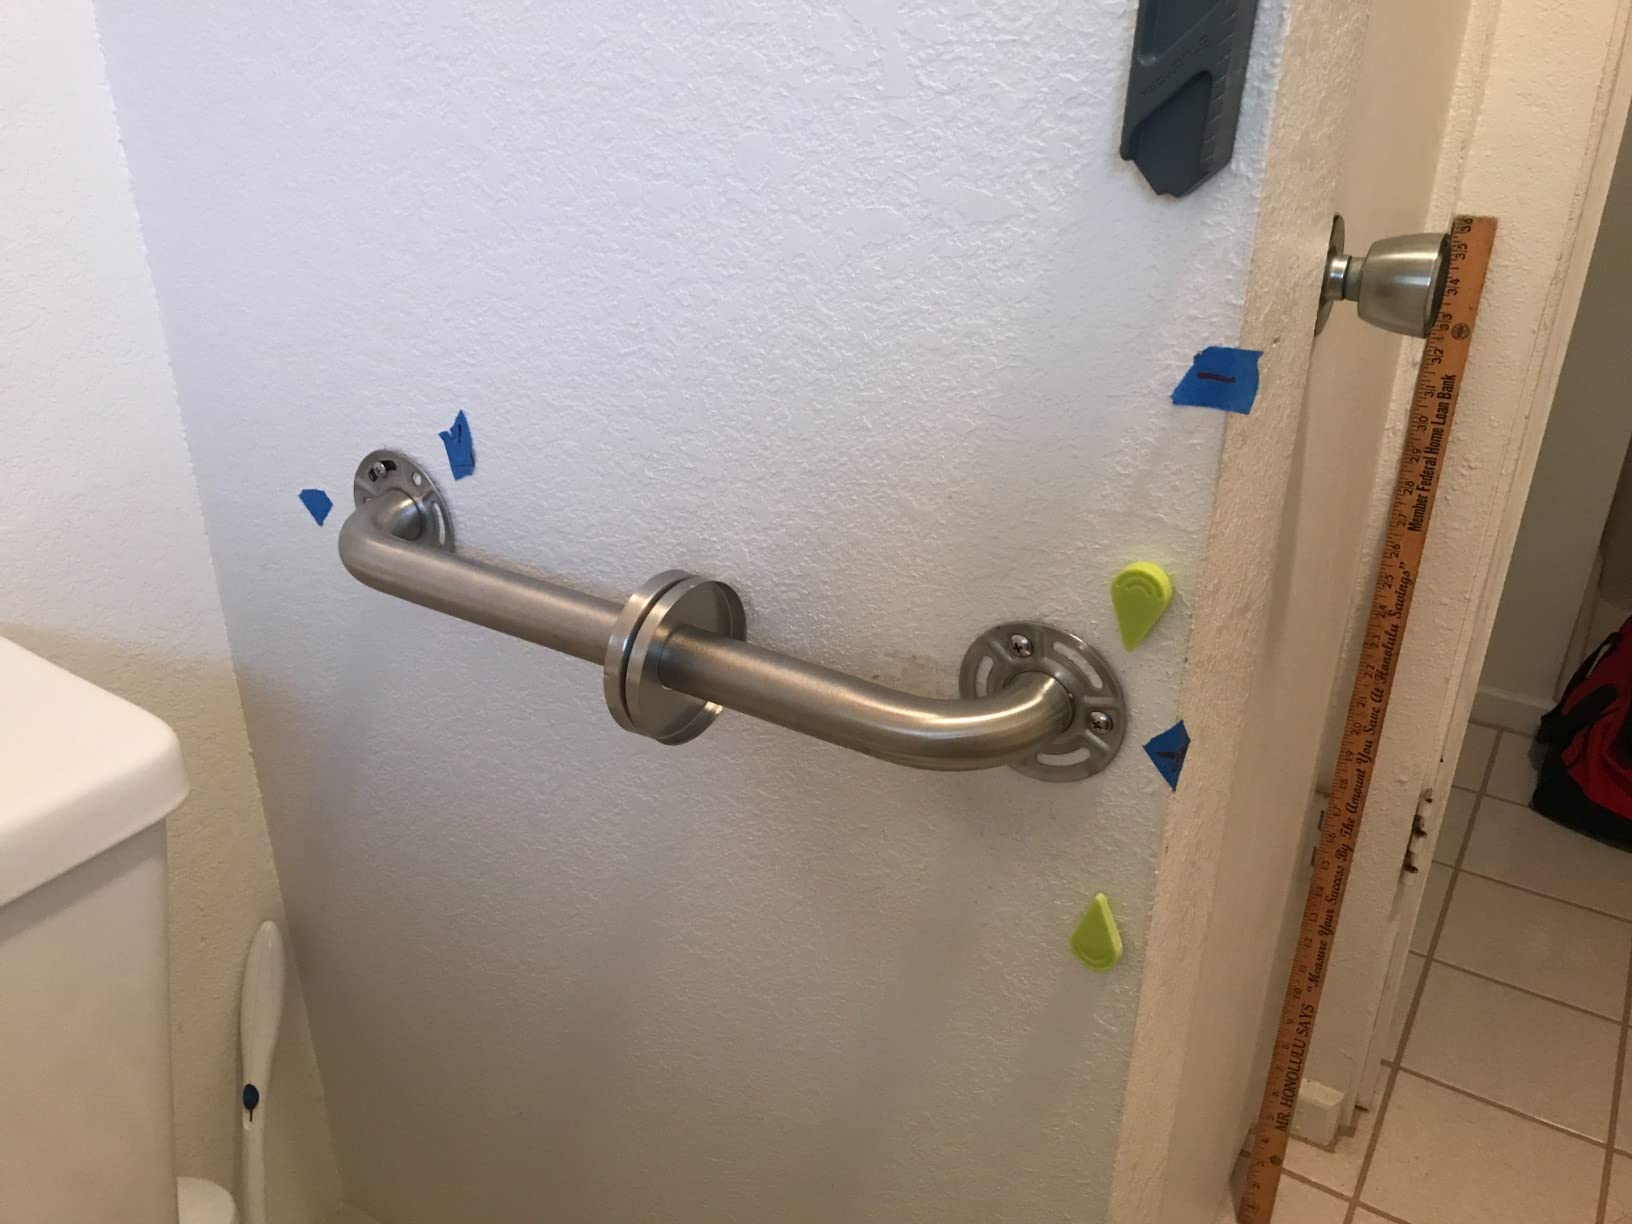
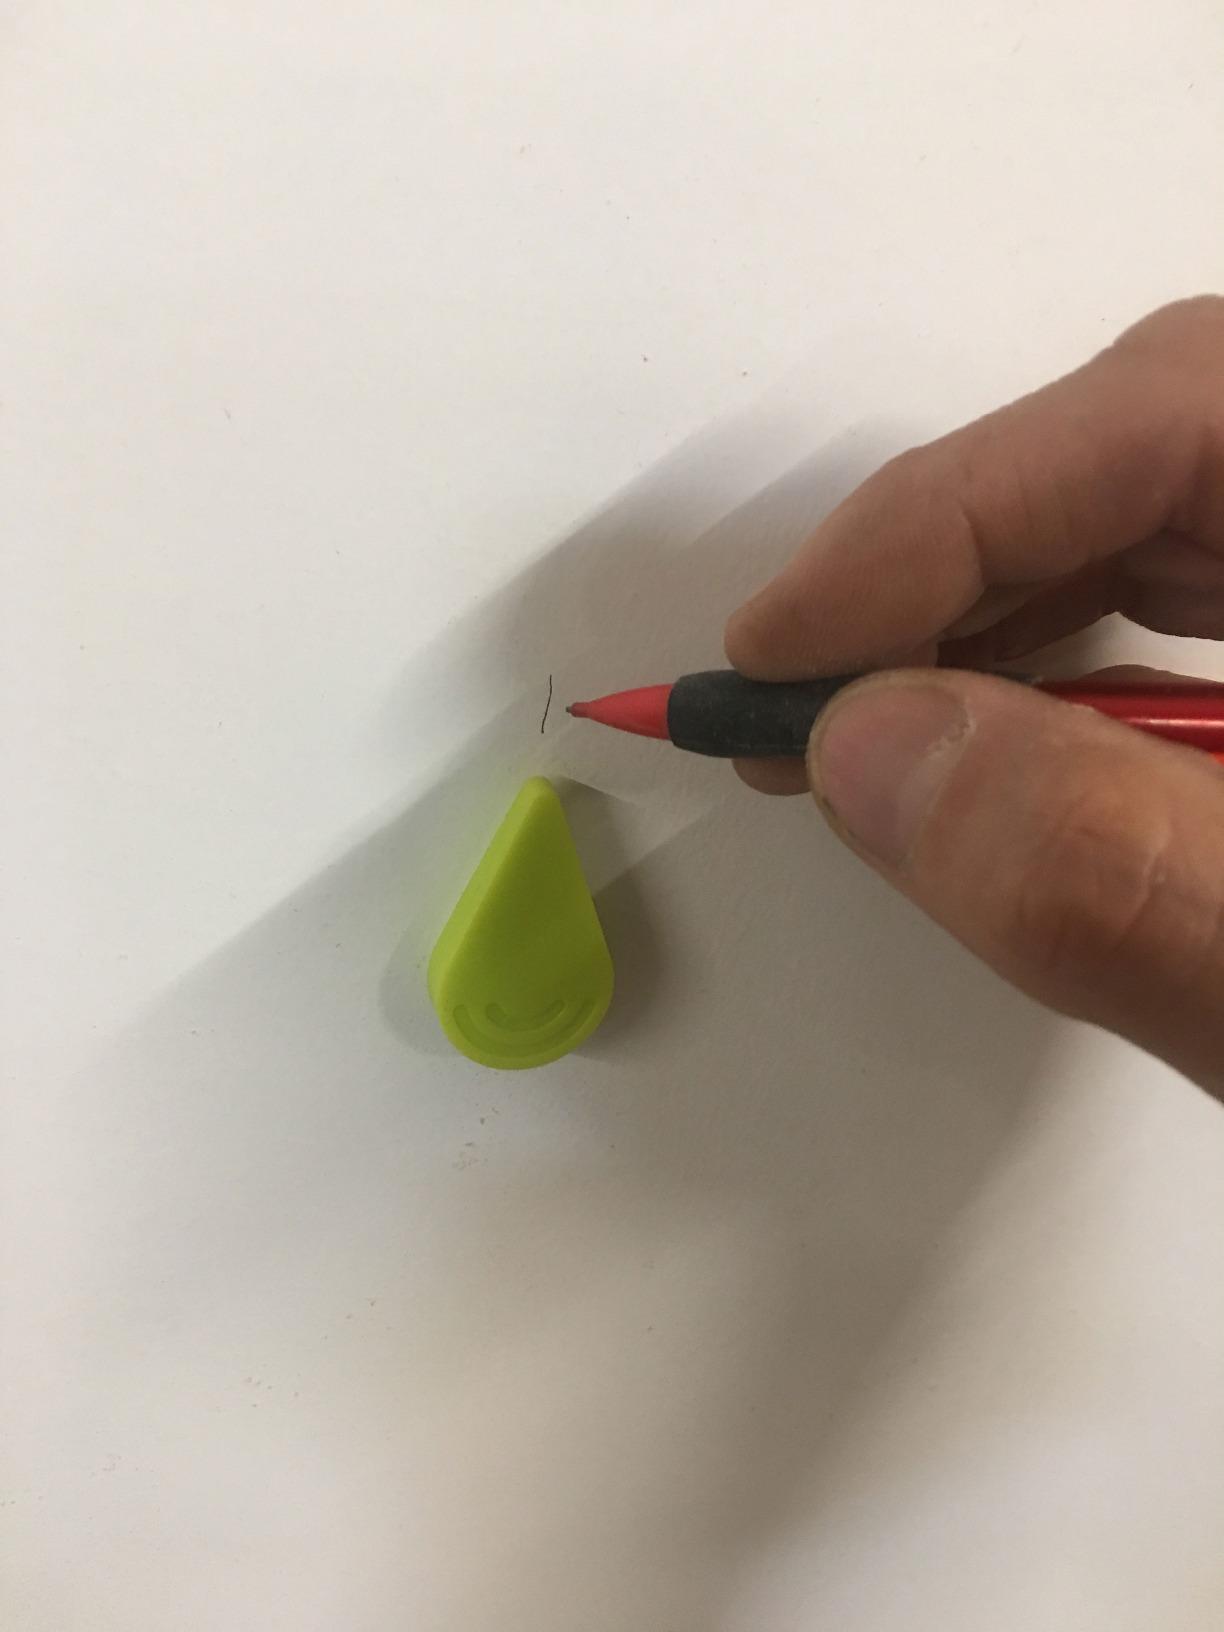
The StudMark solves the one genuinely annoying part of magnet work, which is that a magnet hanging on the wall is a magnet you are no longer holding. Two removable magnetic markers clip to the tool, and when it snaps onto a nail you press a marker onto that spot and move on. Three stud locations can be recorded at once.
That makes it the fastest layout tool in this group for a long run of studs. No pencil, no smudging, no trying to remember which faint mark was which. It uses a Z pattern sweep until the tool snaps into place.
Its 1209 reviews average 4.5 stars with roughly 74 percent at five stars. The self-marking markers are what reviewers single out, and they turn a one-at-a-time tool into something closer to a layout system.
The magnets themselves are described as newer and stronger rare earth, and it carries a two year warranty covering defects in workmanship. It never needs batteries and fits in a nail pouch.
Like the StudBuddy, the manufacturer states it is not recommended for plaster walls because of plaster thickness variations. In practice the magnet does not measure thickness at all, so the caution reads more like a support statement than a technical limit. The real constraint is that it only finds fasteners, not framing.
Who this suits
Anyone hanging several things in a row on the same wall, where marking speed matters. Recording three stud spots at once changes the pace of a whole afternoon of layout work.
It also suits people who dislike pencil marks on a finished surface, since the markers leave small removable points instead of graphite you have to clean off.
Who this does not suit
Any job that needs live wire detection. A magnet is blind to wiring, and on an older wall that is a real gap. Keep an electronic tool with a wire warning in the bag alongside it.
The markers also stick to the tool and to each other, so they vanish into your pocket more often than you would like. Check the count before you walk away from the bench.
How We Tested on a Lath and Plaster Wall
We worked on one wall of a wood lath and plaster room rather than a drywall basement, because the entire question is what happens when the wall is not uniform. The wall had hand-troweled plaster over horizontal lath at roughly 1.5 inch spacing, with framing at 16 inches on center.
For each tool we ran the same protocol. Calibrate or start per the manual on the actual plaster. Sweep horizontally at roughly two inches per second, which is slower than feels natural. Record every hit, not just the believable ones. Then repeat the same pass twice more without recalibrating, and count how many positions repeated.
Where a tool offered center detection we noted the center reading separately from edge detection. Where a tool offered metal or wire modes we recorded whether those modes produced a distinct signal rather than echoing the stud signal.
We confirmed positions against a magnet sweep for the nails and, at three marked spots, against a thin pilot bit so we could feel the difference between lath and framing. Nothing was tested on concrete, brick, tile or stucco. We did not test any tool for live wire accuracy, and every wire warning mentioned in this article is a manufacturer feature rather than a result we verified.
What we measured, plainly: repeatability of a marked position across three passes, whether the tool showed full stud width, whether it reported a center, and how much hand correction the reading needed before we were willing to drill.
How to Use a Stud Finder on Plaster Walls Correctly
Step one is identify the wall type before you power anything on. Look at an opening, a vent cover or any exposed edge and decide between wood lath, metal lath and blueboard, as described earlier. The answer changes which tool you should be holding.
Step two is calibrate correctly, or skip it if the tool needs no calibration. When a calibration is required, do it on the wall you are about to scan rather than on a nearby surface. Old plaster changes thickness, and a baseline taken ten feet away is not the baseline you are working against.
Step three is sweep slowly. Scanning too fast is the single most common self-inflicted error and it is the reason people conclude their tool is broken. Two inches per second lets the sensor array resolve a narrow stud from a wider lath strip.
Step four is repeat and mark with tape. Run the same pass three times and see which positions agree. Mark with painter’s tape rather than pencil, because pencil on old plaster dusts off and tape stays put.
Step five is confirm with a second method before you drill. On lath and plaster that means a magnet. If the electronic finder and the magnet disagree, believe the magnet, because it is reading steel that is physically inside the stud.
There is also the magnet on a string technique that comes up constantly in forums and deserves to be a repeatable method rather than a passing tip. Attach a strong rare-earth magnet to a length of dental floss and drag it slowly across the wall. Where it snags and lifts, you have a nail. Sweep it in a slow S motion so you cover the full width, then step down a few inches and repeat.
Nails appear in a vertical line above and below each stud because they are what holds the lath to the framing. Once you have four or five snag points, draw a pencil line through them and that line is your stud center. The whole process takes a couple of minutes and needs no batteries.
A final option from r/Oldhouses is to skip detection and use a small drill bit with a pilot hole. You will feel the moment the bit passes through lath into air and then into solid framing. On plaster the tradeoff is real, since a botched hole is harder to repair than a missed stud, so probe in a spot you could patch if you have to.
Troubleshooting False Readings on Plaster
If your finder reports a stud that is obviously not there, the most likely cause is a lath strip with nails in it. A narrow signal that flashes on and disappears within an inch is almost always lath, not framing. Studs produce a wider band and usually repeat at the same place on a second pass.
If the signal moves between passes in the same spot, that is calibration drift from uneven plaster thickness. Re-run the calibration on that exact section of wall, or switch to a tool with no calibration requirement such as the 13-sensor Franklin model.
If nearly the whole wall reads as solid, you are probably on metal lath or on a wall with dense metal backing. Magnetic finders saturate completely here and an electronic scanner reads the sheet as one mass. That is the case for the Zircon MultiScanner A200 and its Metal Scan mode, or for a professional look at what is in the wall.
If readings are inconsistent around corners, windows and doors, the reason is added framing. Builders double up studs at openings, so a genuine stud cluster near a window is normal and the extra width you see is not an error.
If you hit plumbing instead of wood, the signal is unusually dense and often follows a line rather than standing alone. A stud pattern that does not line up with 16 inch spacing is usually a pipe or a run of old nails, not framing.
Finally, if the tool behaves worse after a few months, check the batteries before you blame the wall. A weak cell reduces sensitivity, which looks identical to thick plaster, and it is the cheapest thing to rule out.
How to Choose a Stud Finder for Plaster Walls
Decide the class first. An electronic finder reads density and tells you where framing is, including width and center. A magnetic finder reads steel and tells you where a nail is. A metal locator separates a pipe or lath sheet from a stud. On wood lath you want the first two together. On metal lath you want the third.
Match detection depth to the wall, not to the marketing. Add your plaster thickness plus your lath thickness plus a margin, and compare that number against the tool’s stated reach. Three quarter inch plaster over one inch lath gives you a little under two inches of material before the stud, which is why the 1.7 inch reach on the M210 matters and three quarter inch reach does not.
Look for edge versus center. Edge finding tells you where the sides are and you measure the center yourself, which is fine for shelves. Center finding matters when a single bolt carries real load and a half inch of error means a hole in the wall.
Treat live wire detection as required rather than optional if your house predates 1970. Cloth-sheathed and early rubber wiring was run without the discipline of modern code, and no tool promises perfect coverage. Look for the warning as a stop signal and confirm by other means before a deep drill bit goes in.
On what to spend, the short version is that the electronics under about thirty dollars cover simple drywall work and get shaky on plaster, the thirty to sixty range is where multi-sensor arrays live, and above that you are paying for deeper metal detection or a rechargeable pack rather than better stud reading. A magnet complements any of those tiers.
Two habits matter more than the tier. Confirm every reading with a second method before drilling, and mark with tape instead of pencil. Both are free.
If your project turns into wall-mounted storage or a garage wall system rather than a single hanging job, our guide to the best slatwall systems for garage walls covers the mounting side once you know where the framing sits. For metalwork tasks where finding a stud is not the issue, we also track the best stud welders for metal. And if the room you are fixing doubles as a training space, our guides to the best bouldering walls for gyms and the best rock climbing walls for gyms cover the climbing surface side of that build.
Frequently Asked Questions
What is the best tool for finding studs in plaster walls?
A multi-sensor electronic finder with deep scan mode is the best single tool, because a wide sensor array can read through plaster and lath to the framing behind. Pair it with a rare-earth magnet, which sticks to the furring nails holding lath to studs and confirms the reading before you drill. For metal lath walls, a dedicated metal scan mode is the deciding feature.
Do stud finders work on plaster walls?
They do, but not the way they work on drywall. Plaster sits over narrow wood lath strips that are roughly 1.5 inches apart, and every strip has nails in it, so a basic finder reads lath as framing. Multi-sensor arrays with 1.5 inch or greater reach handle wood lath well. Always confirm the reading with a magnet, since a magnet finds a nail in a stud no matter how thick the plaster is.
Are there still studs in plaster walls?
Almost always yes. Pre-1970 plaster walls sit on wood framing at 16 inches on center in most houses, even where a later renovation used a different build. The way to confirm is to look at any opening or exposed edge and see whether narrow lath strips cover a solid vertical member. Wherever there is lath, there is framing behind it holding that lath.
Why does my stud finder keep giving false readings on plaster?
The usual cause is the lath itself. A narrow signal that flashes briefly is a lath strip, while a stud produces a wider band that repeats at the same spot on a second pass. If signals move between passes, recalibrate on that exact section of wall because plaster thickness varies. If the whole wall reads solid, you are probably on metal lath and need a tool with a dedicated metal scan mode.
How do I know if I found a real stud?
Run the pass three times and see which positions repeat. A stud gives a wide signal that reappears at the same spot, usually about 1.5 inches across. A lath strip gives a narrow signal that flashes and vanishes within an inch. Confirm with a rare-earth magnet: if it sticks hard to a nail at the position you marked, there is framing there. On older plaster, mark with tape rather than pencil.
Is there a stud finder that can see through stucco?
Not reliably, and it is worth being blunt about that. Stucco over concrete or block is far denser than plaster over lath, and the depth needed to reach framing through it exceeds what consumer scanners are rated for. Tools that reach several inches into metal, such as a deep ferrous and copper metal scanner, will pick up rebar or lath, but the framing behind stucco is better located by opening a small inspection hole.
The Verdict on Stud Finders for Plaster Walls
For most people facing a wood lath and plaster wall, the answer to finding studs is a pair of tools rather than one. A 13-sensor array with no calibration requirement locates the framing, and a rare-earth magnet confirms it before the bit turns. Used together they solve the problem that defeats either tool alone.
Our best overall is the Franklin ProSensor M210, with the widest sensor array and the deepest electronic reach in the group. The best value deep scan is the Franklin ProSensor M150 for a single lighter wall. The best metal locator is the Zircon MultiScanner A200 if your building has metal lath. For magnetic confirmation, the StudBuddy is the simplest and the Calculated Industries StudMark is the one that marks the wall for you.
One last thing no tool can do for you. Nobody here tested live wire accuracy, and a pre-1970 wall deserves more caution than any of these products can promise. Confirm framing, confirm the wire, then drill.