
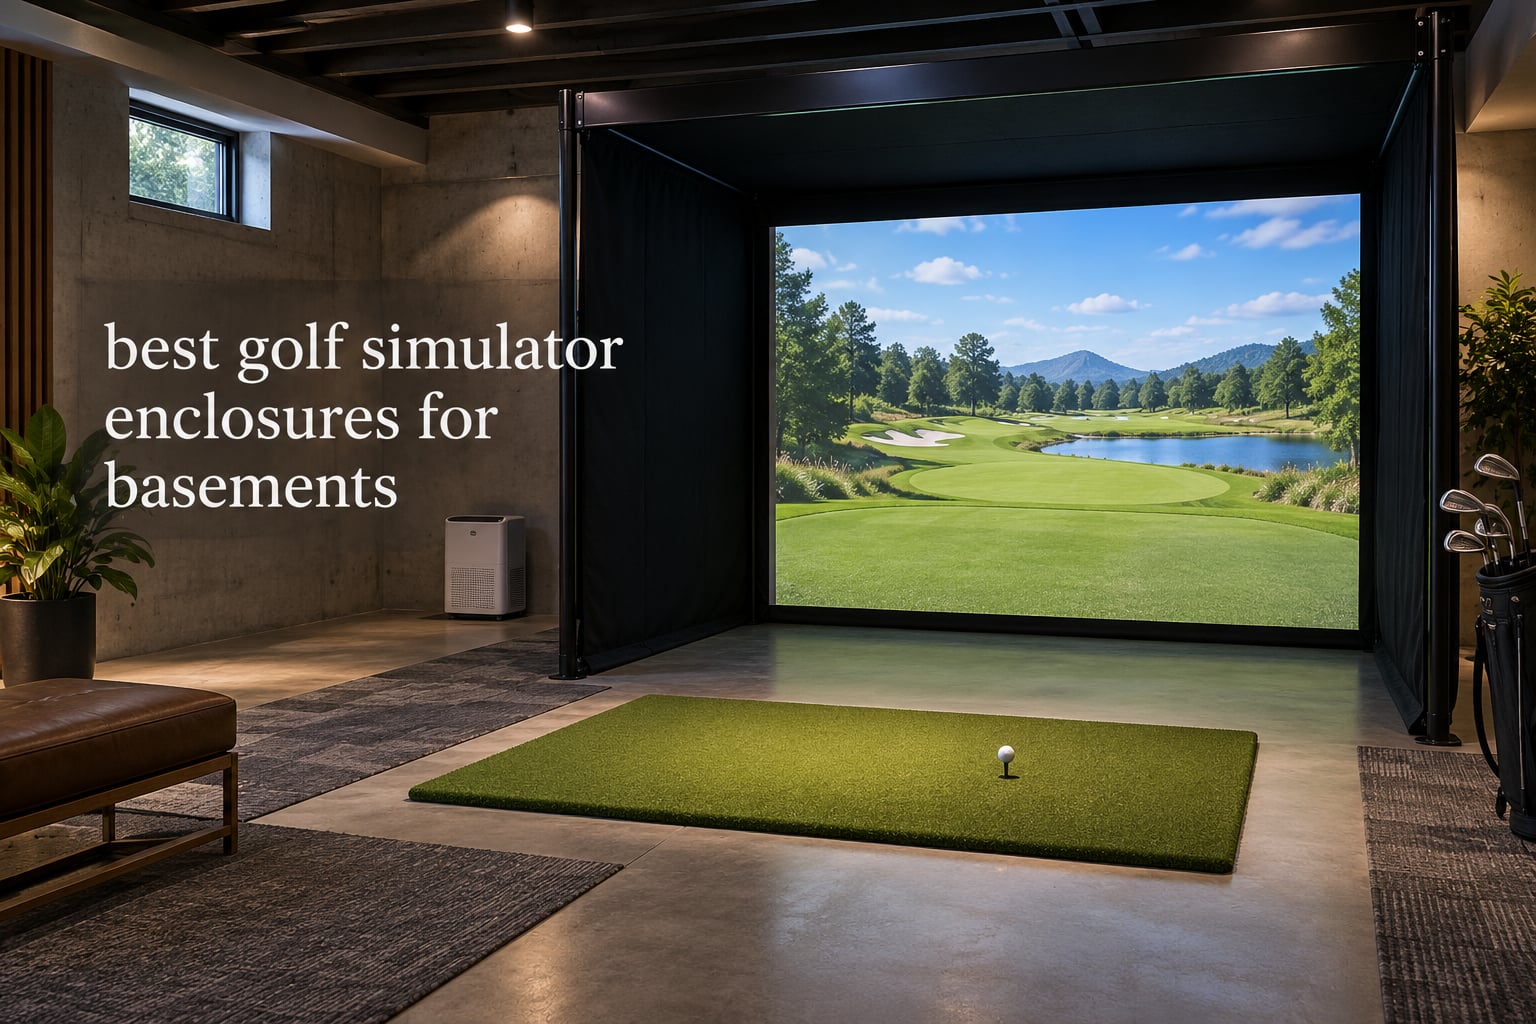
Yes, you can put a golf simulator in a basement, and most rooms with 7.5 ft of clearance or more will work once you measure the height at the top of your swing arc rather than the height printed on the listing. The catch is that the enclosure is the one part of the system you cannot easily resize later, so the room has to fit it before you buy anything.
A golf simulator enclosure is the frame, impact screen and side netting that turns a bare basement room into a contained bay. Most kits ship with steel frame poles, a projection screen, a blackout cover, safety nets and often a projector mount. What they almost never ship with is a projector, a launch monitor, a computer, a hitting mat or a dehumidifier.
We spent six weeks working through specs, dimensions and customer feedback on the best golf simulator enclosures for basements currently listed, then sorted them against the constraint that actually decides most basement builds: usable clearance at the swing arc. Every pick below carries a verdict for the room it suits, and several carry a warning for the room it does not.
If your basement is unfinished, the flooring decision comes first, and our guide to the best waterproof flooring for basements covers the options that survive a damp season. If it is finished, the enclosure has to look deliberate, which changes which kits are worth your money.
Table of Contents
The 3 Best Golf Simulator Enclosures for Basements in October 2026

GoSports Golf Simulator Enclosure Kit
- True blackout panels
- Commercial grade impact screen
- Choose 10x8
- 12x9 or 14x8 ft

Complete Enclosure Package with Projector…
- Projector mount included
- 4K-ready impact screen
- Three size options

The GoSports kit takes the top slot because it is the one that combines a real blackout enclosure, three footprint options and a 186-review base that describes the same build experience over and over. The ANYTHING SPORTS package is the smarter money if a bundled projector mount changes your build math, and the Range Cage is the honest answer for a basement where the mat matters more than the picture.
Quick Comparison of Every Basement Enclosure We Reviewed for October 2026
| Product | Specifications | Action |
|---|---|---|
| GoSports Golf Simulator Enclosure Kit |
|
Check Latest Price |
| Complete Enclosure Package with Projector Mount |
|
Check Latest Price |
| GoSports Range Cage 10×8 ft |
|
Check Latest Price |
 Haokelball Golf Practice Net 10×8 ft Haokelball Golf Practice Net 10×8 ft |
|
Check Latest Price |
 HOMEVOL 2 in 1 Net System HOMEVOL 2 in 1 Net System |
|
Check Latest Price |
 Durbles Enclosure Kit with Blackout Curtain Durbles Enclosure Kit with Blackout Curtain |
|
Check Latest Price |
 Diandian Enclosure Kit 10×8 ft Diandian Enclosure Kit 10×8 ft |
|
Check Latest Price |
 Sturdum Enclosure Kit with Steel Frame Sturdum Enclosure Kit with Steel Frame |
|
Check Latest Price |
 River Hill Golf Home Practice Enclosure River Hill Golf Home Practice Enclosure |
|
Check Latest Price |
 ANYTHING SPORTS Fold Up Enclosure ANYTHING SPORTS Fold Up Enclosure |
|
Check Latest Price |
Measure Clearance at the Swing Arc Before You Buy an Enclosure
Measure your usable ceiling clearance at the top of your backswing, not at the tallest point in the room. A spec sheet tells you floor-to-joist; the swing arc tells you whether you can swing at all, and the two numbers are frequently 6 to 12 inches apart once beams, ducts, plumbing drops and drop ceilings are counted.
Here is the procedure we use. Stand in the spot you intend to hit from, not where the screen will go. Take a full driver backswing and note the height your hands and club head reach. Then measure from that point straight up to the nearest obstruction, whether that is a beam, a joist, a duct or a light fixture. Subtract the thickness of your mat. That remainder is your real clearance.
Players on the golf simulator forum describe the same gap from the other direction. Listed heights of 8 ft and 8 ft 6 in are common in finished basements, and one owner with an 8 ft 7.5 in ceiling reports hitting a driver off the tee with no issue, while a beam over the same room drops the usable figure to 7.5 ft and changes everything.
Height matters more than room size. Shorter golfers are comfortable under 8.5 ft of clearance; taller golfers are not, and the swing that fails is always the one that ends in a light fixture.
As a rough guide, 7.5 ft of clearance suits irons and wedges comfortably and a driver with a shortened swing. At 8 ft, a full driver swing is realistic for most players. From 8.5 ft upward, standard bays stop being a compromise, and 9 ft or more lets you use a standard-height kit without trimming poles.
One of the most useful workarounds owners describe is lateral. If a beam drops directly over your hitting position, move the hitting position 2 to 3 ft sideways along the wall so the beam falls outside the swing arc. You lose a little depth and gain the whole ceiling.
Depth is where basements beat garages. A 12 ft by 12 ft room gives you enough run for a hitting position, a mat and a ball flight area inside one enclosure, and a short-throw projector can sit close to the screen. If your basement also doubles as a rec room, our picks on carpet tiles for basements hold up better than carpet under a mat edge.
1. GoSports Golf Simulator Enclosure Kit – Best Overall for Basements
GoSports 10 x 8 ft Golf Simulator Enclosure Net – Complete Set with Frame and HD Impact Screen Kit
10x8 ft
Blackout panels
Alloy steel and polyester
79 lb
Pros
- True blackout panels improve projector brightness
- Numbered poles install in about an hour solo
- Screen holds up under 150 mph ball speeds
- Foam padding cuts rebound
- Three footprint options
Cons
- Not enough frame padding so some shots ricochet
- No hanging baffles for high wedge shots
- Larger sizes droop and need re-tightening
This is the kit we kept coming back to, because it solves the three basement problems at once in a way the others split between them: a genuinely dark room, a footprint small enough for a typical bay, and a screen that owners report still standing after hard sessions. The 10 x 8 ft version fits a standard basement bay without pushing into a walkway, and the 12 x 9 ft option gives you depth if your room allows it.
The blackout panels are the feature that changes the room. With the cover in place, owners report a projector image that holds up with normal basement lighting rather than requiring a blackout project on the ceiling. That alone is worth comparing against lighter kits, because ambient light is the number one reason a home golf image looks washed out.
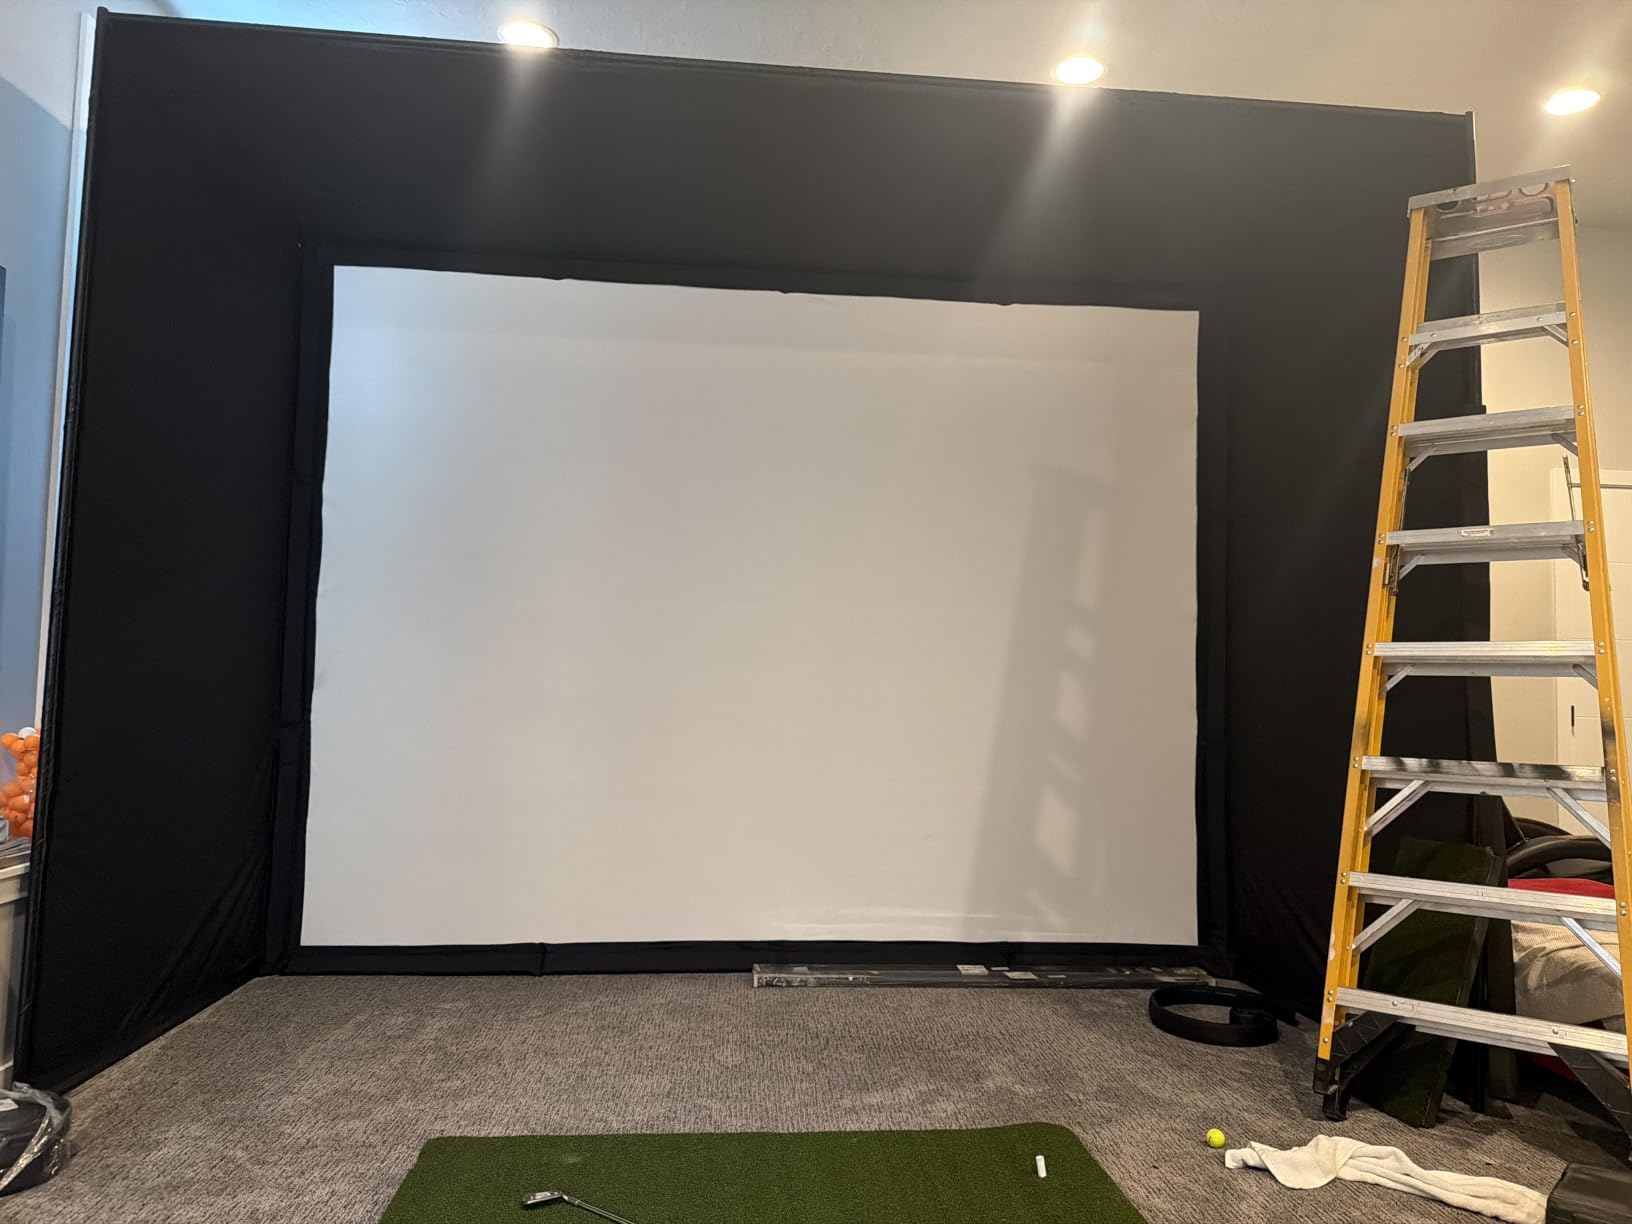
Assembly is a genuine positive here. The poles are numbered, and reviewers consistently describe a one-person build of roughly an hour. For a basement where you are working around a sump pump or a doorway, a kit that goes up in one sitting saves a weekend.
The screen is the part buyers trust. Owners put 150 mph ball speeds through it and report no screen failure, which is the durability figure that matters for a driver-heavy basement setup. Support is also described as responsive when questions come up.
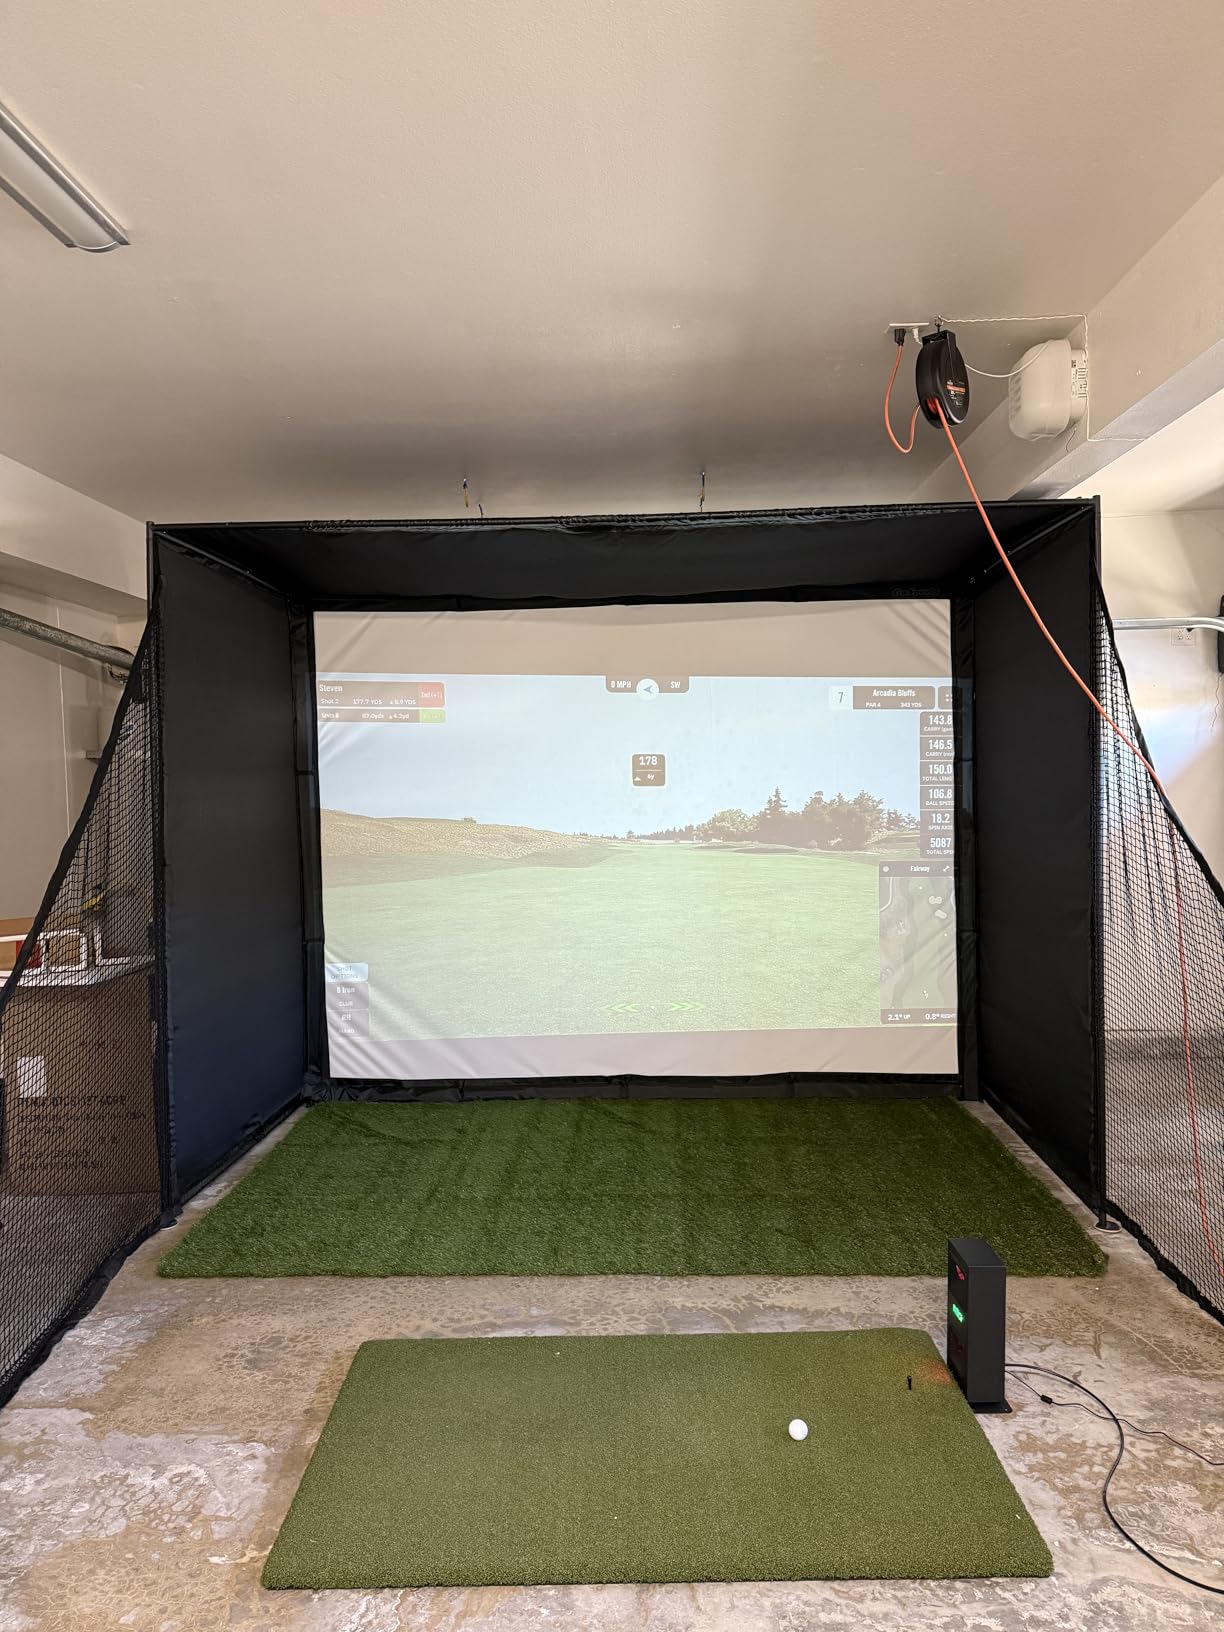
Check it fits before you order
Measure your room in two directions, not one. The frame needs the full 10 ft or 12 ft of width plus a few inches each side for the poles, and the depth figure assumes your mat sits inside the footprint rather than in front of it.
If your ceiling is under 9 ft, check which size variant you are picking and whether the poles are pre-cut. Owners of the larger sizes report needing to re-tighten the top after the fabric settles, so set aside an hour after the first week of use.
Know where it falls short
Frame padding is the recurring complaint. Some shots find the pole rather than the screen and come back, which matters in a tight basement where the person hitting is standing close to the frame.
There are no hanging baffles for high wedge shots, so a wedge that gets over the screen travels until it finds a joist. In a basement with exposed framing, that is a real conversation to have before you buy. Add ceiling protection of your own, which is what most owners do.
Shank nets are sold separately, so budget for them if your swing pulls shots wide.
2. Complete Enclosure Package with Projector Mount – Best Value
Complete Golf Simulator Enclosure Package – 4K-Ready Impact Screen with Blackout Cage, Projector Mount, Frame Poles, Side Shank Nets | Indoor & Garage Practice | Easy Setup | 12-Month Warranty
8 ft 4 in x 8 ft 4 in x 5 ft
Projector mount included
Metal frame
12-month warranty
Pros
- Projector mount and all poles included
- 4K-ready screen sized just under the frame
- Three sizes for basement or garage bays
- Tool-free assembly with first swing in under an hour
- 12-month no-questions-asked warranty
Cons
- Turf and projector in photos are not included
- Screen sits about an inch under the frame leaving thin light-bleed edges
This package earns its place by including a projector mount, which most kits in this list do not. On a basement build that is one less purchase, one less ceiling hole to plan and one fewer part to source if the enclosure arrives before your projector does.
The 4K-ready screen is sized just under the frame, so almost the full width projects. That matters more in a basement than it does in a garage because basement light is harder to control, and you want every usable inch of image.
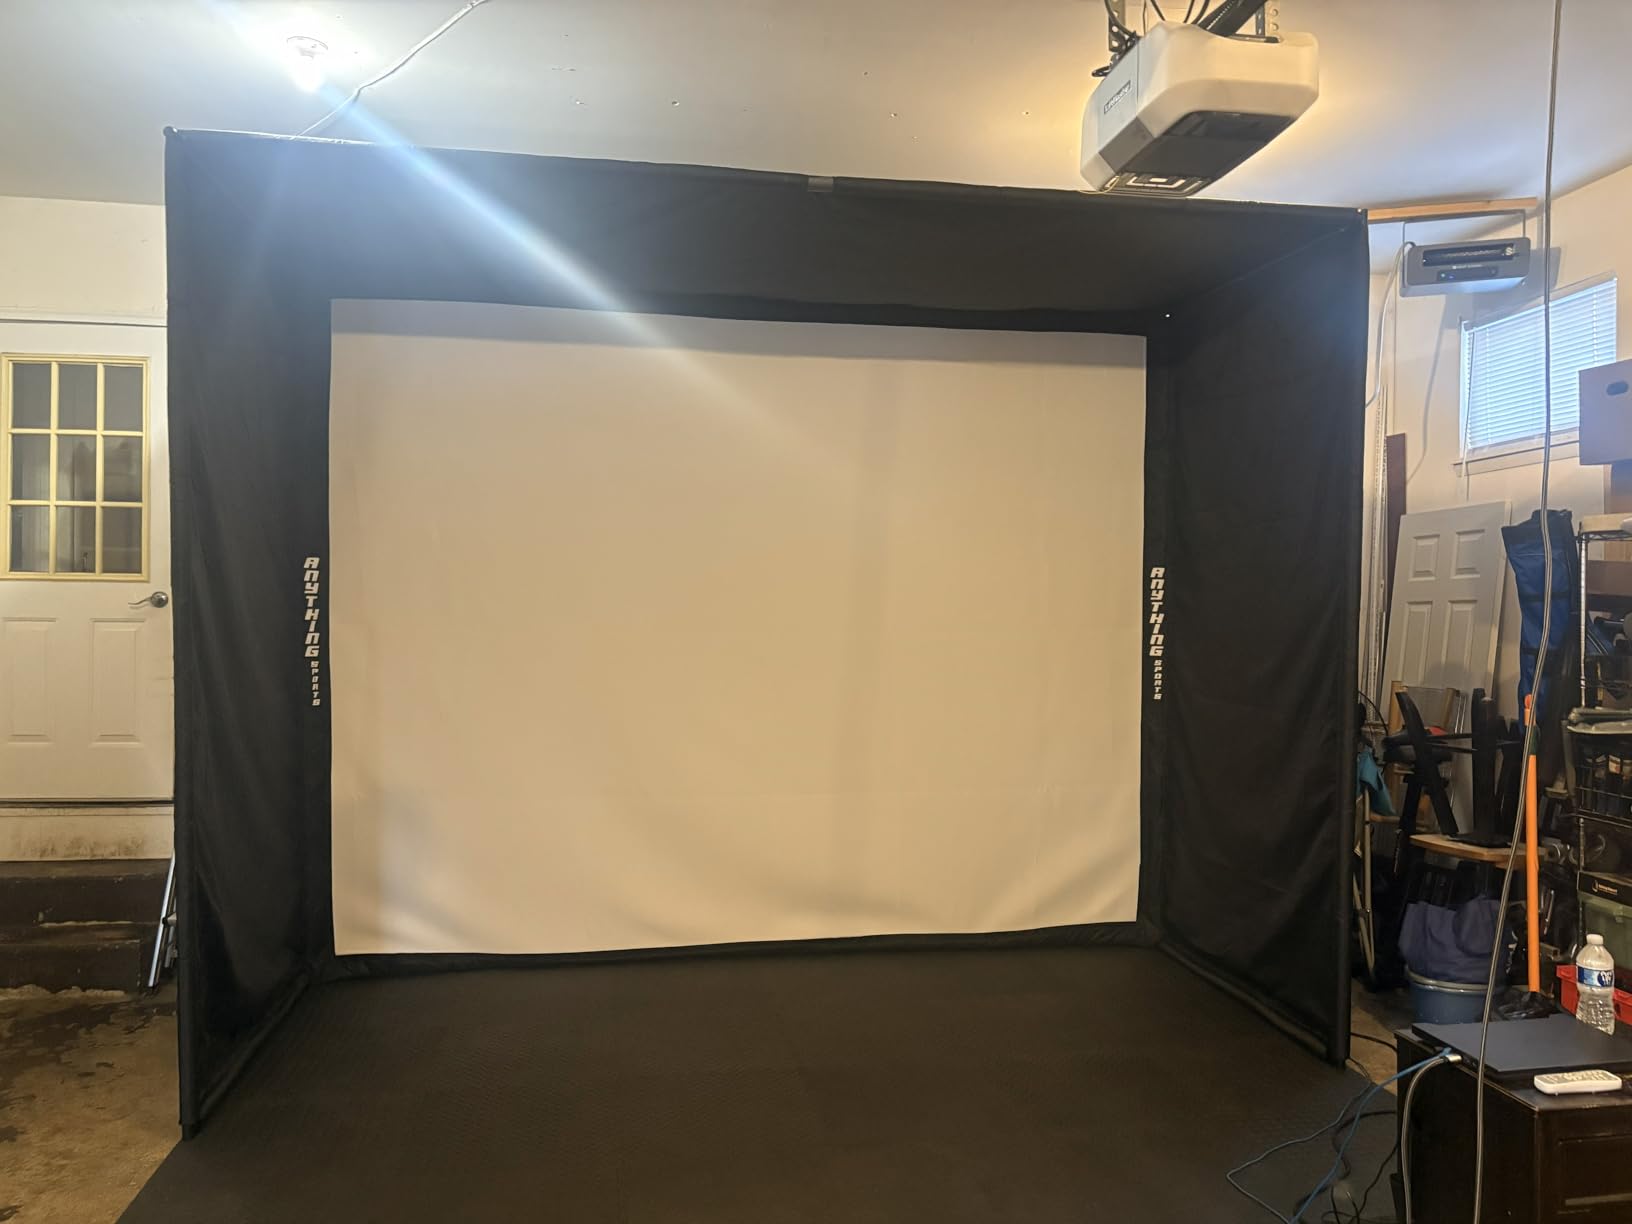
Owners highlight the size range as the deciding factor for small rooms. With an 8 ft 4 in footprint available alongside larger variants, it is one of the few kits here that scales down rather than up, and multiple reviewers cite fitting it into a basement bay specifically.
Assembly is tool-free and quick, with a first swing reported in under an hour. The 12-month no-questions-asked warranty is a real differentiator in a category where coverage is often thin.
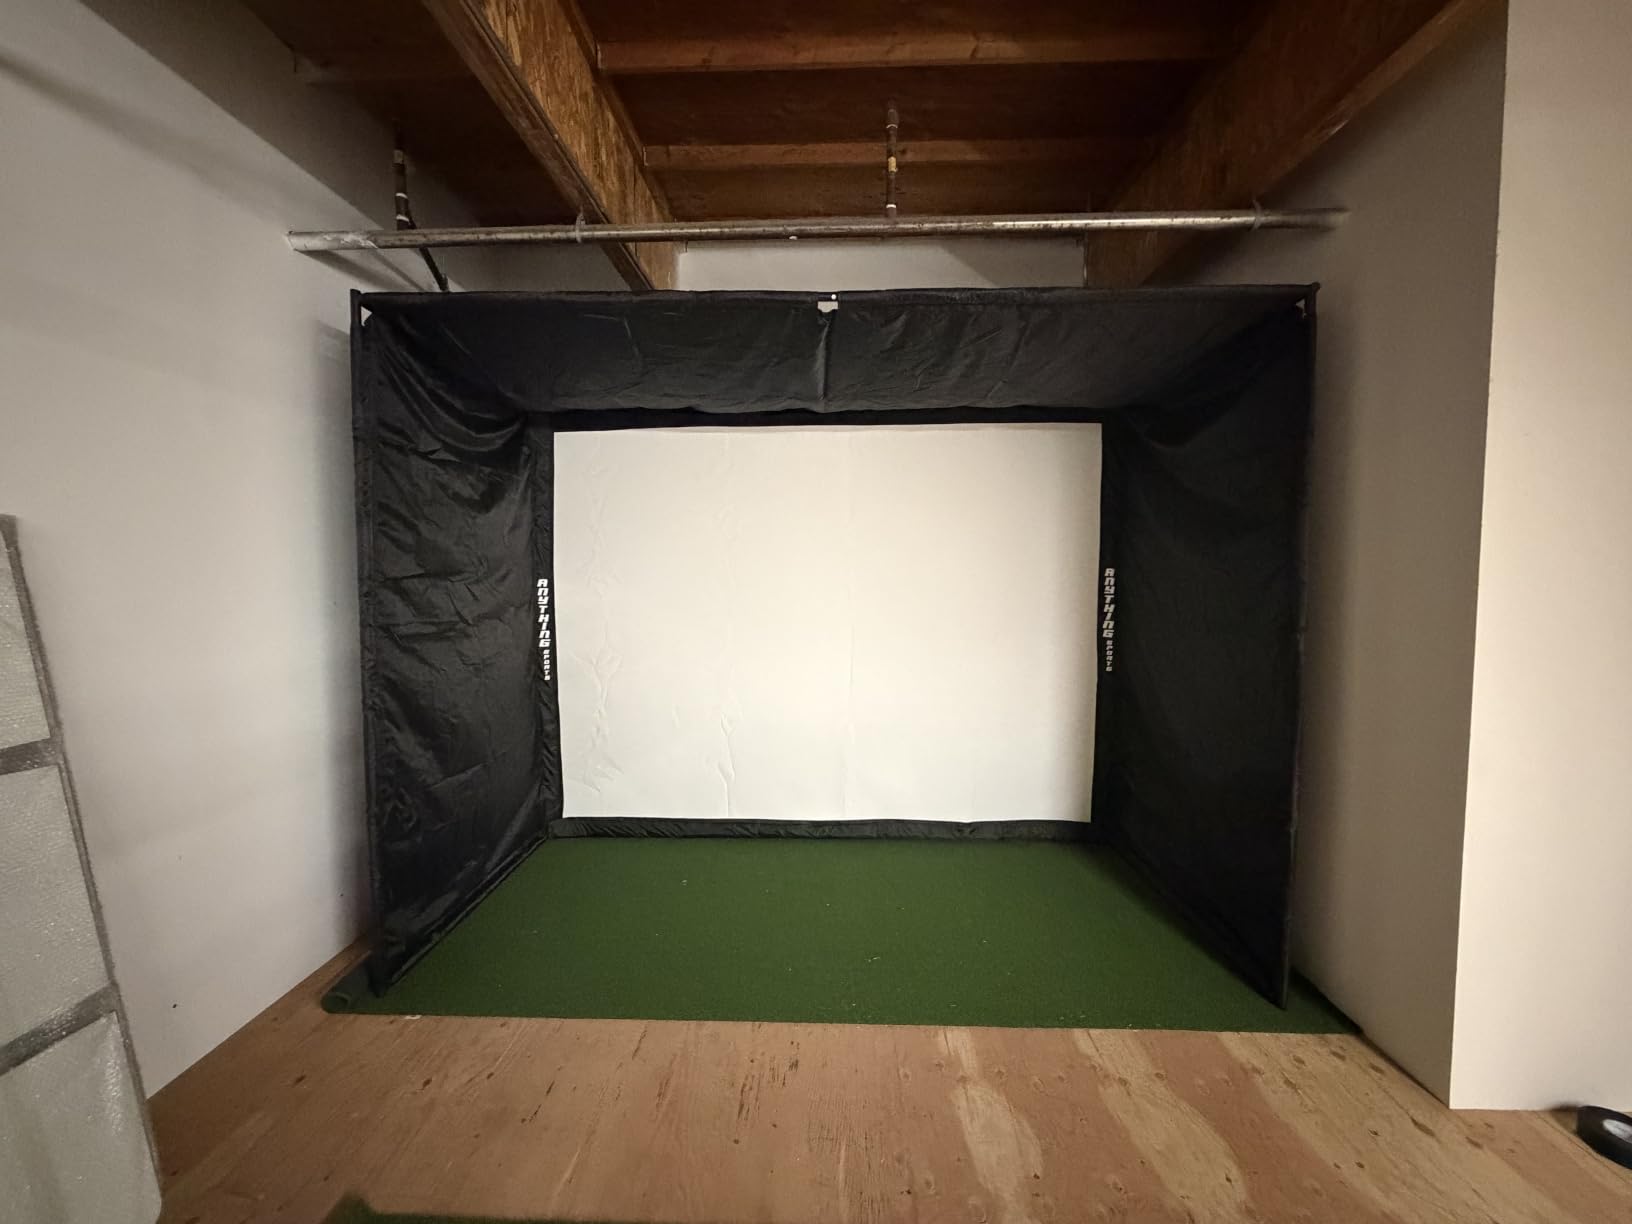
Check the smallest size against your ceiling
At 8 ft 4 in wide by 5 ft deep, this footprint fits tighter rooms than most. The trade is projection surface area, so if you plan to run a wide course view, look at the larger sizes before committing.
Because the kit is metal and weighs close to 88 lb, plan your moving path. In a finished basement you may be carrying it through a doorway and down or up a set of steps.
Know where it falls short
The listing photos show turf and a projector. Neither is in the box, and reviewers call this out as the most common surprise, so plan the mat as a separate line item.
The screen sits roughly an inch under the frame, which leaves thin light-bleed edges along the sides. In a dark basement this is barely visible, but in a room with a window or a finished ceiling it can show at the edges of the image.
3. GoSports Range Cage 10 x 8 ft – Budget Pick
GoSports Range Cage 10 ft x 8 ft Golf Practice Hitting Net with Impact Screen
10 ft x 8 ft
Fiberglass and polyester
40 lb
Carry case included
Pros
- Side and top netting contains high-speed shots
- Polyester screen doubles as a projector backdrop
- Foam-padded base absorbs impact
- Packs into the included carry bag
- Strong pairing with a radar or camera monitor
Cons
- Screen base can sit proud of the frame allowing ricochets
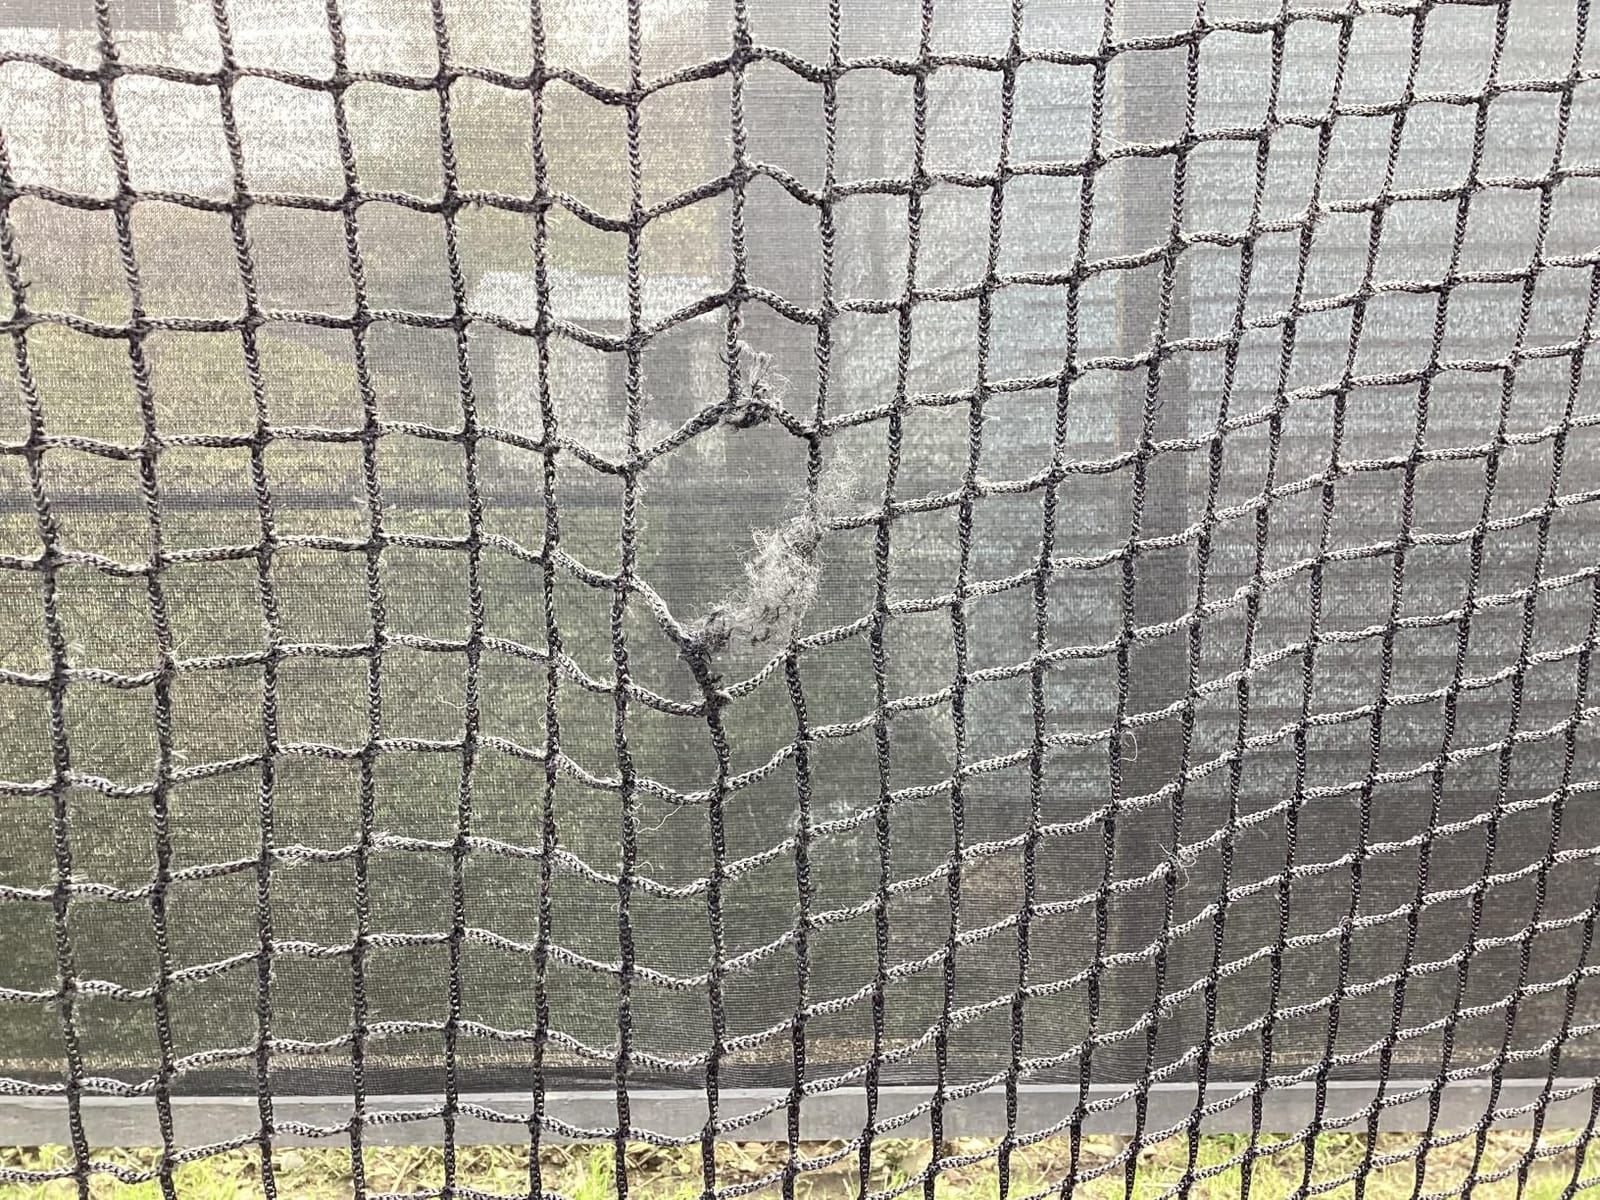
- Fabric tears quickly at the base with real balls
- Bottom seam can arrive unraveling
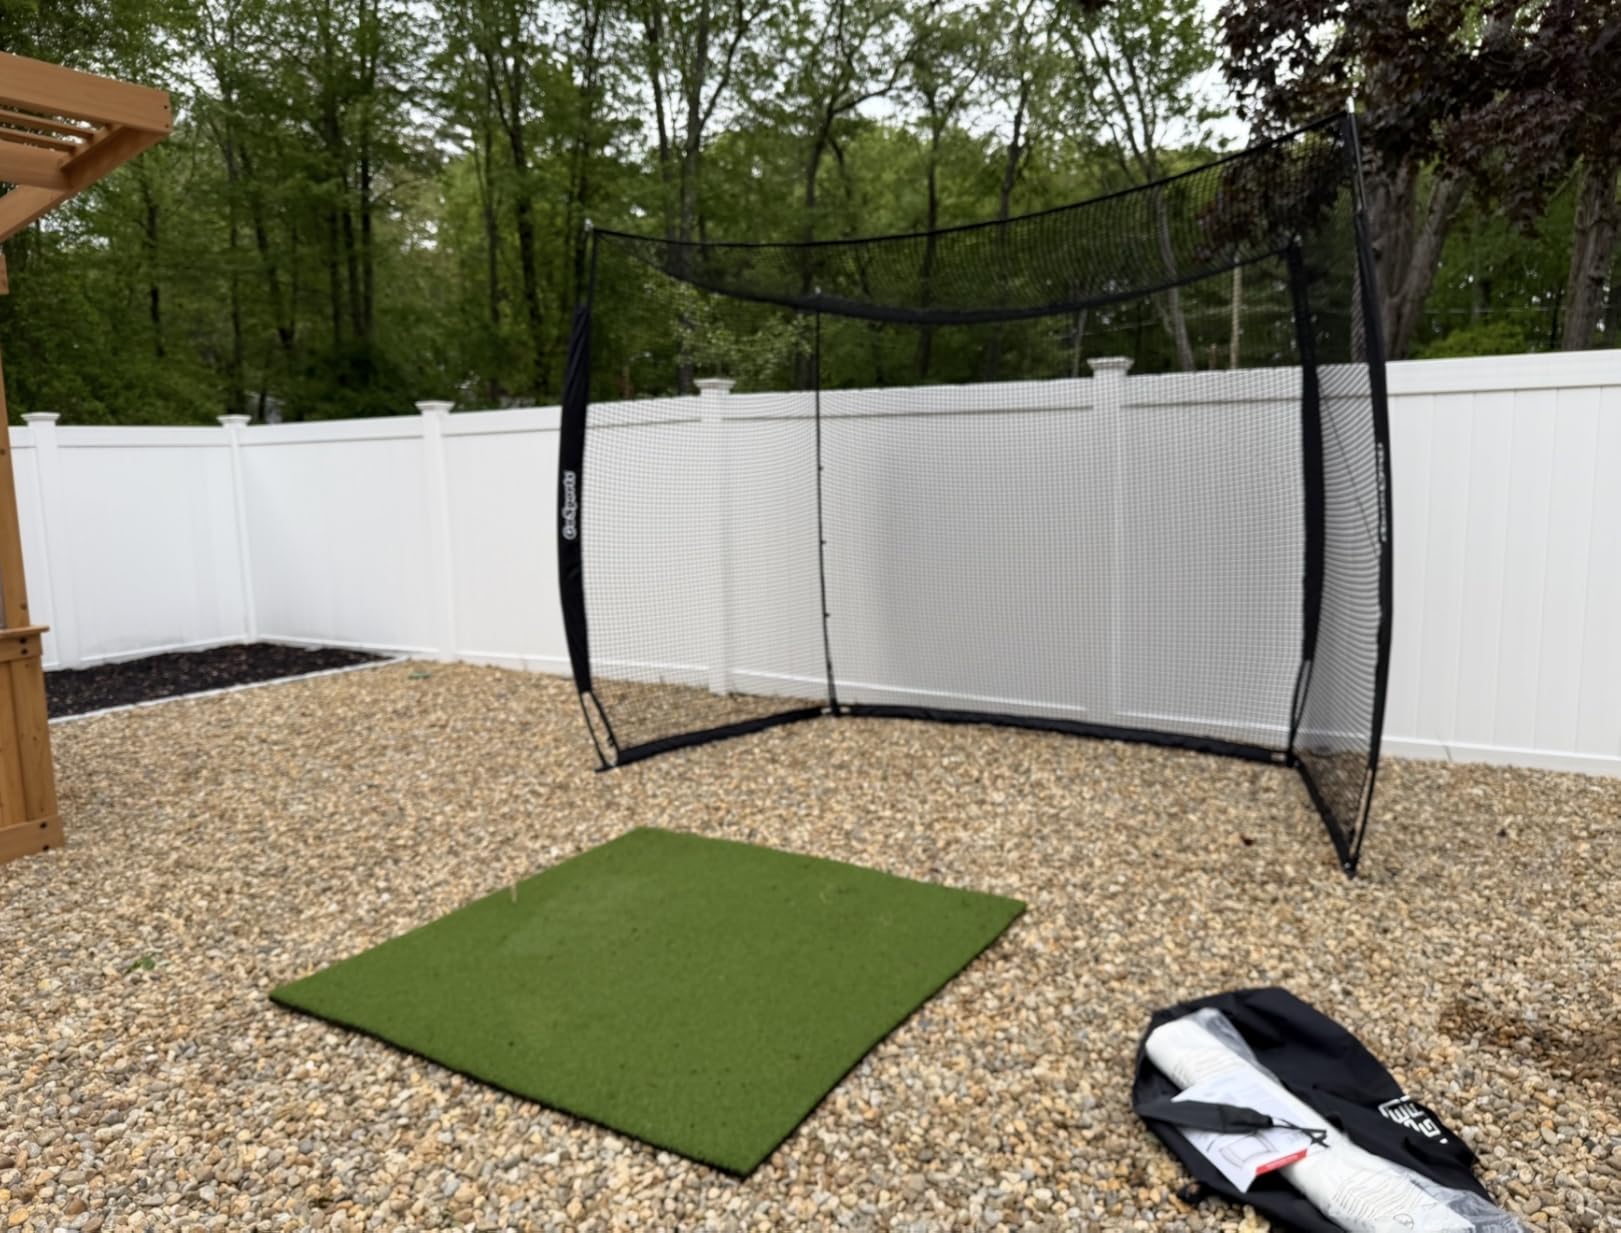
This is the most reviewed product in the group at 329 ratings, and the reason is straightforward: it is the price point most first-time builders start at. It gives you a real cage with side and top netting and a screen that doubles as a projector backdrop, which is more than a two-pole net gives you.
The foam-padded base is a real feature rather than a marketing word. It absorbs impact and reduces rebound, and owners who practice with it report less ball noise in the room, which matters if your basement sits under living space.
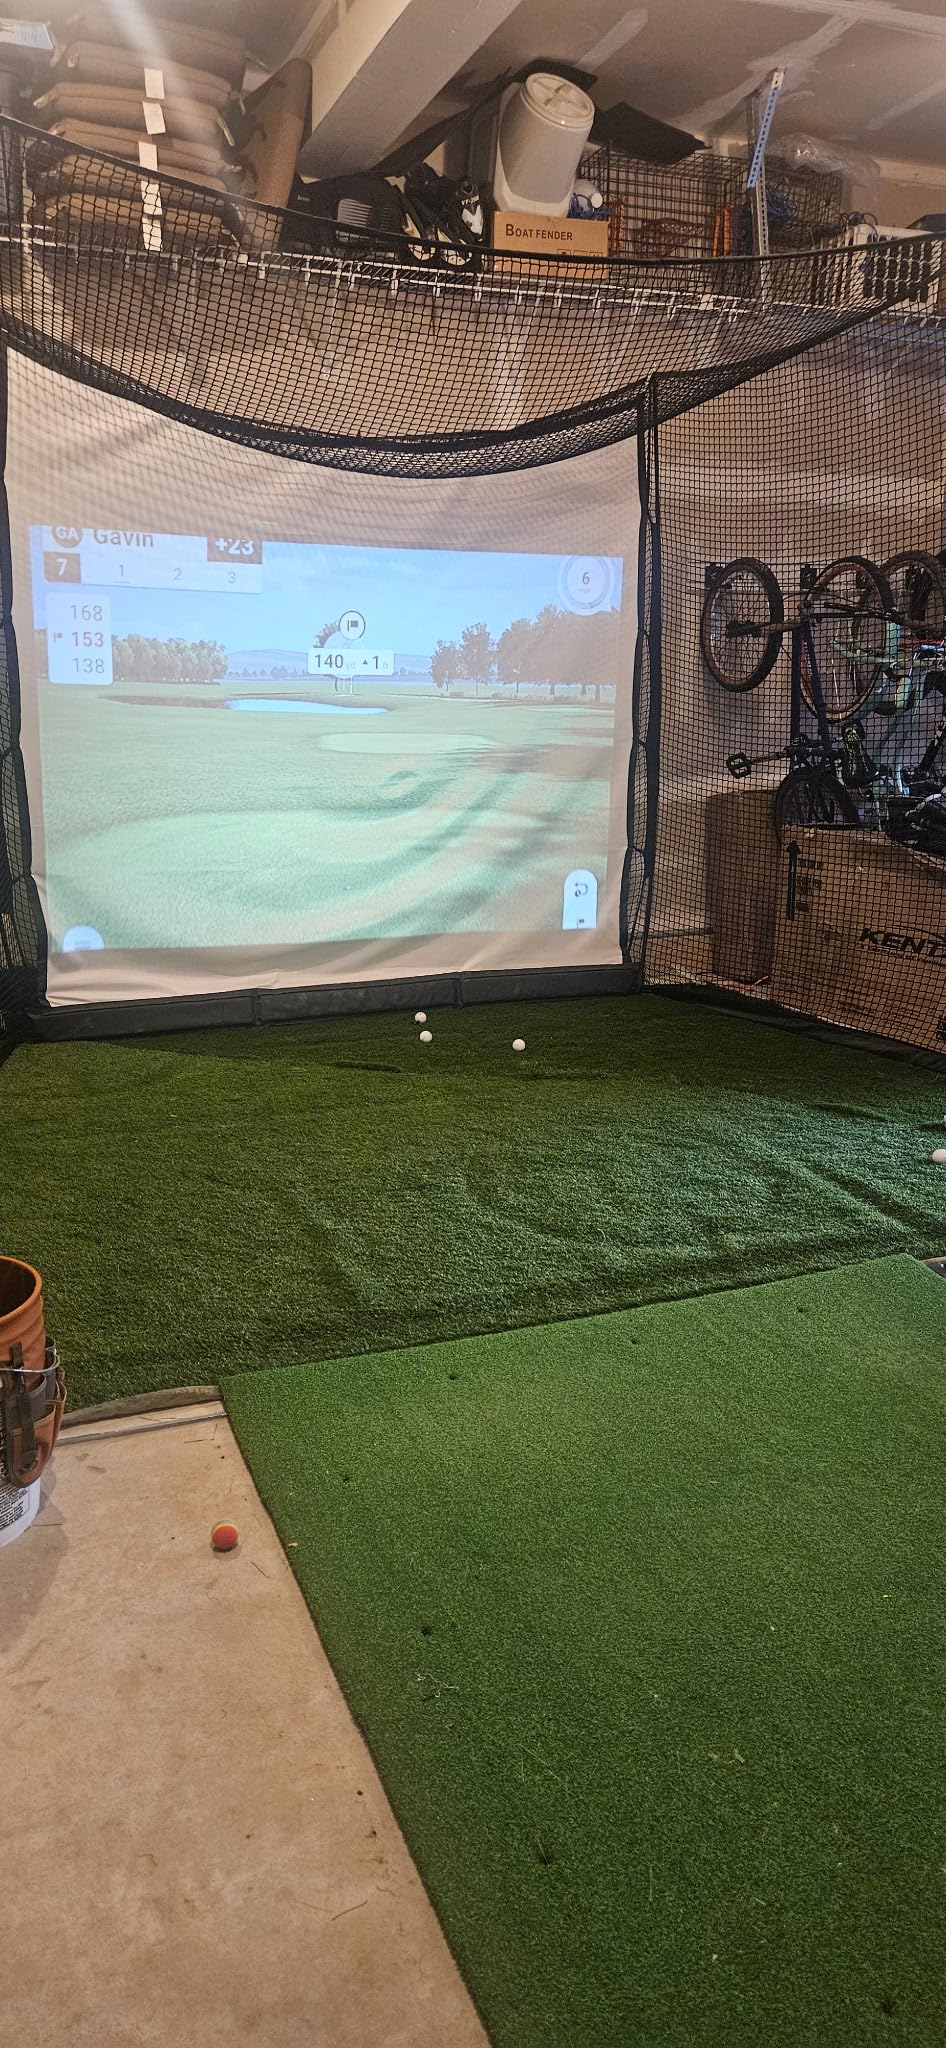
Portability is the underrated part. The whole cage packs into the included carry bag, so if your basement also has to work as a gym, storage or a man cave, this is the pick that moves. Larger fixed kits do not.
GoSports service is repeatedly praised for fast fixes, which matters given the wear points on a screen base.
Check it suits practice-first buyers
Pick this cage if your mat and ball work matter more than the projected image. It pairs well with a radar or camera monitor, and the screen gives you a backdrop without committing to a full blackout enclosure.
Check your depth. At a 10 ft x 8 ft footprint, it needs a clear hitting lane rather than a corner.
Know where it falls short
The screen base can sit proud of the frame, and that geometry is where ricochets come from. Owners report the base of the screen as the spot to watch if you are hitting drivers close in.
Fabric durability at the base is the dominant complaint. With real balls rather than foam practice balls, the bottom of the screen tears, and the bottom seam has arrived unraveling for some buyers. Instructions may not match the part numbers, so give yourself time to sort the hardware.
4. Haokelball Golf Practice Net 10×8 ft – Best Rated Structure
Haokelball Golf Simulator Cage, 10x8x6FT Net with Impact Screen for Home
10 x 8 x 6 ft
Alloy steel
5-ply netting
1 year warranty
Pros
- Reinforced steel frame and 5-ply netting survive full drives
- Square base gives far more rigidity than two-pole nets
- Top support rod keeps the screen flat
- Side and overhead netting contain slices and shanks
- Ball retriever tray included
Cons
- Ball capture after impact is weaker than higher-end cages
- One assembly pipe arrived bent
- Frame has no wiggle room so some had to trim it to fit
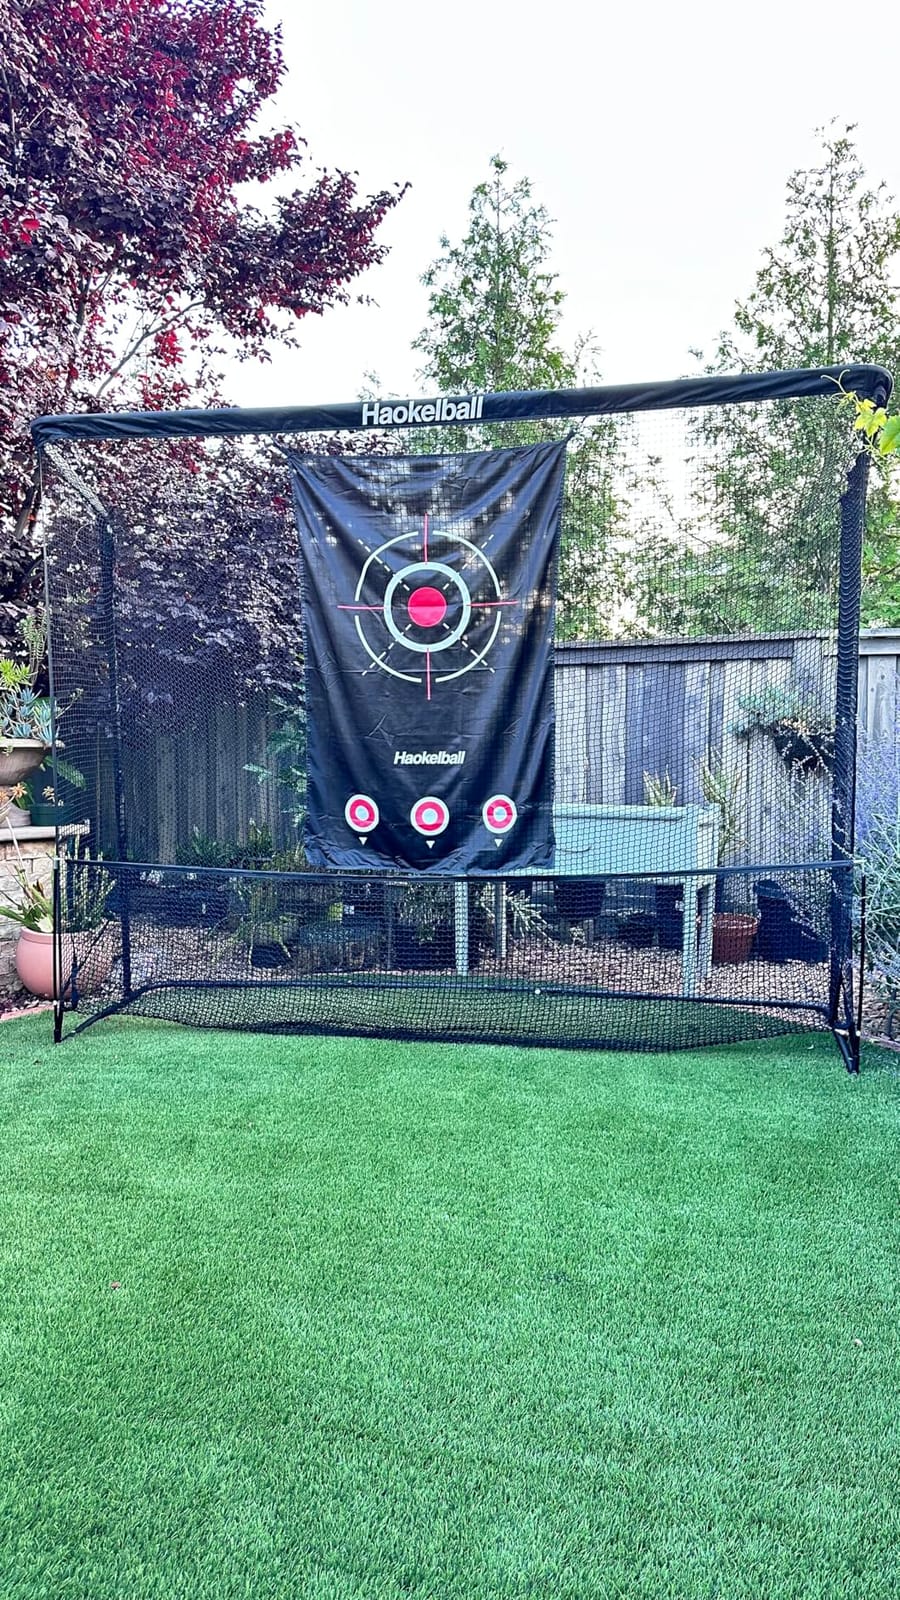
One of the highest-rated products in the group at 4.6, and the reason is structural rather than cosmetic. The square base removes the top dip that makes two-pole nets feed shanks back at you, and owners with several nets behind them call it the sturdiest and longest-lasting cage they have used.
At 10 x 8 x 6 ft the hitting area is generous, and the side and overhead netting is what makes this usable in a basement rather than just in a garage. A shank off the toe has somewhere to go instead of ending in your drywall.
The top support rod and tension points keep the screen flat, which matters for projection. A flat screen gives you a usable image; a sagging one does not, and that is a common failure in cheaper kits.
It is also a straightforward practice cage with real ball capability, and the ball retriever tray is included.
Check it fits before you build
The 6 ft height means you need real clearance to use it fully, and owners warn the frame has no wiggle room. Some had to trim it to fit their space, so measure the frame footprint precisely before you commit.
Take care with short irons hit from inside about 10 feet, which several owners mention as the limit of the footprint rather than of the frame.
Know where it falls short
Ball capture after impact is weaker than higher-end cages, so a few stray balls will still find the floor. That is a maintenance issue rather than a safety one, but plan a ball basket nearby.
One buyer received a bent assembly pipe and had to straighten it, so inspect the frame the day it arrives.
5. HOMEVOL 2 in 1 Net System – Best for Starter Bays
2 in 1 Golf Simulator Net System, 10 x 8ft Golf Practice Net Hitting Net with 4K-Ready Impact Screen, Target Cloth, Foam-Padded Steel Frame Cage, Hitting Mat and Balls for Indoor and Outdoor Practice
10 x 8 ft
Alloy steel and fiberglass
2 year manufacturer warranty
Pros
- Two practice modes in one cage with target cloth and screen
- Foam padding cuts bounce-back and impact noise
- Top net and side shank nets catch high shots and mishits
- Includes mat
- balls
- stakes
- side nets and carry bag
- No projector needed for chipping mode
Cons
- Bundled mat reduces swing room inside the frame
- Target cloth adds bulk to the frame
- Small review base of 63 ratings
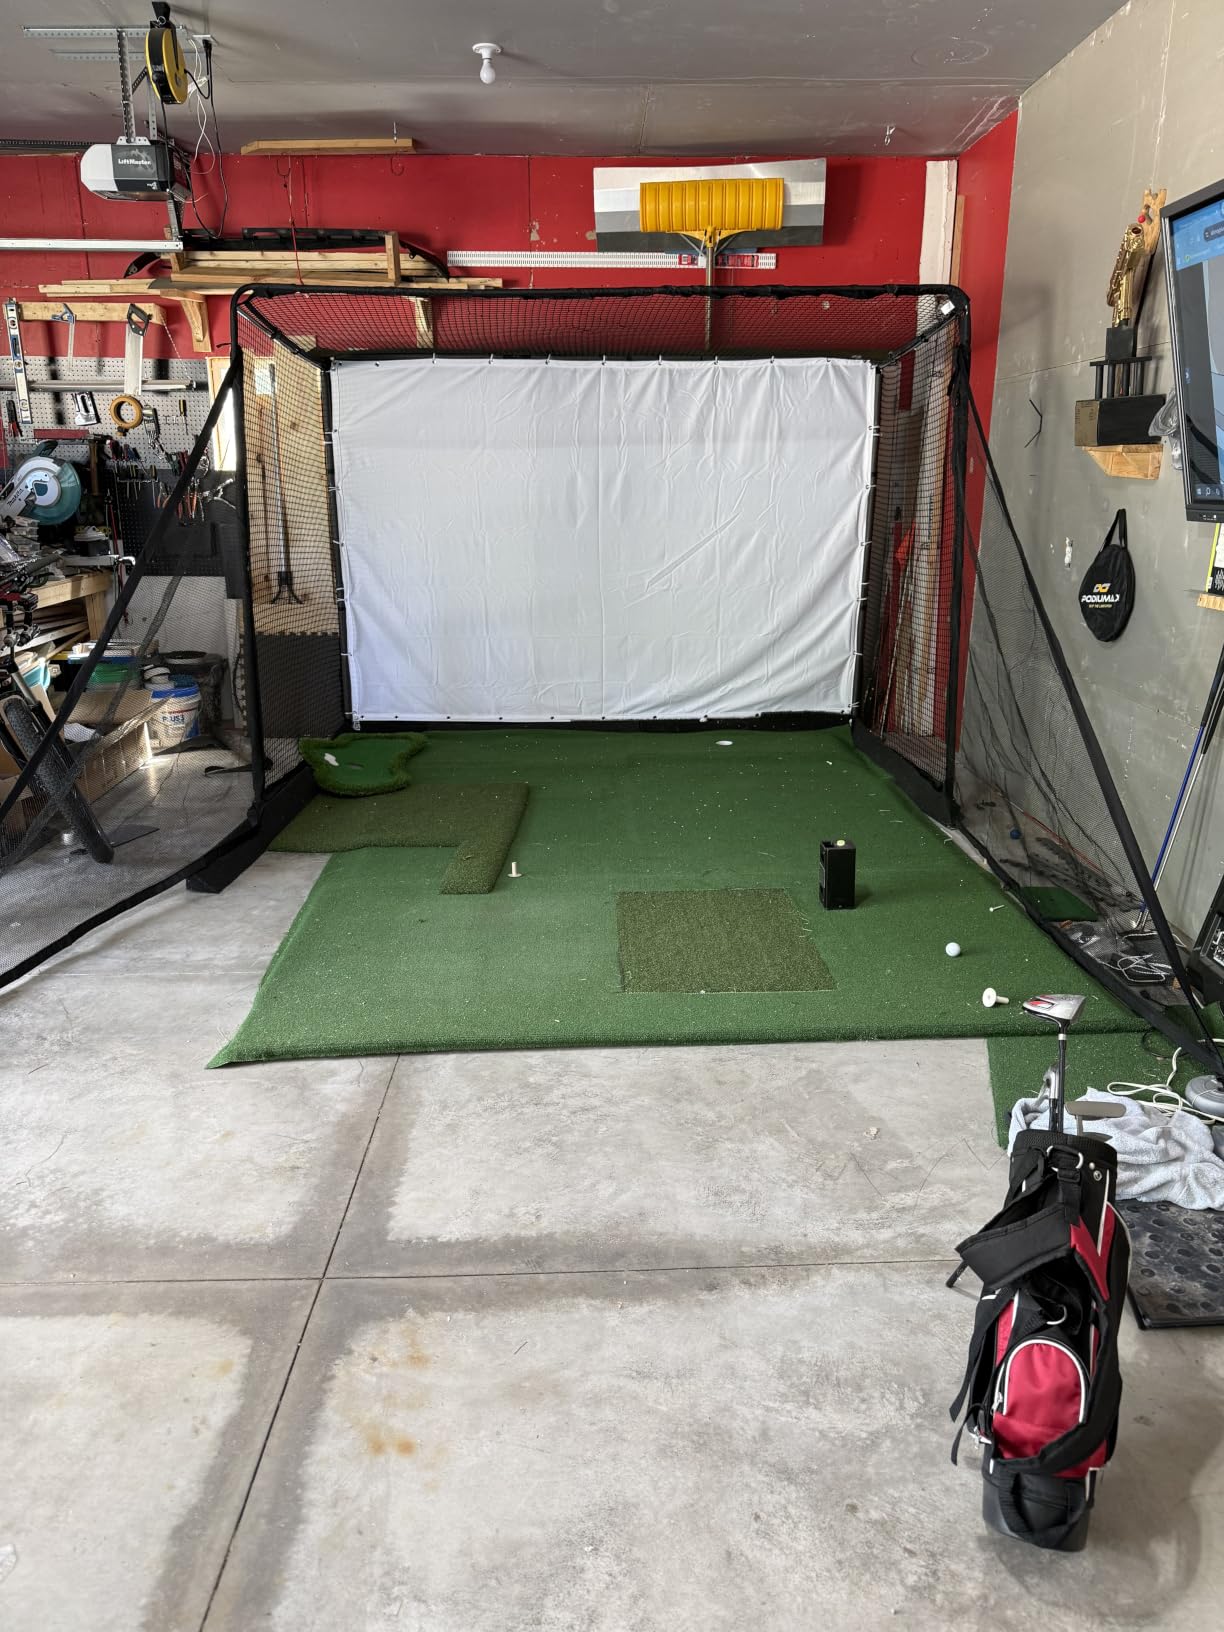
This is a complete starter package. It ships with a 4K-ready impact screen, a printed target cloth, a hitting mat, balls, ground stakes, side nets and a carry bag, which means you can hit chips and score on day one without buying a projector.
The two-in-one design is genuinely useful in a basement. The target cloth gives you a short game target, and the impact screen gives you a projection surface, so the same bay works for both when nobody is running a full round.
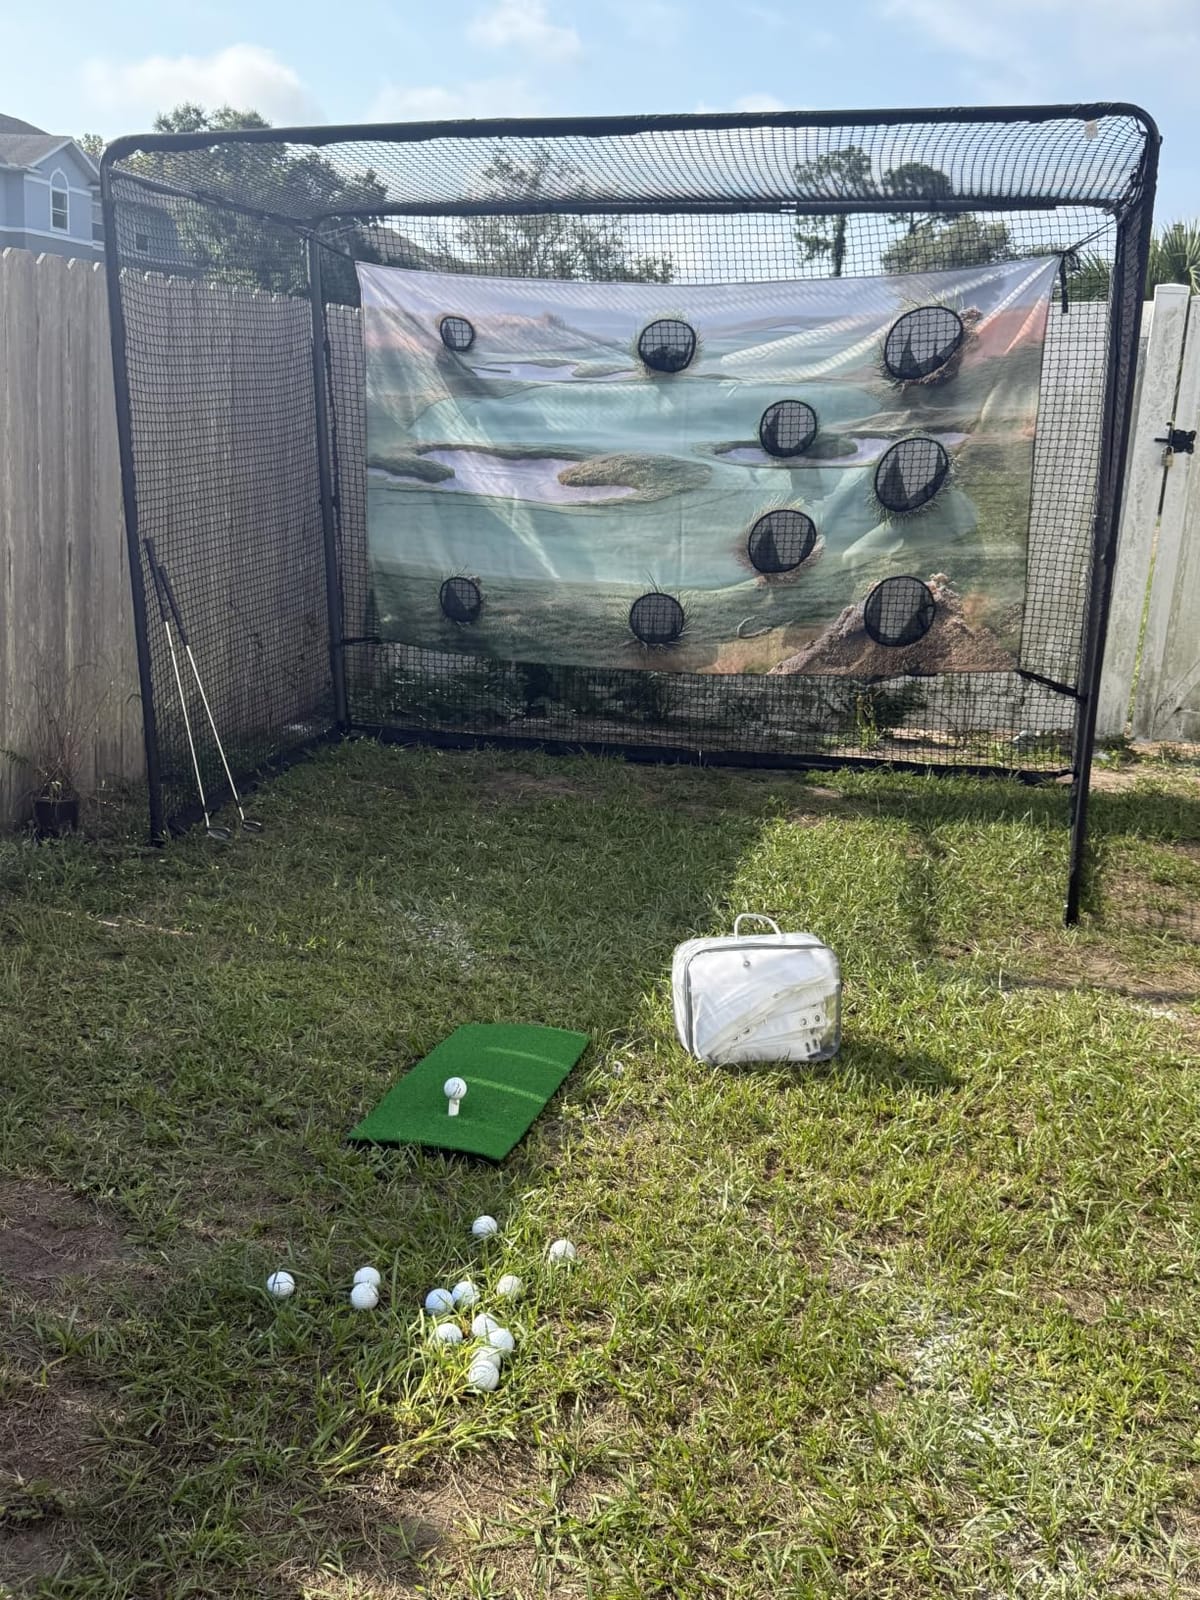
Foam padding across the frame cuts bounce-back and impact noise, and the top net plus side shank nets catch high shots and mishits before they reach a wall.
The two-year manufacturer warranty is longer than many kits in this group offer, which is worth something for a frame you intend to keep assembled.
Check whether the bundle matches your plan
This kit makes the most sense if you have not yet decided how deep to go into simulator software. You can practise short game immediately and add a projector and monitor later without rebuilding anything.
Check the footprint against your mat. A bundled mat plus a 10 x 8 ft frame leaves less swing room than a frame sold alone.
Know where it falls short
The review base is small at 63 ratings, so there is less long-term feedback here than on the picks above. Buyers like the value, but the cage is newer and the bundle gives you more to move.
Carrying the target cloth, screen, mat and bag means more to store and move than a bare cage, which reduces the appeal if your basement has to double as storage.
6. Durbles Enclosure Kit with Blackout Curtain – Best for Impact Protection
Golf Simulator Enclosure Kit with Premium HD Impact Screen, Full Safety Padding & Blackout Curtain, Home Golf Sim Setup Compatible with Launch Monitors, Indoor Cage Net Golfing Accessories (10 x 8 ft)
10 x 8 ft
Triple-layer screen
Blackout curtain
8.4 x 8.4 ft option
Pros
- Triple-layer screen absorbs shock and cuts sound
- Foam padding claims over 50 percent ricochet reduction
- Blackout curtain darkens the impact area
- Pre-wrapped foam pole sleeves protect exposed tubes
- Works with most monitors and projectors
Cons
- Instructions assume ceilings taller than 9.9 ft
- Two double-male poles shipped without foam sleeves
- Exact 10 ft fit with zero wiggle room
- One buyer reported a bending top crossbar
This is the kit to look at if your priority is keeping balls off you. The triple-layer screen and the full-coverage foam padding are among the most complete safety packages in this group, and owners put it near the top for screen quality and for how much it quiets the strike.
The blackout curtain darkens the impact area under overhead lights, which is a cheaper alternative to a full enclosure cover and helps if your basement has a finished ceiling you would rather not open up.
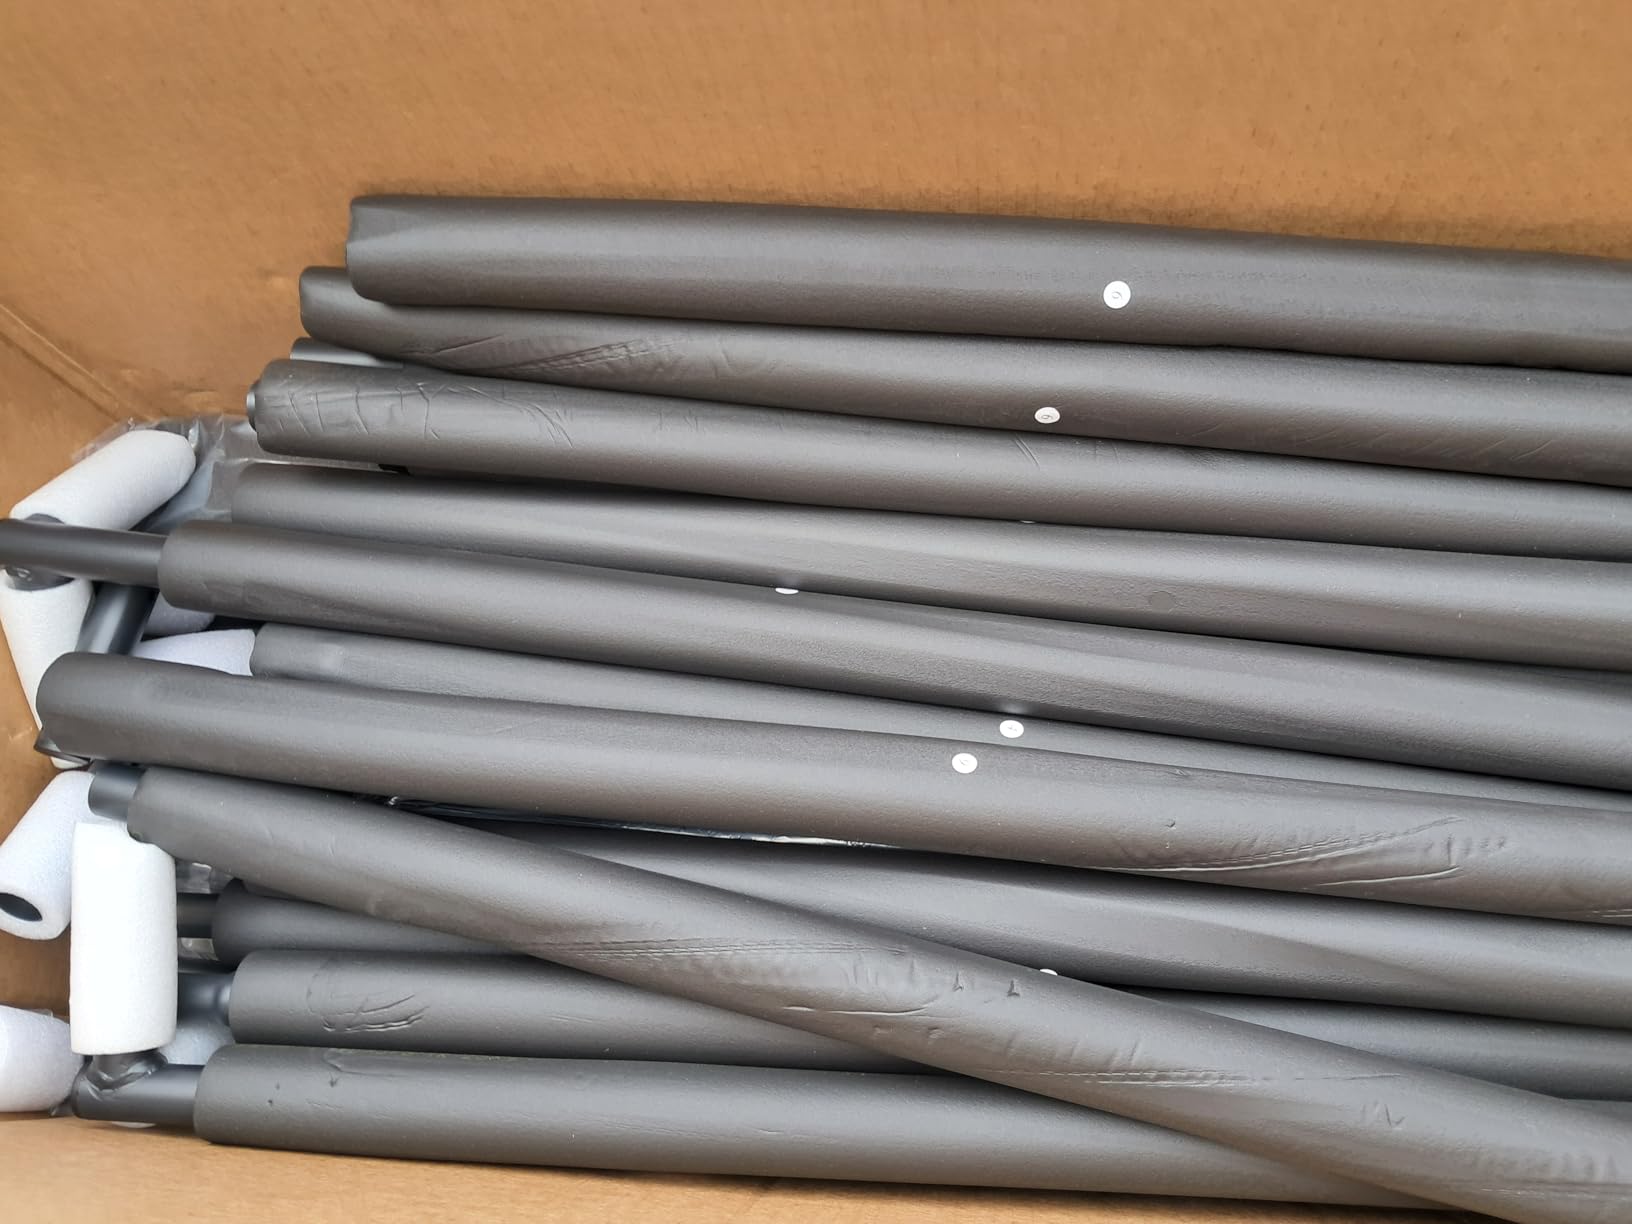
Foam pole sleeves arrive pre-wrapped, which protects the exposed tubes that would otherwise cause most rebounds. That is a small detail that makes a noticeable difference in a room where the frame is close to the hitting area.
Buyers see strong value here and rate the screen quality well for the money.
Check your ceiling height carefully
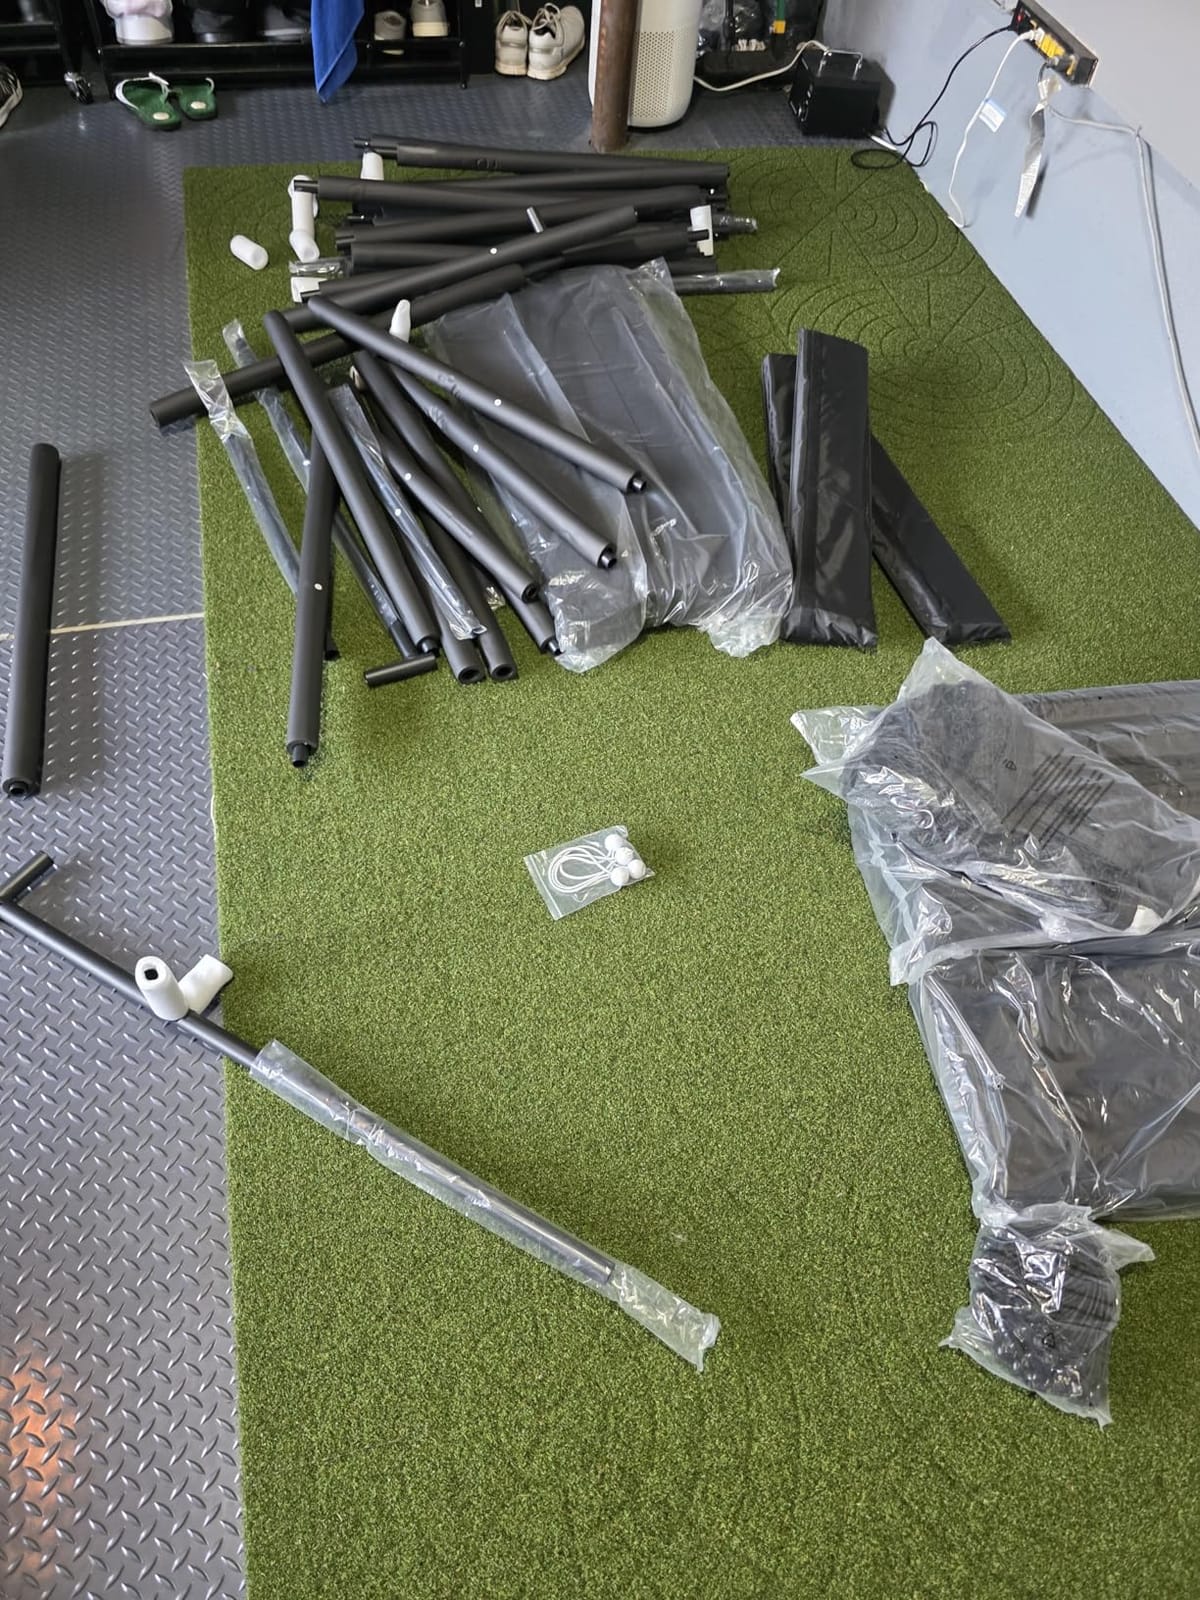
The written instructions assume ceilings taller than 9.9 ft, which is above many basement clearances. That does not stop the build, but you should expect to interpret the steps against a lower ceiling and confirm the top crossbar height yourself.
At exactly 10 ft the fit has no wiggle room, and some buyers cut poles to make it work. An 8.4 x 8.4 ft variant is also listed, which is a better starting point for a small basement.
Know where it falls short
Two poles in some shipments have arrived without their foam sleeves, so check the parts on arrival and contact the seller if any are missing.
Bounce back off the impact screen is still noticeable for some buyers, and one reported a bent top crossbar after a collision. If you hit hard drivers into the top bar repeatedly, treat that as a wear point to watch.
7. Diandian Enclosure Kit 10 x 8 ft – Best for Tight Basement Spaces
Diandian Golf Simulator Enclosure Kit 10 x 8 ft with 4K-Ready Impact Screen
10 x 8 x 5 ft
600D Oxford blackout cover
75 lb
1 year warranty
Pros
- Tool-free click-lock assembly in about 45 minutes
- One-piece 600D Oxford blackout cover with no light gaps
- Dual-layer screen with mesh backing quiets strikes
- Foam edge padding and safety side nets
- Light enough to slide across carpet
Cons
- One buyer received no instructions and could not reach support
- Roof sags and the screen arrives with wrinkles
- No projector mount or sandbags included
- Hard hits into covered frame pipes can ricochet
The 5 ft depth keeps this among the shallowest full kits in the group, and depth is what basements usually have in surplus. If your room is long rather than wide, this footprint gives you swing room without pushing the enclosure into a walkway.
The one-piece 600D Oxford blackout cover is among the strongest light-blocking features in this list. Reviewers report no light-leak gaps, and that is what lets a short-throw projector hold an image without turning the basement into a blackout project.
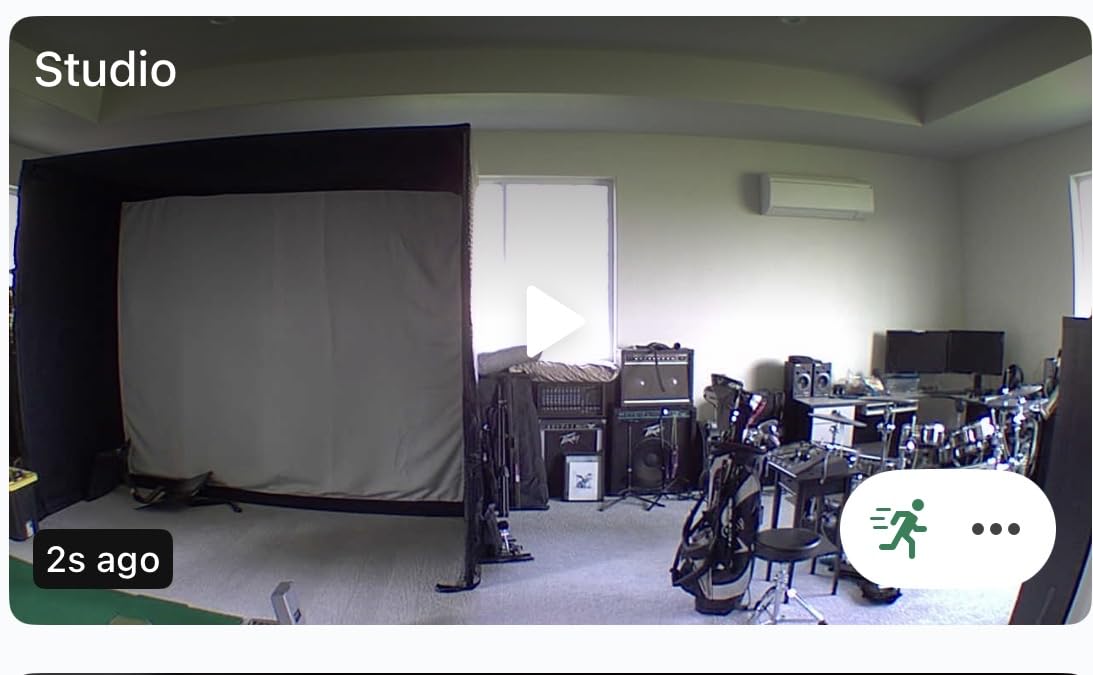
Assembly is tool-free with spring-button connections, and buyers report two people finishing in about 45 minutes. At 75 lb it is light enough to slide across carpet without being taken apart, which helps if the bay needs to move for a dual-purpose room.
The dual-layer screen has a mesh backing that quiets strikes, and foam edge padding plus safety side nets reduce ricochets at the frame.
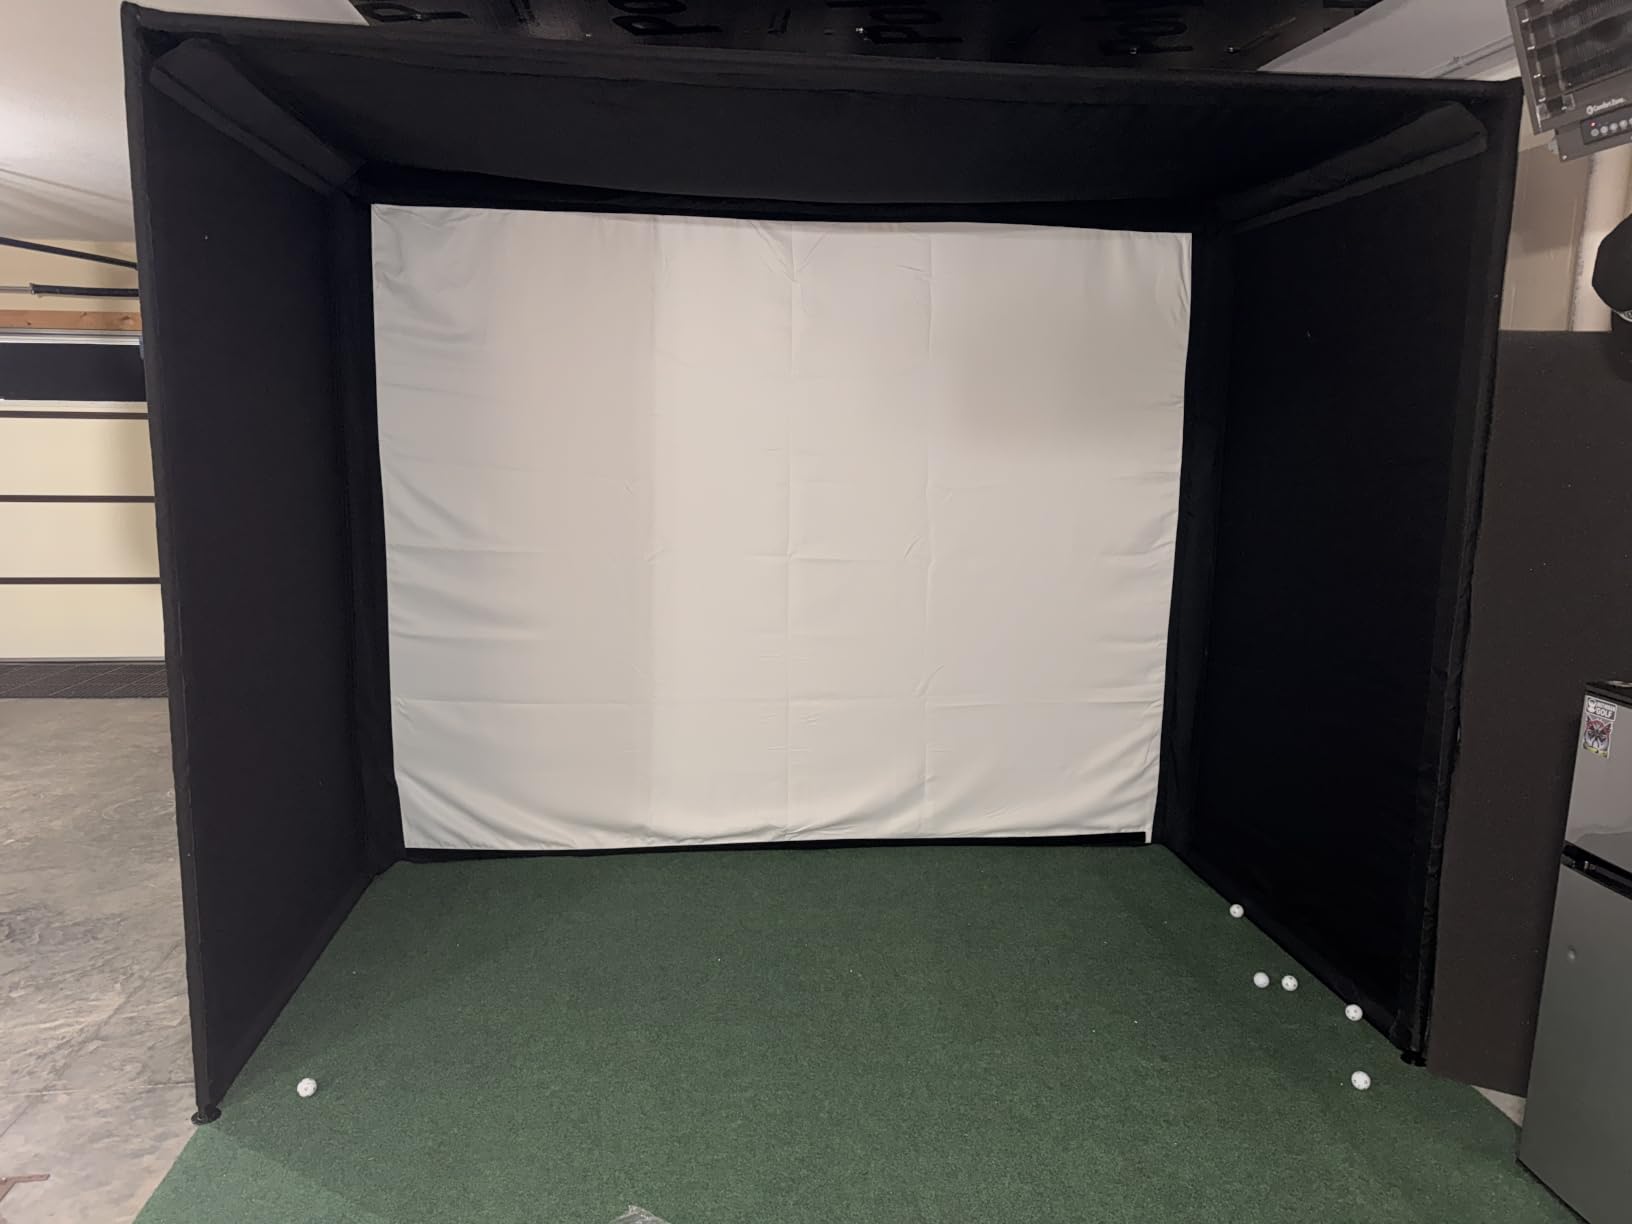
Check the recommended ceiling
The listed minimum recommended ceiling is 9 ft. If your measured swing-arc clearance is under that, this is still usable with a shortened swing, but the screen top will sit closer to your hands than the design intends.
No projector mount or sandbags are included, so add both to your build list if you need them.
Know where it falls short
Support is the weak point. One buyer received no instructions and could not reach seller support, so treat documentation as something to verify before you start rather than after.
The roof can sag and the screen can arrive with wrinkles, and one buyer reported bottom screen stitching tearing after the return window. Hard hits into the covered frame pipes can also ricochet back, so keep your distance from the frame on full swings.
8. Sturdum Enclosure Kit with Steel Frame – Best All-In-One Package
Sturdum 10x10ft Golf Simulator Enclosure Kit with HD Screen and Steel Frame
10 x 8 ft
Alloy steel
4 mm frame stock
Light-blocking curtains
Pros
- Complete package with frame screen side netting and ball net
- Light-blocking curtains for a darker bay
- Launch-monitor ready configuration
- 8.4 x 8.4 ft and 10 x 7 ft options
Cons
- 4 mm frame stock is thin for heavy driver impact
- Least owner history in the group at 22 ratings
- Frame padding is not a listed feature
This is a straightforward complete package: steel frame, light-blocking curtains, an impact screen, side netting and a ball net in one box. That consolidation is the appeal if you want one box and one build rather than a shopping list.
The launch-monitor ready layout is sensible for a basement, since the side and rear netting is where your monitor tends to sit if it is not on the hitting line.
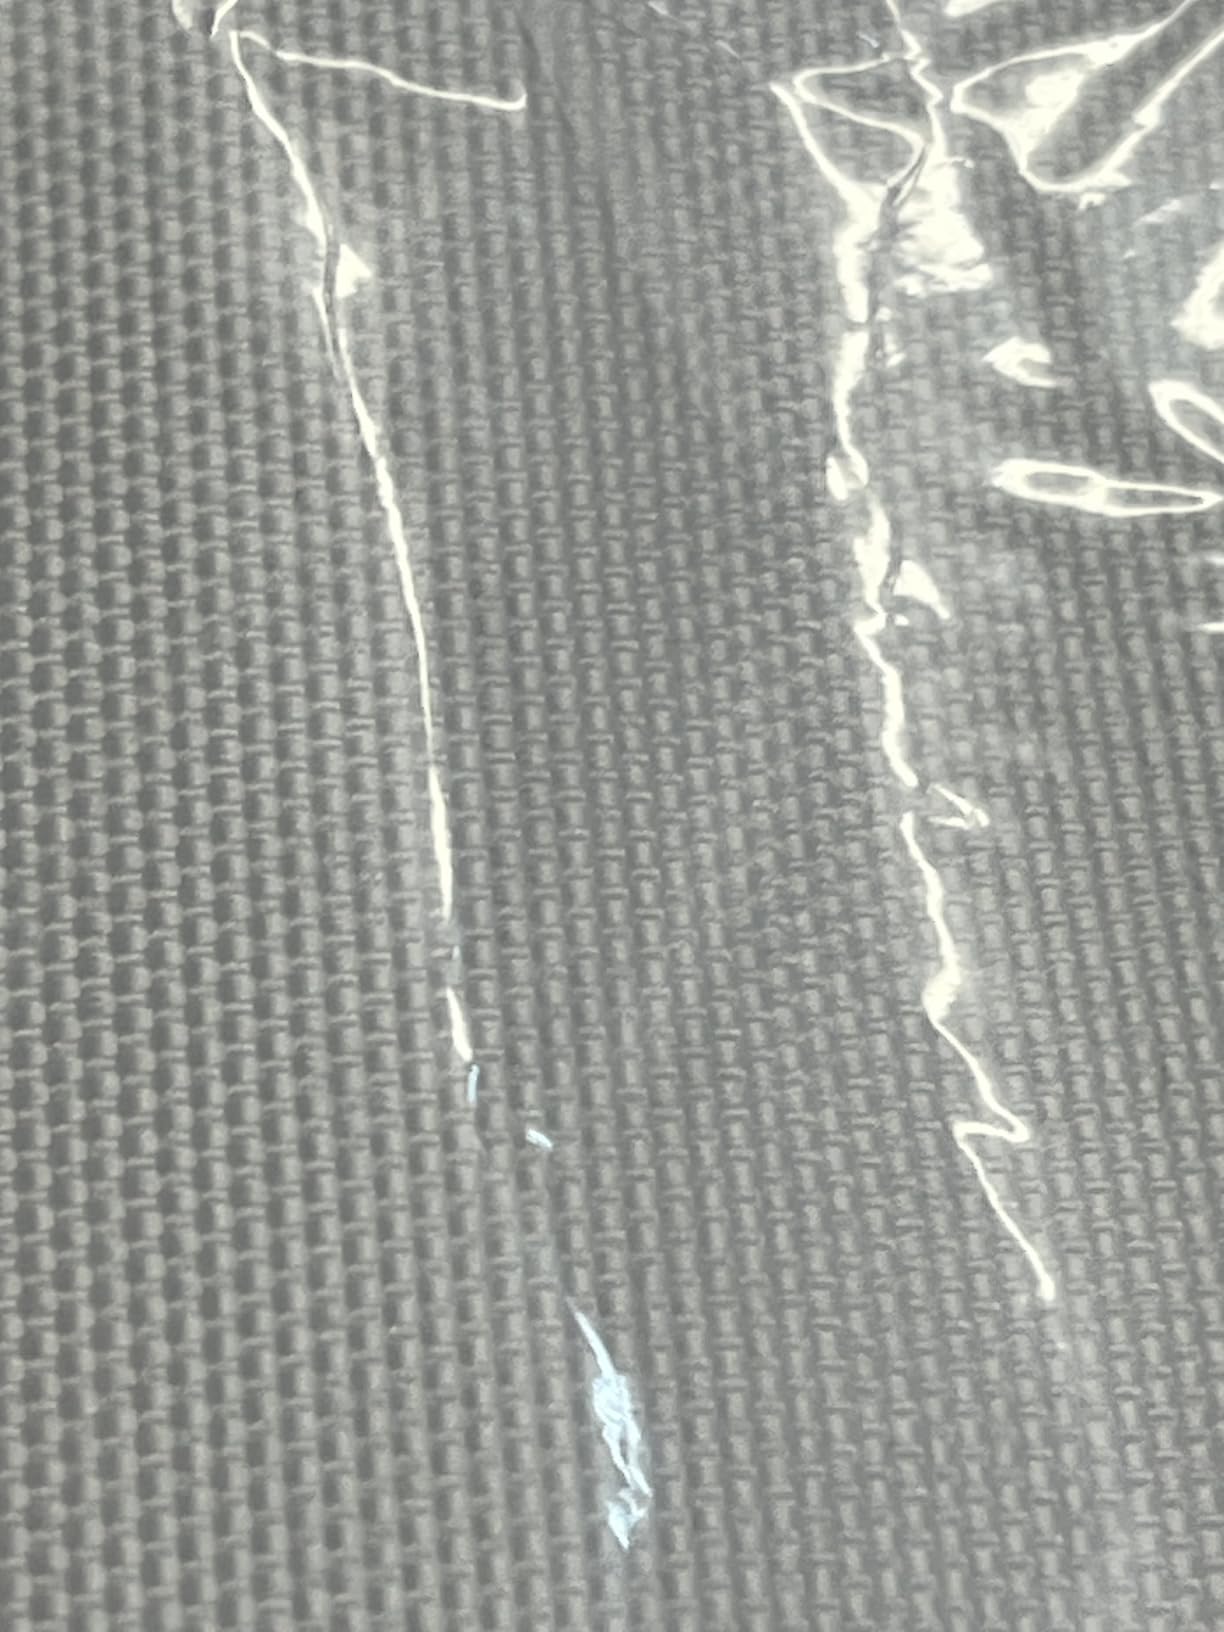
Variants at 8.4 x 8.4 ft and 10 x 7 ft give you more sizing flexibility than the fixed-size kits in this group, and the smaller footprints are worth considering for a tight bay.
One-year warranty coverage is standard for the category.
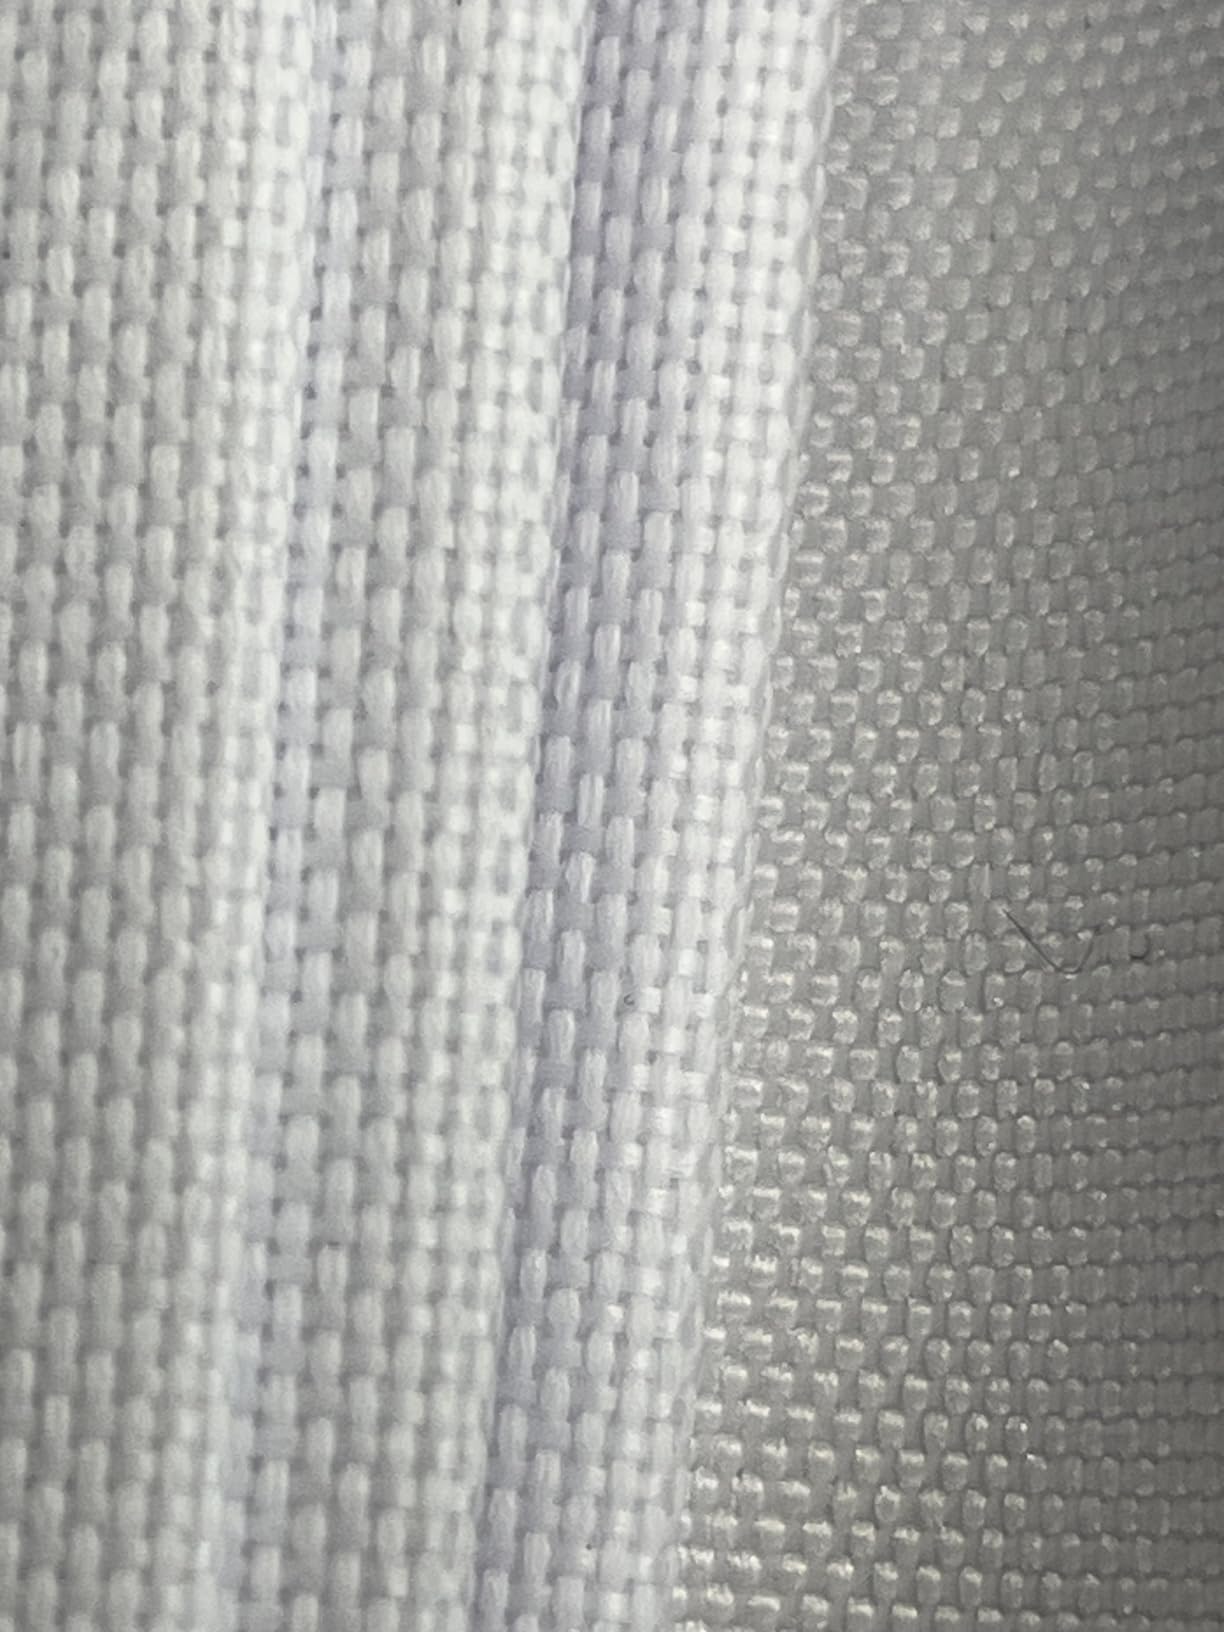
Check the frame stock
The frame uses 4 mm alloy steel. That is a reasonable residential gauge, but it is thinner than what you get on the padded kits above, so check the top bar if you hit hard drivers into the screen face.
Confirm the variant dimensions against your room before ordering, since the height options differ between them.
Know where it falls short
Feedback here is the thinnest in the group at 22 ratings, and the rating distribution is the most polarized. There is little written review history for this listing, so you are buying on specifications rather than on long-term owner reports.
That is the honest trade: a complete package with less evidence behind it.
9. River Hill Golf Home Practice Enclosure – Best for Quick Setup
Golf Simulator Enclosure, 10×8 Ft Indoor Setup with 3-Layer Impact Screen
10 x 8 ft footprint
Oxford cloth and polyester
Frame pipes and sandbags included
Pros
- Quick setup and tear down in about an hour
- Triple-layer screen absorbs impact with minimal sound
- Full surround containment on three sides
- Light-blocking fabric improves projector visibility
- Sturdy base stays planted during full swings
Cons
- Push-pin connectors leave play in the frame
- Screen aspect does not match 4:3 or 16:9 output
- Only six screen mounting points
- Exposed poles lack thicker padding
Setup speed is the standout here. Owners report running this enclosure up and taking it down in about an hour, and that matters more in a basement than it does in a garage because basement builds happen in the gaps between other work.
The full surround netting on three sides contains balls in every direction, and the light-blocking fabric improves projector visibility without needing a separate cover.
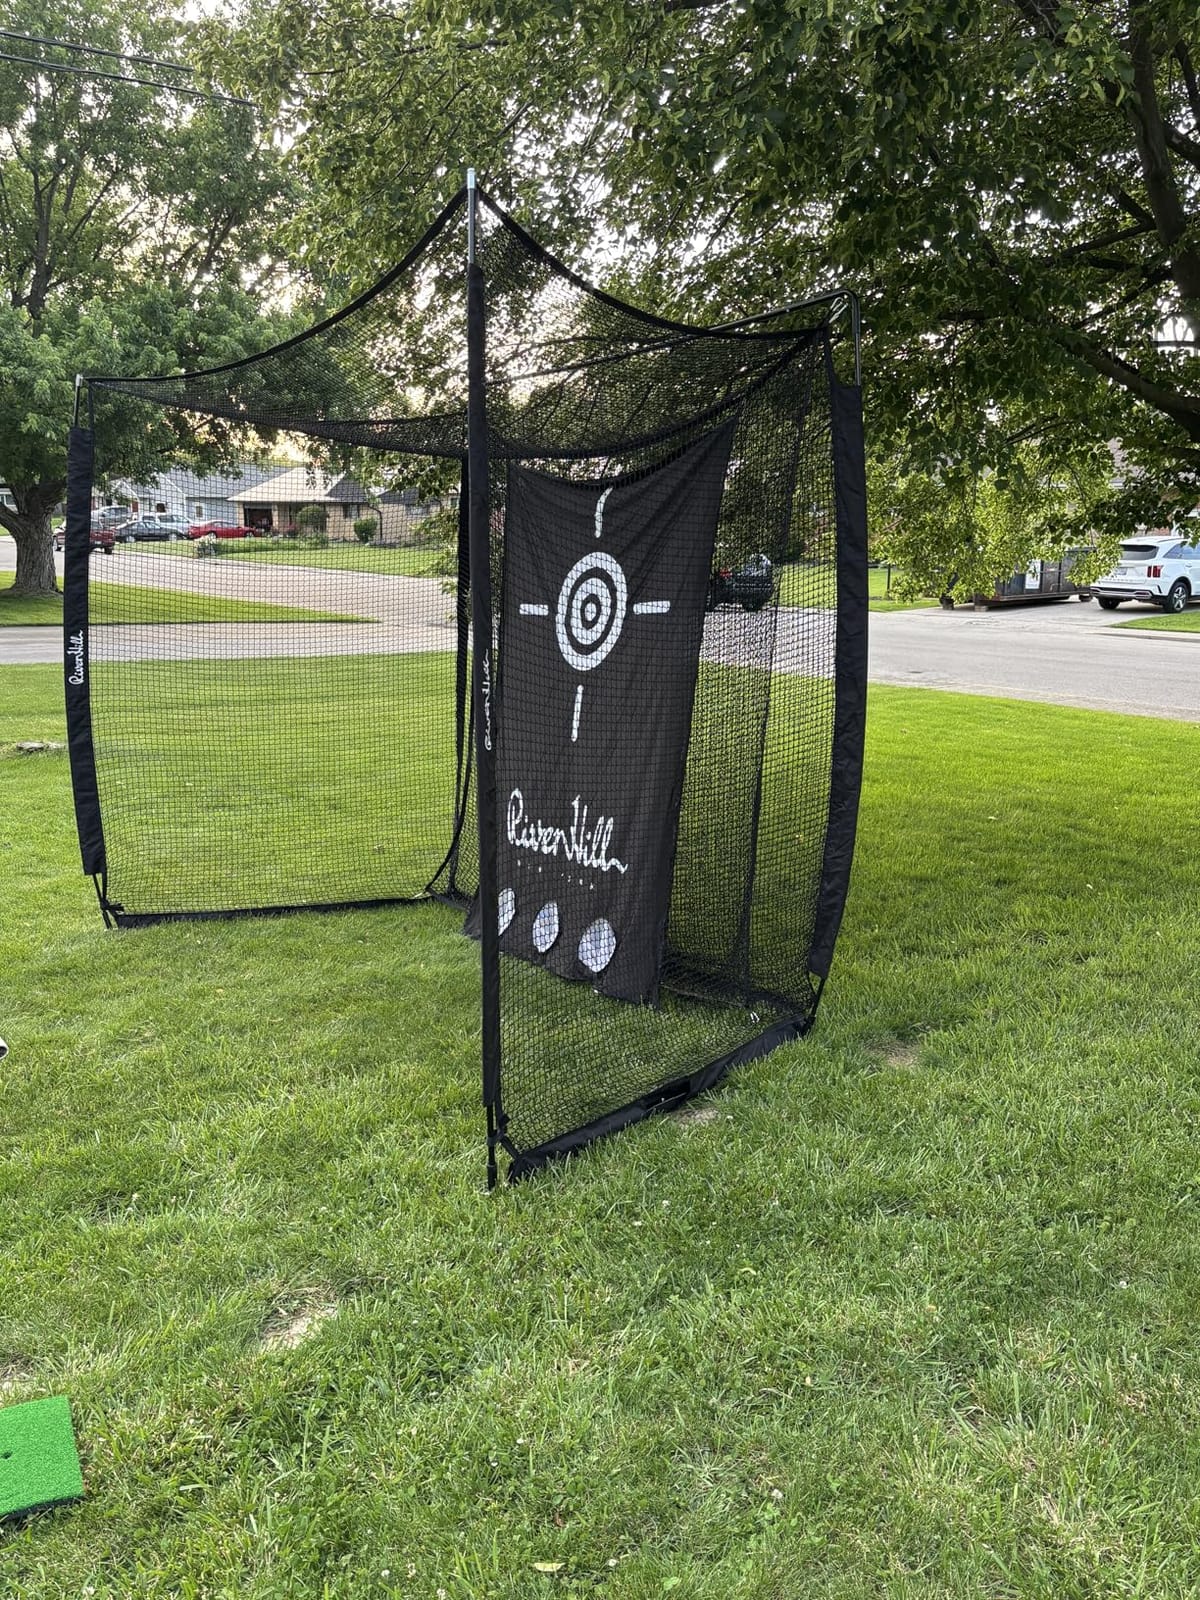
The triple-layer screen absorbs impact with minimal sound, which is useful if anyone is living above the bay. The base is described as staying planted during full swings, and sandbags are included for anchoring.
Frame pipes, connectors, foam padding and side barrier netting all ship in the box.
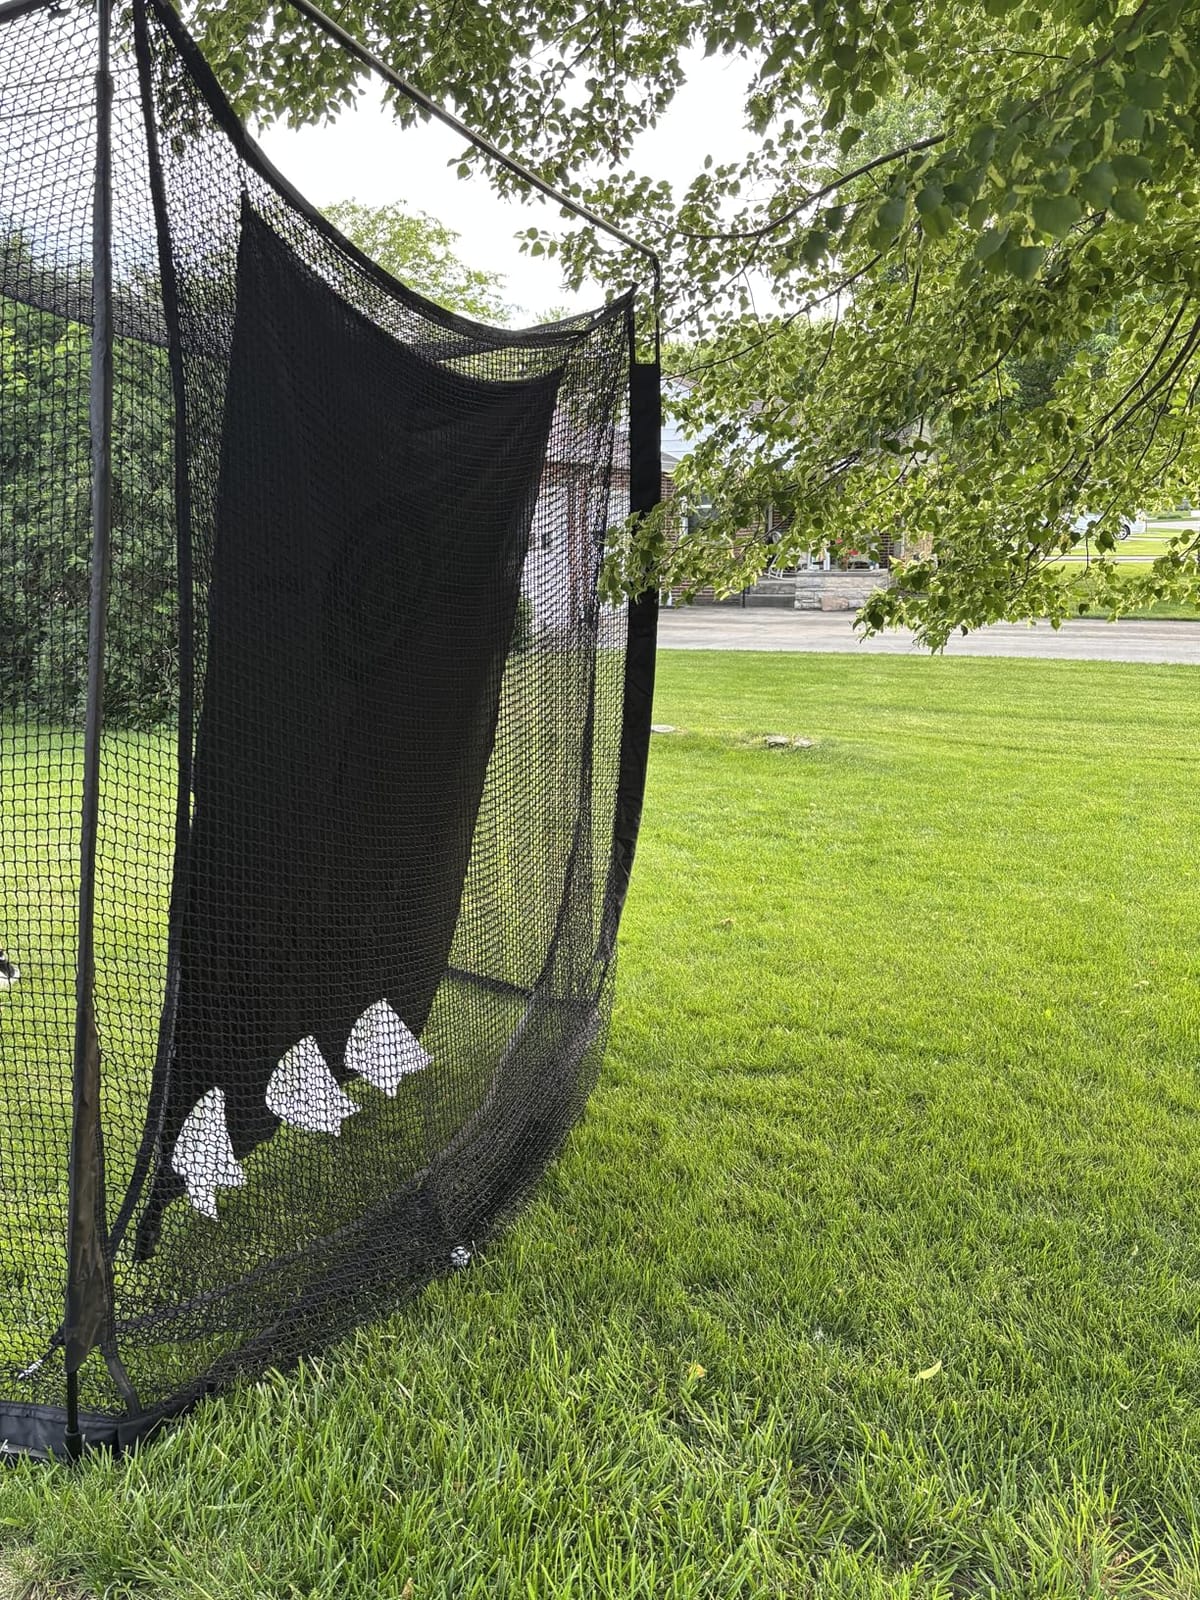
Check the screen aspect before projecting
The screen aspect does not match 4:3 or 16:9 projector output, so plan your software and your throw distance around that. If a matched aspect matters to you, this is the wrong kit.
It also offers 10 x 8 x 5.3 ft, 10 x 7 x 3 ft and 10 x 8 x 12.8 ft variants, and the lower 8 ft height limits projector mounting options, which is worth weighing in a low-clearance room.
Know where it falls short
Push-pin connectors leave play in the frame, so a hard impact at the joints is where this one moves. Only six screen mounting points make even tension hard to set, which shows as a wavy image.
Exposed poles have thinner padding than the costlier kits, and one buyer received a piece with a missing attachment hole.
10. ANYTHING SPORTS Fold Up Enclosure – Best for Rooms That Must Do Double Duty
Fold Up Golf Simulator Enclosure (8’4 x 8’4 x 5′)
8 ft 4 in x 8 ft 4 in x 5 ft
Wall mount
Matte screen
1 year warranty
Pros
- Folds up in about a minute to free the bay
- All-in-one with screen enclosure nets projector mount and sand bags
- Suits basements with 7.5 to 8 ft ceilings
- Matte screen absorbs ball energy
Cons
- Very heavy and needs a two-person lift
- Wall mount means the wall must be surveyed first
- Instructions illustrate round poles while square poles shipped
This is the pick when the basement has to be a car bay, a gym or a man cave on Monday and a golf bay on Saturday. It folds up in about a minute, and that single function is why owners buy it.
It is also the only kit here listed as suitable for basements with 7.5 to 8 ft ceilings, which is exactly the clearance band most owners on the simulator forum are working with. The 5 ft depth and 91 in matte screen are the trade for that low profile.
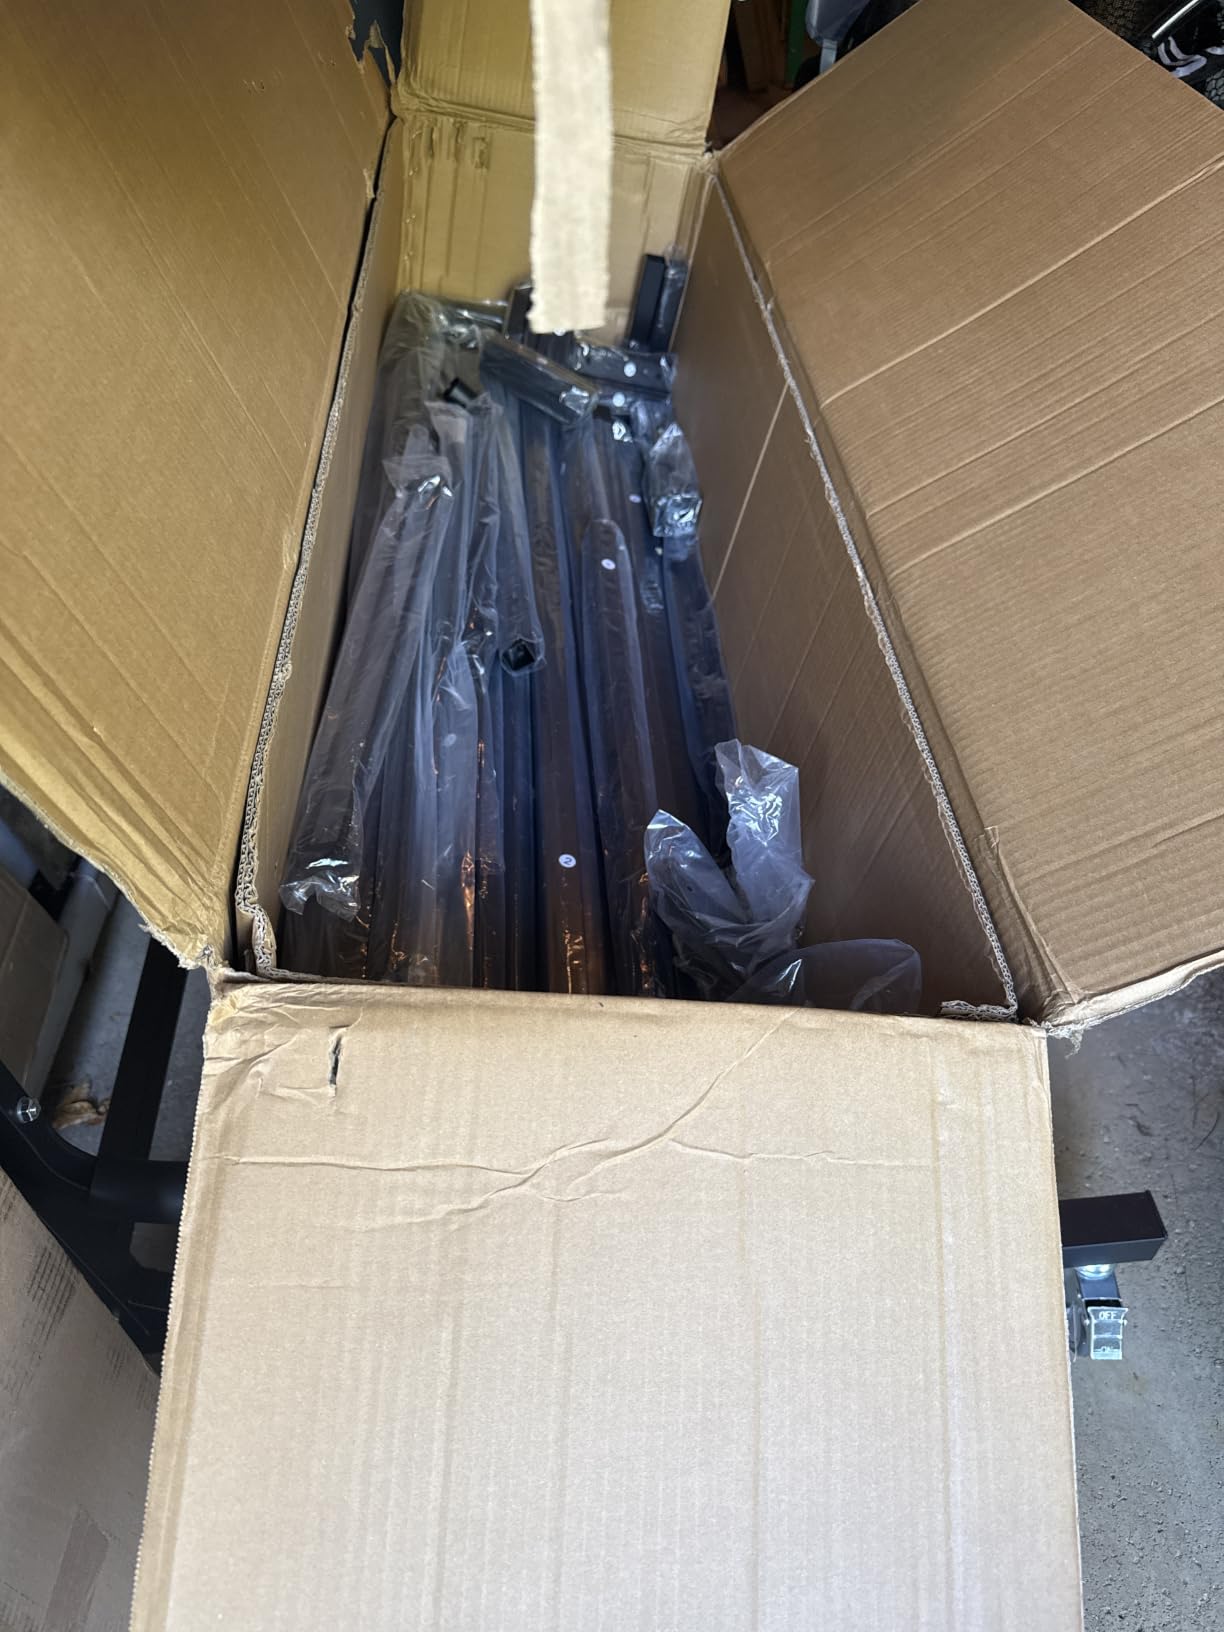
Everything comes in one box: impact screen, blackout enclosure, two shank nets, projector mount and sand bags. The matte finish absorbs ball energy and projects a sharp image, and the shank nets catch off-center shots.
Owners cite fair value against a name-brand complete simulator, and the fold-away function is described as working exactly as advertised.
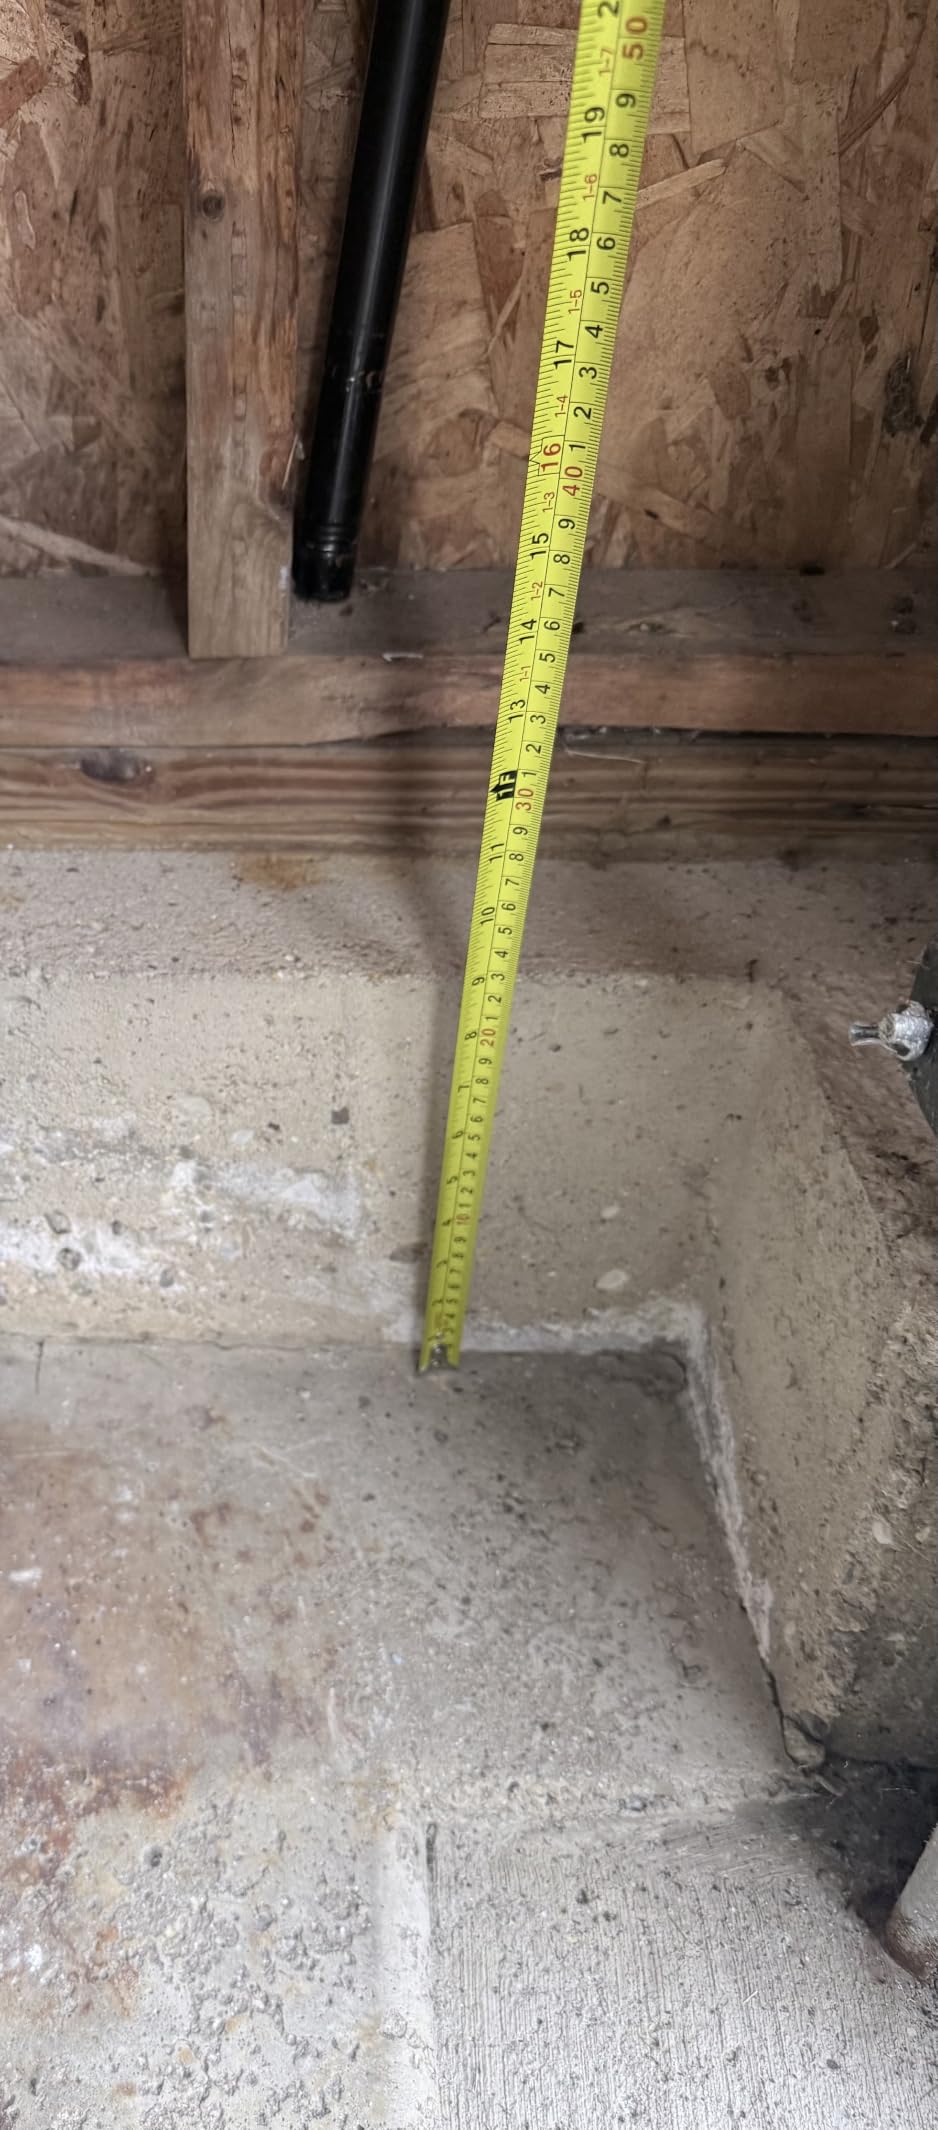
Survey the wall before you order
This is a wall-mount enclosure, so the wall matters more than the floor. Concrete ledges, uneven studs and a finished basement wall with outlets in awkward places all complicate mounting, and every owner who mentions installation flags this first.
Folding may require removing the side panels first, so check how the bay looks when folded as well as when open.
Know where it falls short
It is very heavy and needs a two-person lift and a two-person mounting job. In a tight basement stairwell, that is a real logistics problem to solve before the kit arrives.
The printed instructions illustrate round poles while the box contains square ones, and the screw bag has many similar lengths to sort through. Budget extra setup time even though the fold itself is fast.
Control Moisture and Mold Before Equipment Goes In
Basement humidity is the most repeated real-world concern in this niche, and it is the one that damages gear rather than merely annoying you. A stable temperature with high relative humidity will mildew a polyester screen from the fabric side, and electronics in an enclosed bay need a dehumidifier running alongside them.
Run a dehumidifier in the bay. Owners consistently treat it as part of the build rather than an accessory, and it is the single cheapest line item that protects the screen, the mat and the electronics you will add later. Place it so the intake is not directly against the impact screen, since the unit pulls air through a damp fabric.
If your basement has any history of water intrusion, deal with that first. Foundation or entry management, a working sump pump and any needed waterproofing come before an enclosure goes up, because a screen that has been wet once is a screen you will replace.
Watch for condensation, which forms on cold concrete in summer. A dehumidifier and some airflow around the mat area handle it, and it is another reason not to push the enclosure tight against a foundation wall.
Electrical capacity is the second build-stopper. A projector, a computer and a launch monitor on one shared circuit is a common finished-basement mistake, and the fix is a dedicated circuit with a surge protector before the equipment arrives. Low-voltage runs for a camera-based monitor are worth doing while the room is open.
Underfoot, protect the slab or the finish around the hitting area. Our guides to laminate flooring for basements and basement carpet tiles both hold up better than wall-to-wall carpet where a mat edge sits, and both replace section by section if a mat has to move.
Choose by Clearance, Screen Material and Total System Cost
Start with clearance, because it is the only constraint you cannot change. Under 7.5 ft of swing-arc height, plan irons and wedges and a shortened driver swing. From 7.5 to 8 ft, the fold-up wall-mount kits and the shallower 5 ft deep enclosures become realistic. At 8.5 ft and above, any full kit in this list works without trimming poles.
Then work out depth. Projector throw distance decides how far back the screen must sit from the mat, and a basement with 12 ft of depth gives you room for a short-throw projector plus a full enclosure. The 5 ft deep kits are the ones to look at when your room is long and narrow rather than square.
Screen material is the next decision. Polyester is the common baseline and takes real ball impact at a modest price. Triple-layer and mesh-backed screens cost more but cut sound and hold tension better, which matters in a finished basement where you do not want to hear every shot. Foam-backed screens feel best to hit into and are the easiest on your arms over a long session.
Blackout is what separates a good image from a flat one. A one-piece Oxford or polyester cover with no gaps is worth more than any projector upgrade in a room with any ambient light. A blackout curtain like the one on the Durbles kit is a middle option if you would rather not cover the frame.
Assembly difficulty is worth planning for. Tool-free and click-lock kits go up in under an hour with two people; wall-mount kits are a mounting job on top of an assembly job; anything with a row of similar screws and no matching instructions costs you an evening.
Finally, the total system cost. The enclosure is one line item, and the rest arrive separately. Plan for a short-throw projector, a launch monitor, a computer or console, a hitting mat, golf balls, a dehumidifier and a dedicated electrical circuit. Owners who felt surprised were surprised by the electronics, not the enclosure.
If your basement is also going to host other equipment, our picks on racing simulator cockpits solve a similar problem, and a sauna kit for basements raises the same clearance and moisture questions we covered above.
Frequently Asked Questions
Can you put a golf simulator in a basement?
Yes. A basement is often a better simulator room than a garage because it usually has more depth, fewer windows and better sound isolation. You need enough usable clearance at the top of your swing arc, room depth for the enclosure plus throwing distance, and humidity control running alongside the bay.
What ceiling height do I need for a golf simulator?
Measure from the top of your swing arc to the nearest obstruction, not from the floor to the joist. 7.5 ft of clearance suits irons and wedges, 8 ft allows a realistic driver swing for most players, and 8.5 ft or more means standard full-height kits fit without modification.
Is an 8 foot ceiling too low for a golf simulator?
Not for most golfers. An 8 ft ceiling works if you measure at the swing arc rather than at the tallest point in the room, and if the enclosure depth leaves room for the mat. If a beam or duct drops over your hitting position, move 2 to 3 ft sideways so it falls outside your swing arc.
Is a 12×12 basement big enough for a golf simulator?
Yes, 12 by 12 ft is enough for a full bay. A 10 x 8 ft enclosure leaves room for the mat, the impact screen and a short-throw projector behind the hitting position. Add a dedicated circuit and a dehumidifier before equipment goes in.
Do you need an impact screen for a golf simulator?
Yes. The impact screen stops struck balls and gives the projector a flat surface to throw onto. A two-pole practice net holds balls but leaves you without a stable projection surface, so most basement builds use a full frame with an impact screen and side nets.
Will a golf simulator screen mold in my basement?
It can if humidity is high. A dehumidifier running in the bay keeps relative humidity down, protects the screen fabric and the hitting mat, and protects the electronics you will add. Leave airflow around the screen base and avoid pushing the enclosure against a foundation wall where condensation forms.
Final Verdict: The Best Golf Simulator Enclosures for Basements in 2026
The best golf simulator enclosures for basements come down to one measurement: clearance at the top of your swing arc. Get that number first, because it decides the footprint you can use and whether a standard kit or a low-profile one is the right answer.
The GoSports kit with its true blackout panels is our best overall pick for 2026, and it is the one we would put in a typical finished basement with 8.5 ft or more of clearance. For a tighter budget, the complete package with the bundled projector mount saves a purchase, and the Range Cage is the right call if you want to practise first and build out later. In a 7.5 to 8 ft basement, the fold-up wall-mount enclosure is the honest option, provided the wall will take it.
Whatever you choose, get the dehumidifier running and the dedicated circuit installed before the projector and monitor arrive. That is the part of a basement build that is much harder to fix afterwards.